This tutorial will cover the process of managing the Deal Contacts for a lease.
Instructions
After updating Space Details as needed, the workflow will take you to the Contacts tab. There may already be some Contacts or Companies listed here if the Assignment, Property or Project template you selected earlier had Contacts associated with them (and, in the case of Assignments, if you also chose to copy those Contacts to this Deal).

You can easily add more Contacts or Companies, or remove the ones already listed that aren’t participants of this particular deal.
To remove a Contact or Company, just click on the red [X] icon on the right. In this case, the Property’s Owner copied over from the Property, but the Landlord entity we’re working with for this leasing Assignment also copied over. We’ll just keep that entity and remove the Owner.

Add a Contact by using the fields at the top: Type in the name, company name, city or record ID to look for an existing Contact record. You can also use a combination search, such as for the name and city (for example: “John Smith Denver”) if your initial search lists too many results.

Contacts in your firm (“Internal Contacts”) will be highlighted in yellow, so you can easily pick them out in the list.

If you select or add a Contact, the Company will populate automatically, but you can also just add a Company without a Contact to the deal by using the Choose a Company field.

Select the appropriate role for this Contact and click the Add button. That Contact will now show in the list below.


If the Contact you’re looking for doesn’t show up, you can click the green plus icon to create a new Contact. The same option is available for creating a new Company.

There are separate tutorials on creating new Contact and Company records in our Help Center or on our YouTube channel.
You can change the Role for a deal participant by clicking on their current Role.

Select the correct Role from the list, then use the blue Save icon to submit your change. The red [X] icon next to it will cancel your changes and retain the original Role.

Finish by selecting the key Contacts for this Deal. You’ll want to make sure you designate the primary Client, the Billing Customer (who may be the same person but doesn’t have to be), the primary Salesperson – in this case, the primary Listing Broker – and the Project Manager.

Click Save and Continue to move on to the next step.

Click here to go to the next tutorial.
Related articles
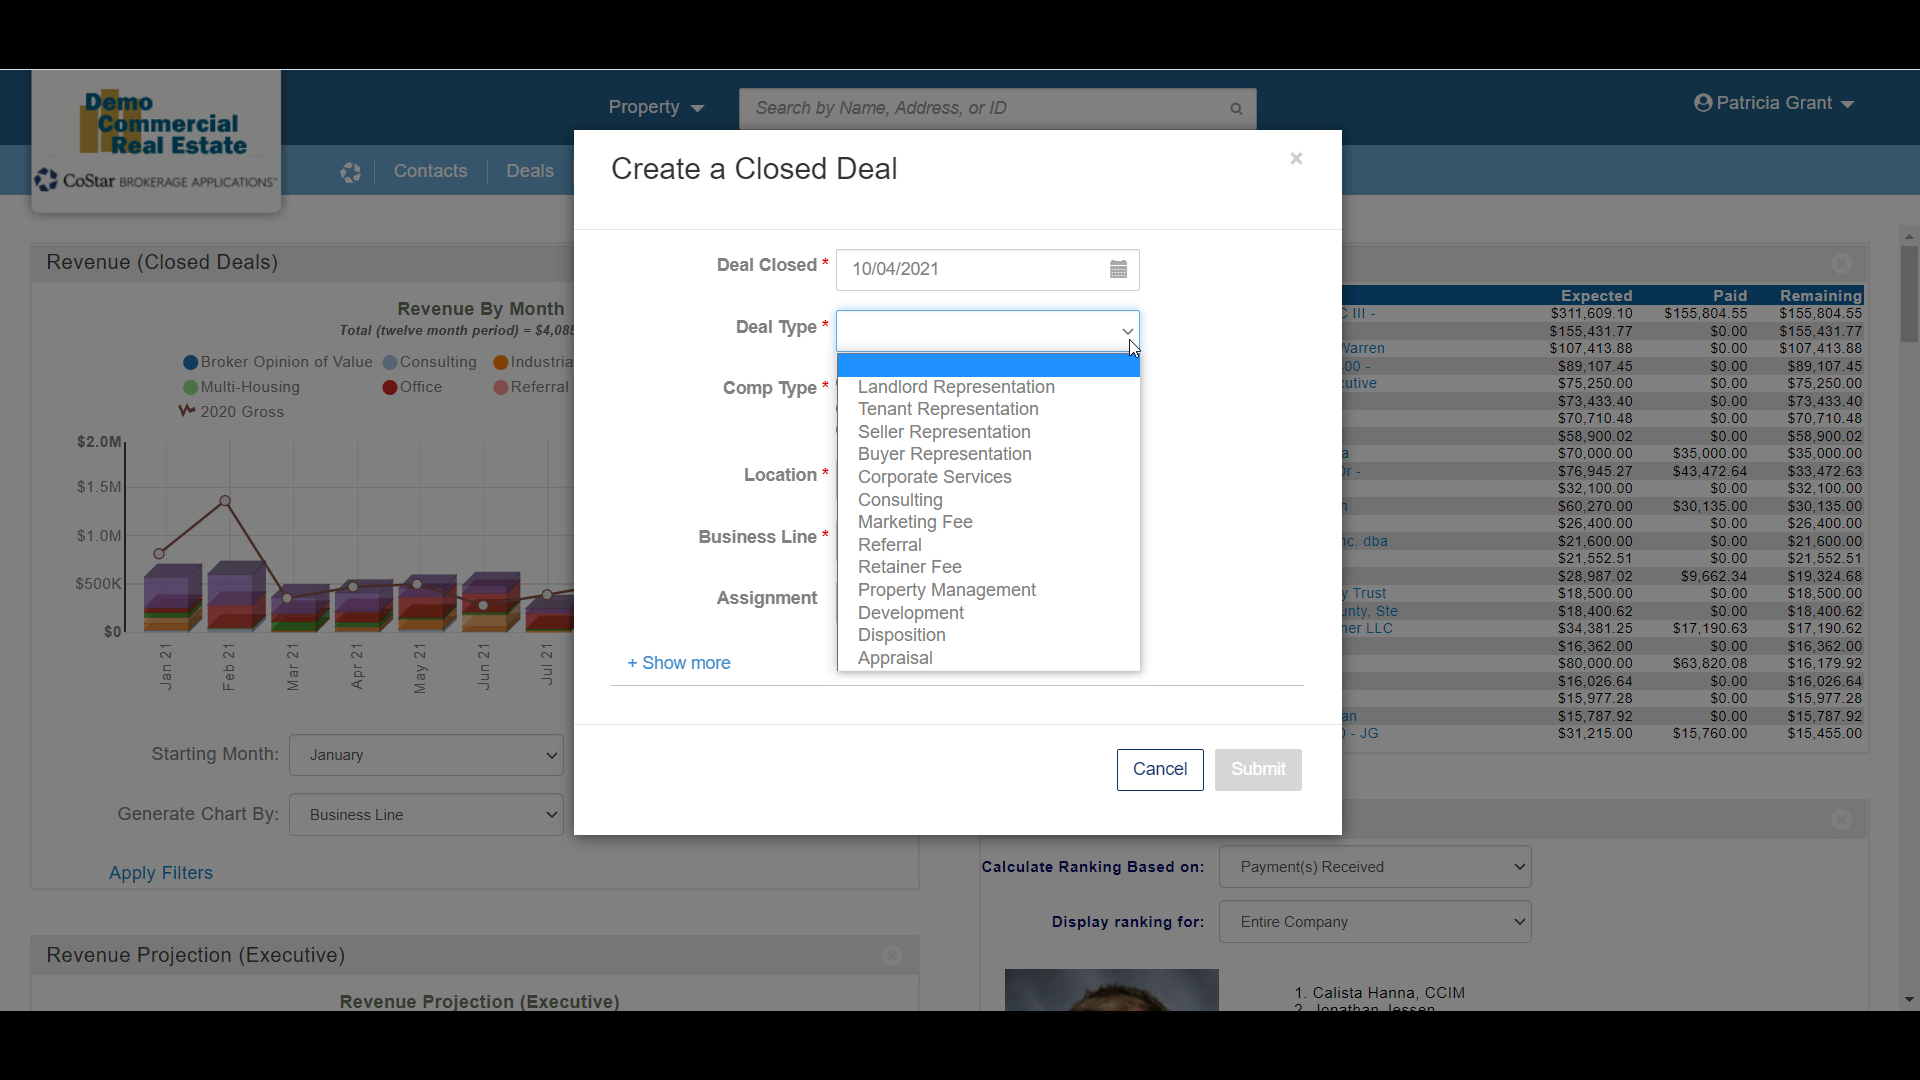
- How to create a new Closed Deal: Part 2 - New Closed Deal Modal
- How to create a new Closed Deal: Part 3 - Workflow Navigation
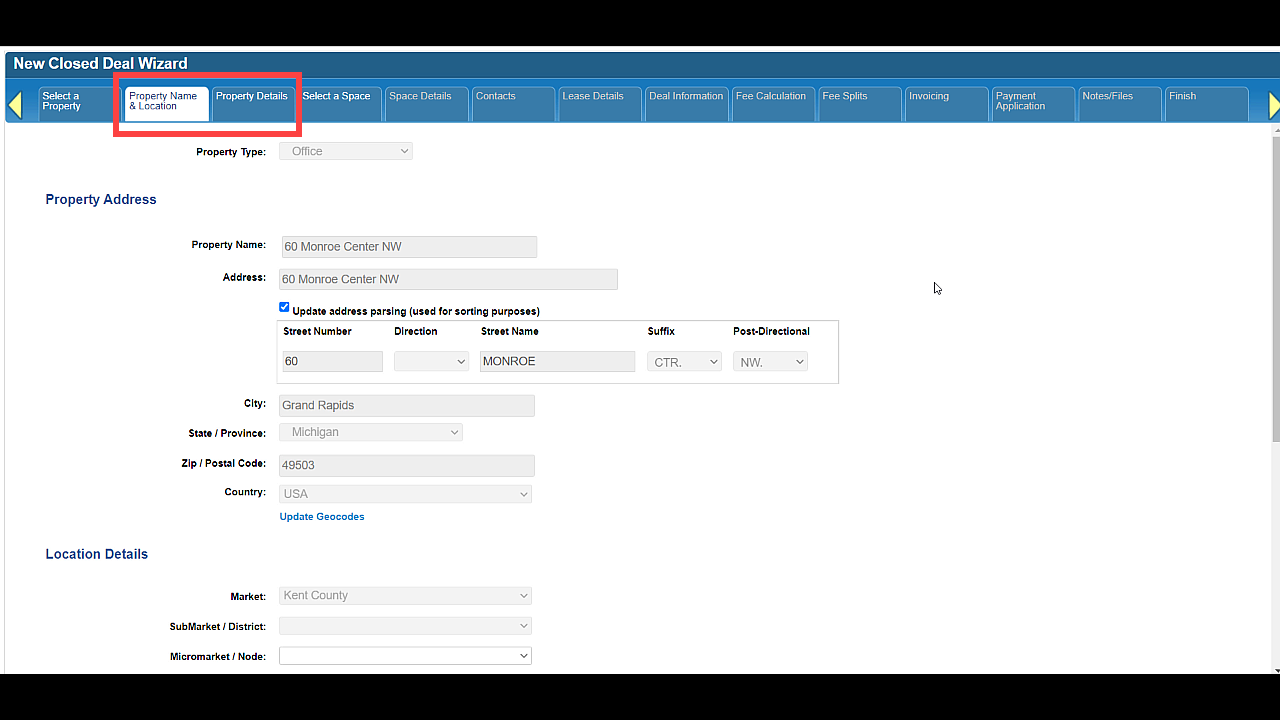
- How to create a new Closed Deal: Part 4 - Property
- How to create a new Closed Deal: Part 5 - Space
- How to create a new Closed Deal: Part 6 - Contacts
- How to create a new Closed Deal: Part 7 - Lease Details
- How to create a new Closed Deal: Part 8 - Deal Information
- How to create a new Closed Deal: Part 9 - Fee Calculation
- How to create a new Closed Deal: Part 10 - Fee Splits
- How to create a new Closed Deal: Part 11 - Invoicing
- How to create a new Closed Deal: Part 12 - Payments
- How to create a new Closed Deal: Part 13 - Notes/Files
- How to create a new Closed Deal: Part 14 - Link Project
- How to create a new Closed Deal: Part 15 - Deal Share
- How to create a new Closed Deal: Part 16 - Billing Schedule
- How to create a new Closed Deal: Part 17 - Net Adjustments
- How to create a new Closed Deal: Part 18 - Annuity Schedule
- How to create a new Closed Deal: Part 19 - Sale Details
- How to create a new Closed Deal: Part 20 - Other Starting Points
© 2023 CoStar Group