This tutorial will go over the process of selecting or creating a Space for a new lease deal.
Instructions
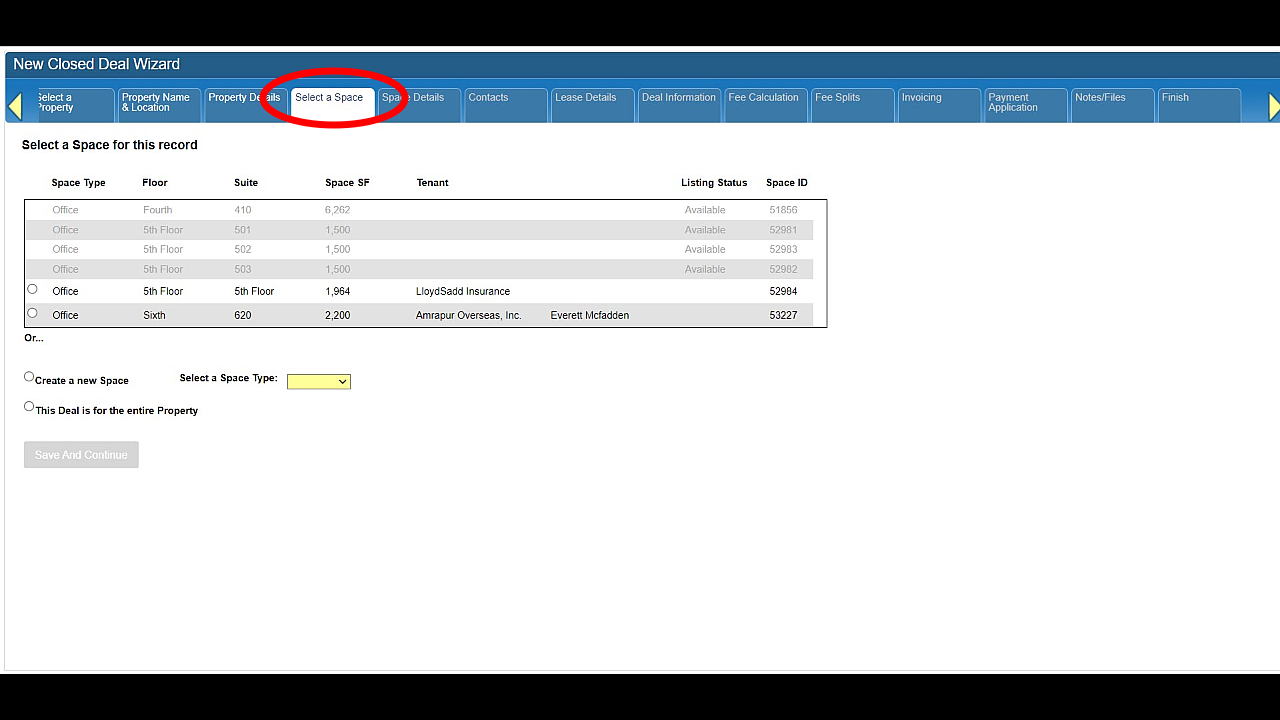
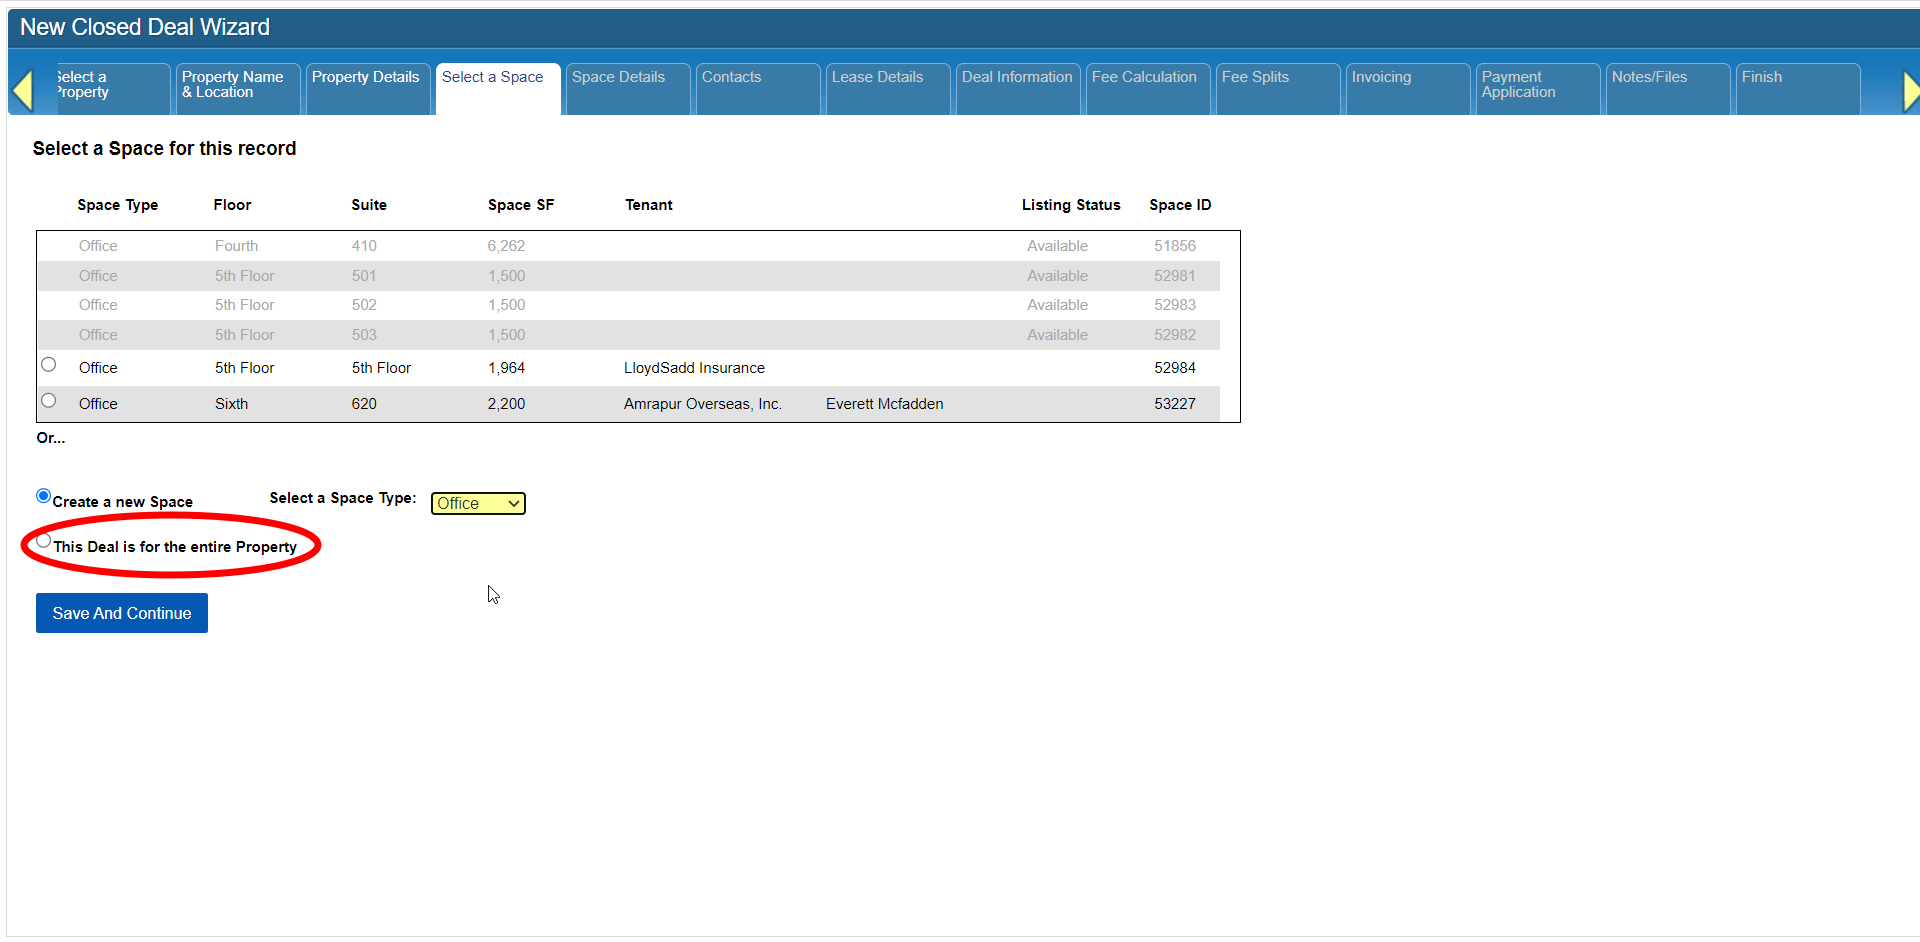
If the Property you selected already has one or more Spaces associated with it, they’ll be listed here with current tenancy details.
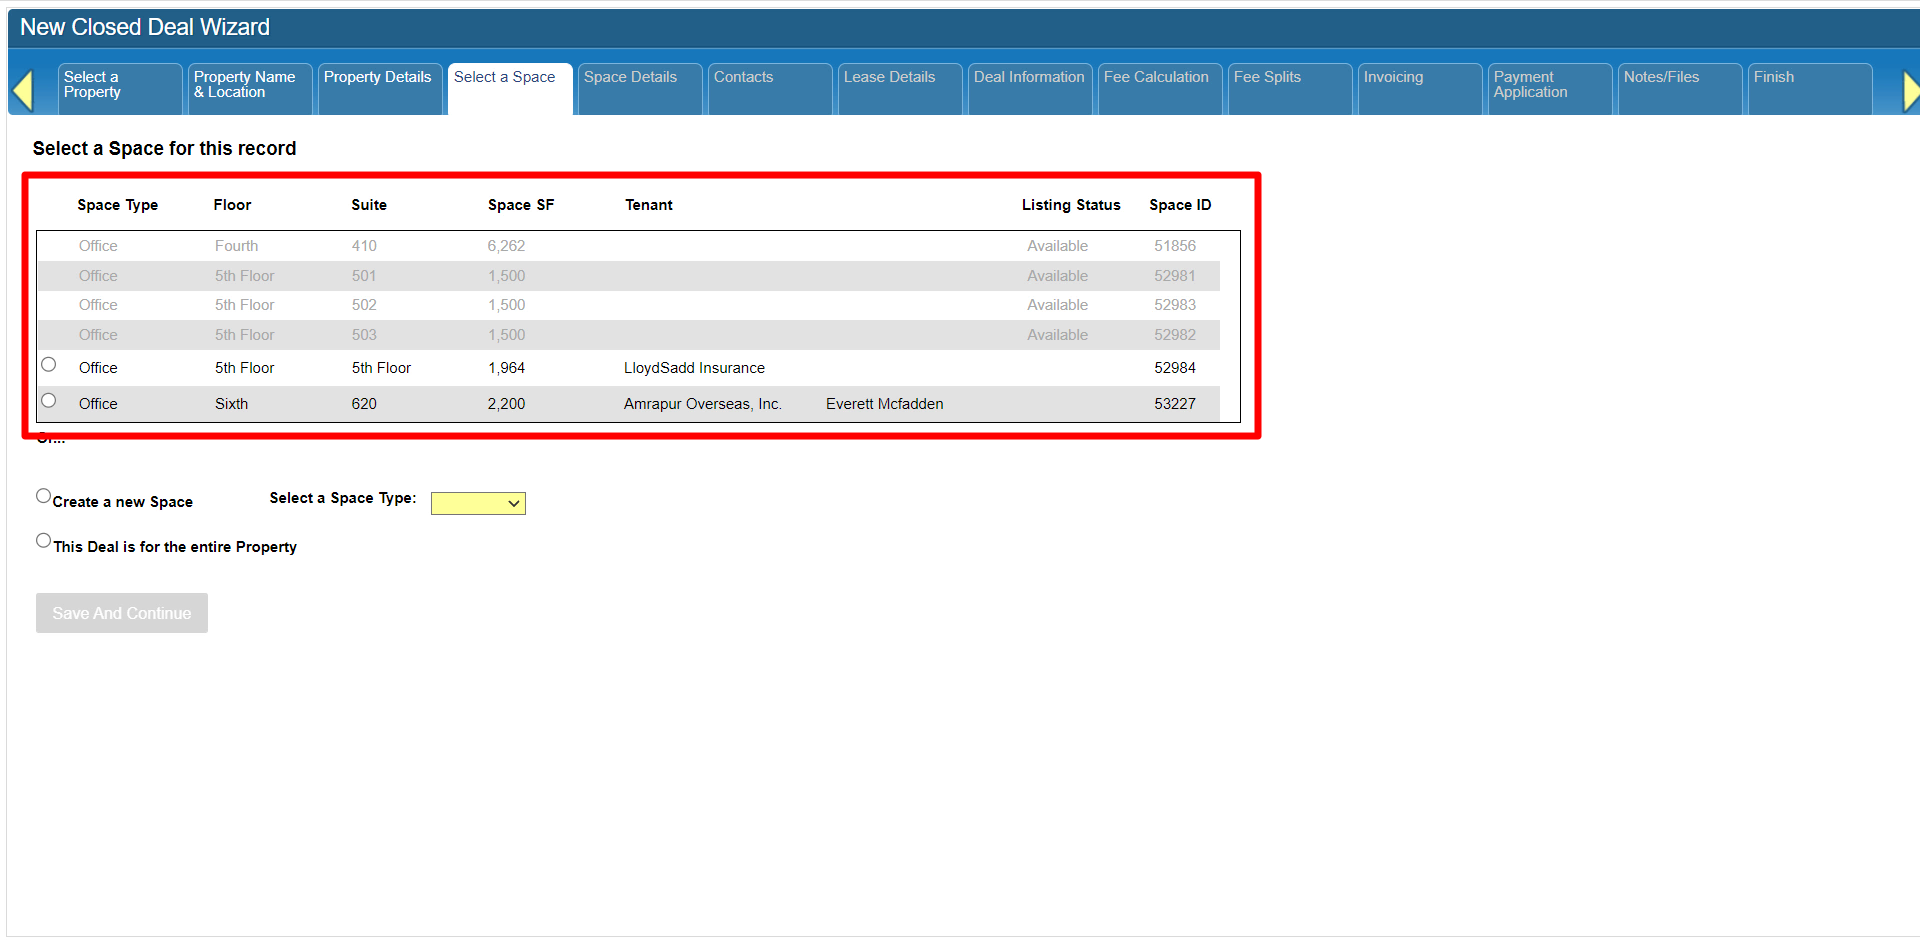
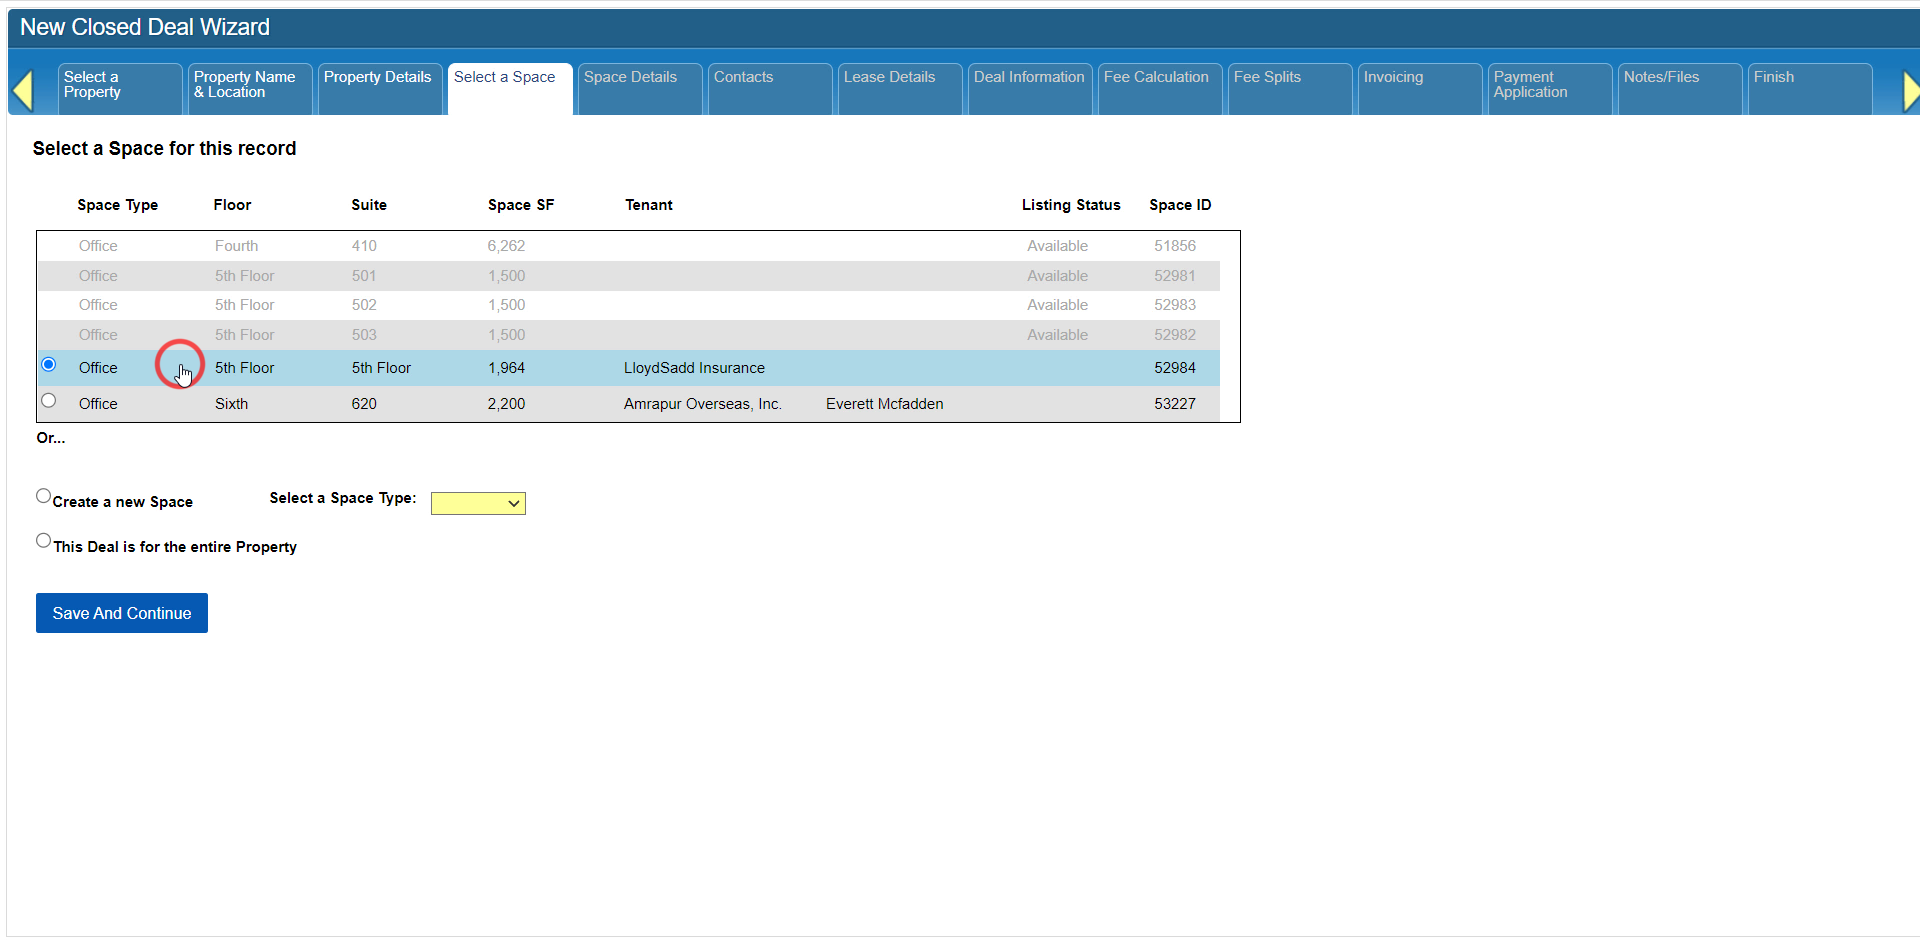
You can either select one of those spaces by clicking on it, or you can select the option to create a new Space if you don’t see the space you’re looking for in this list.
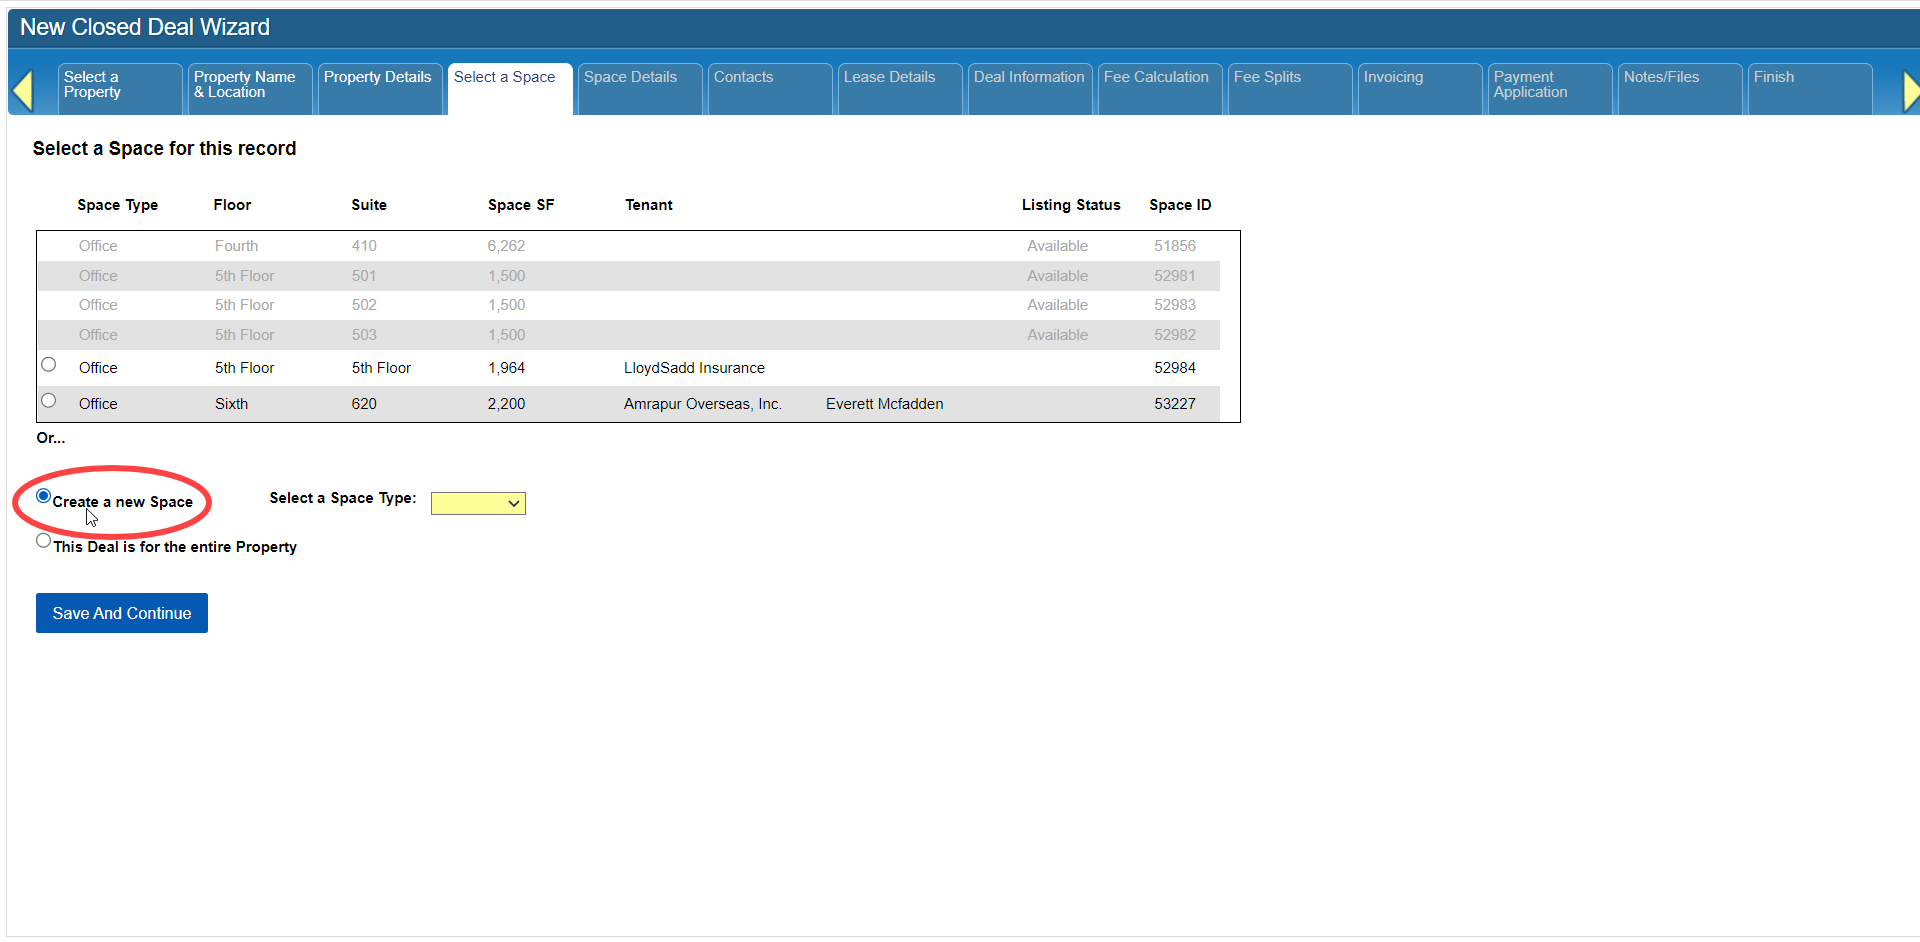
If you see a Space but can’t select it, that’s because that Space is currently marked as Available, meaning it has an active listing associated with it. Since that is the case, you must create your lease deal by closing that active Availability.
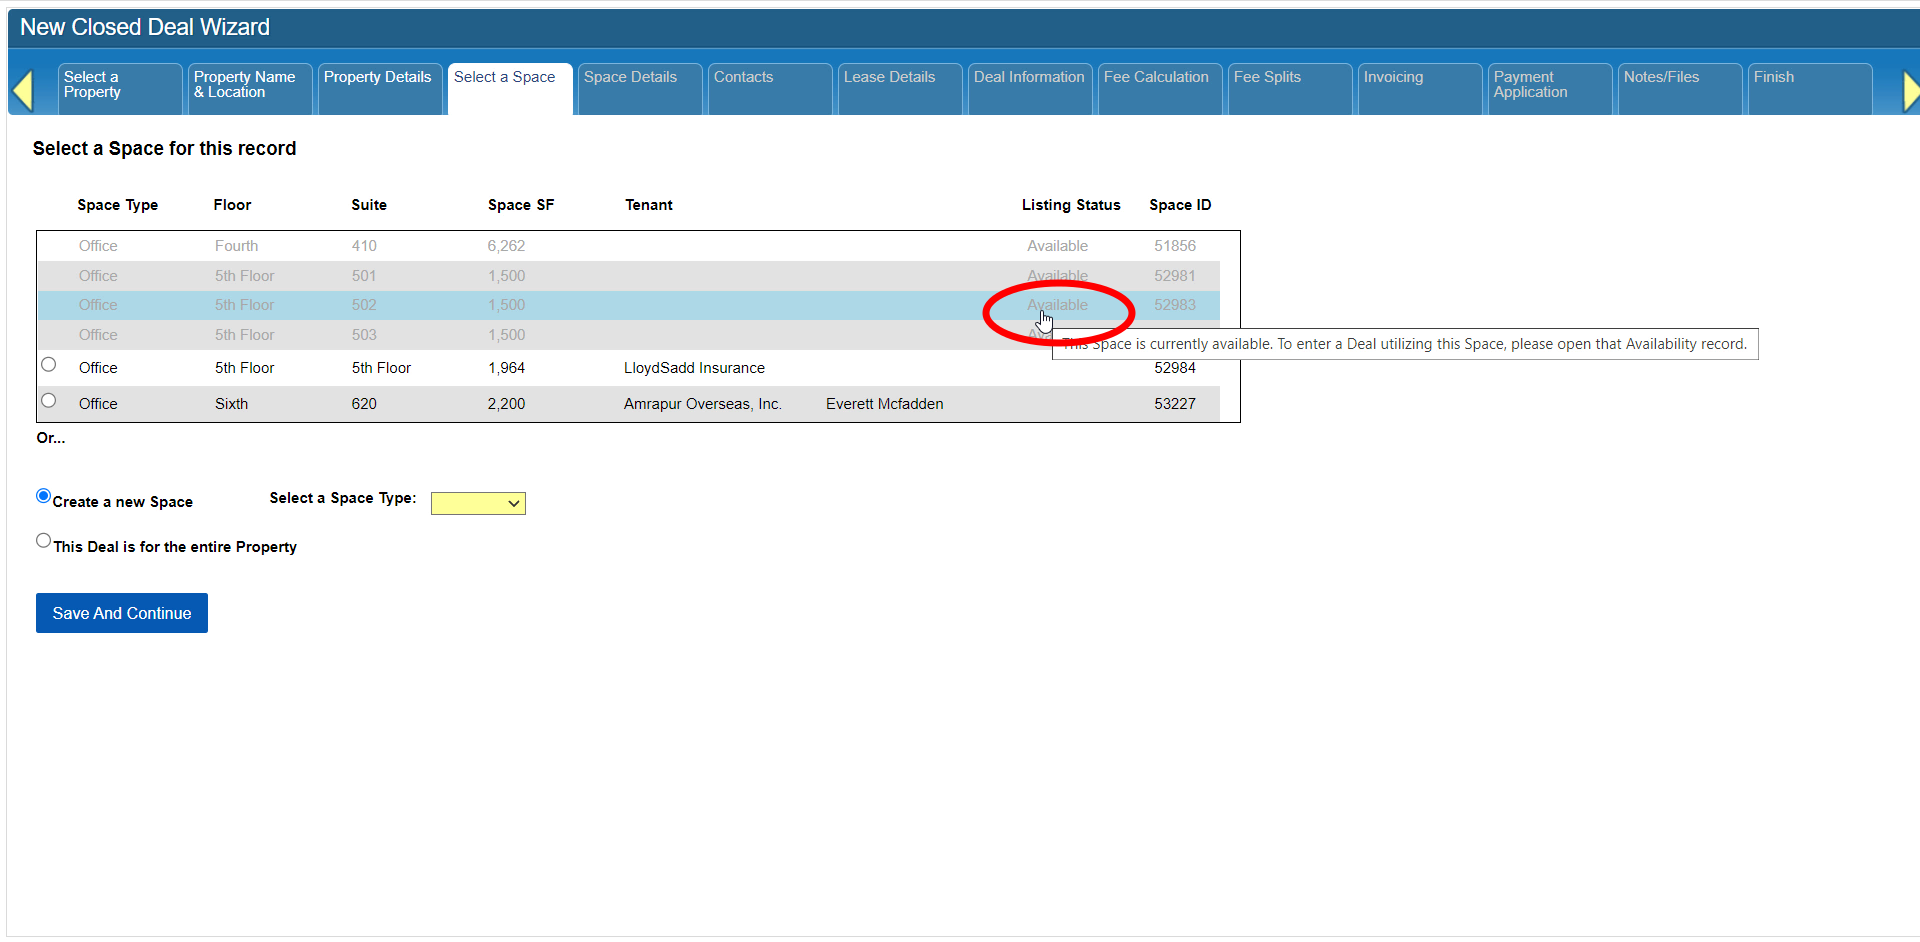
Before you can finish creating a new Space, you’ll need to define the Space Type.
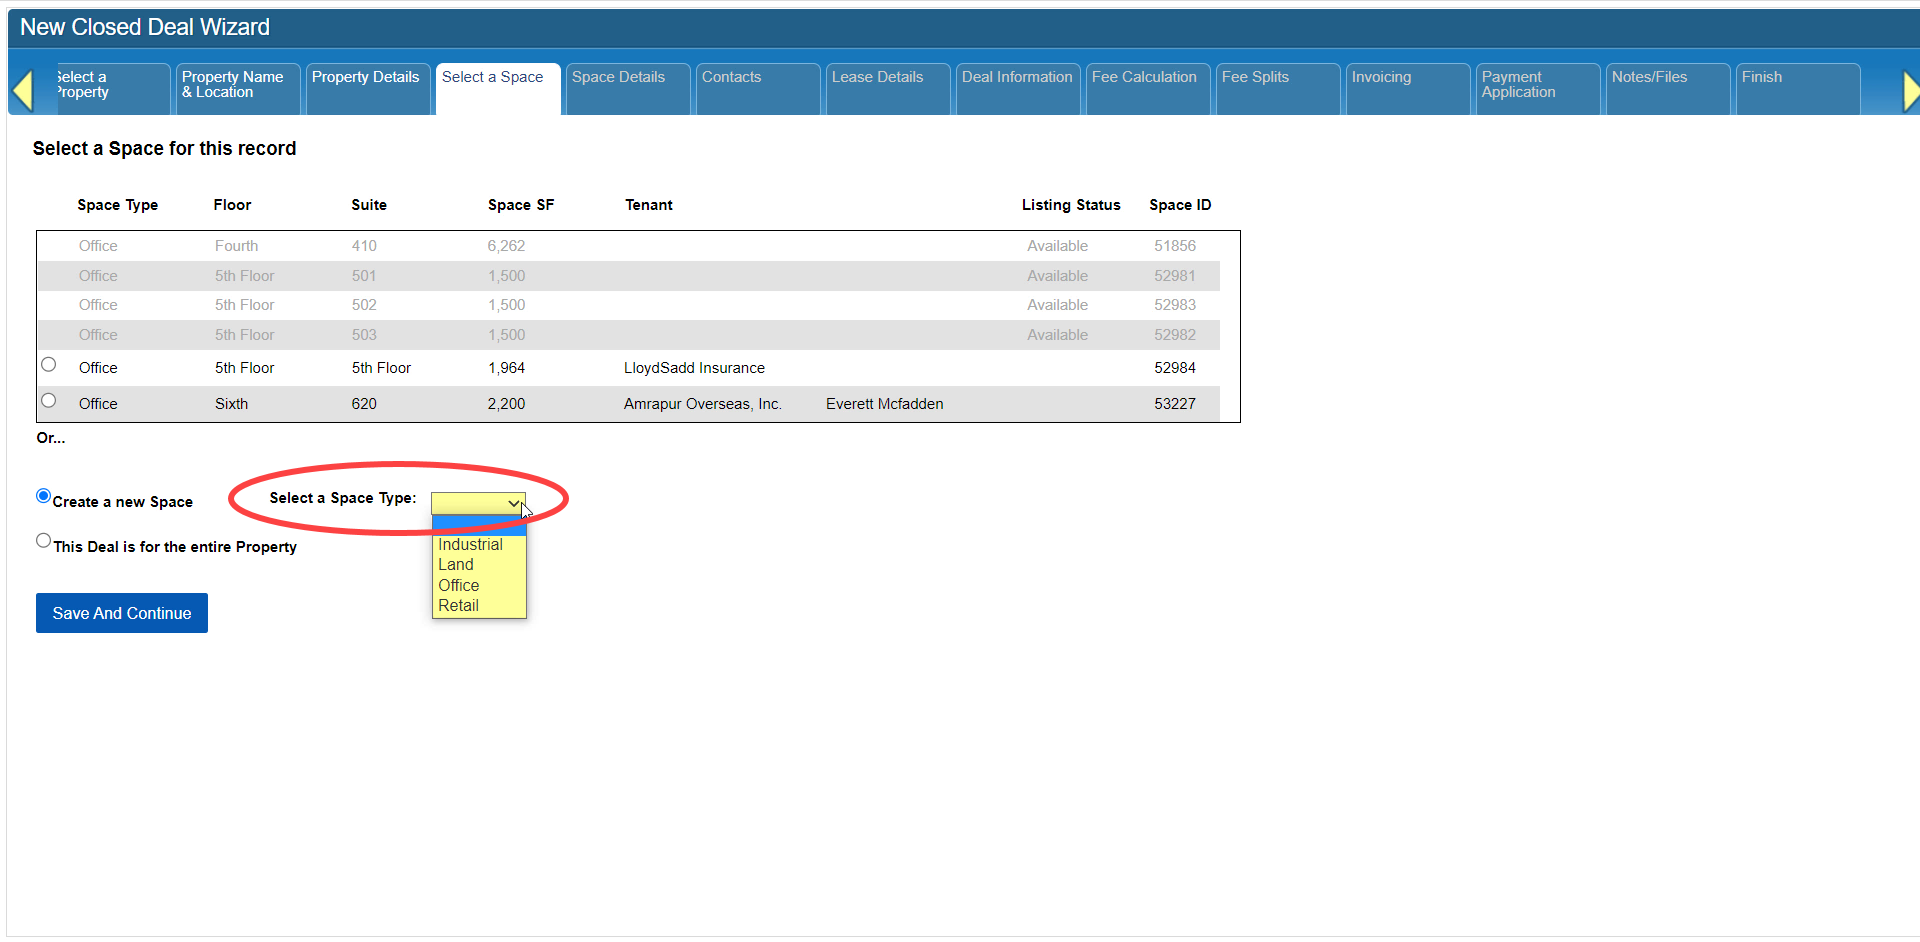
There is also an option at the bottom for associating this deal with the entire Property. We recommend only using that for Sale Deals if it’s applicable.
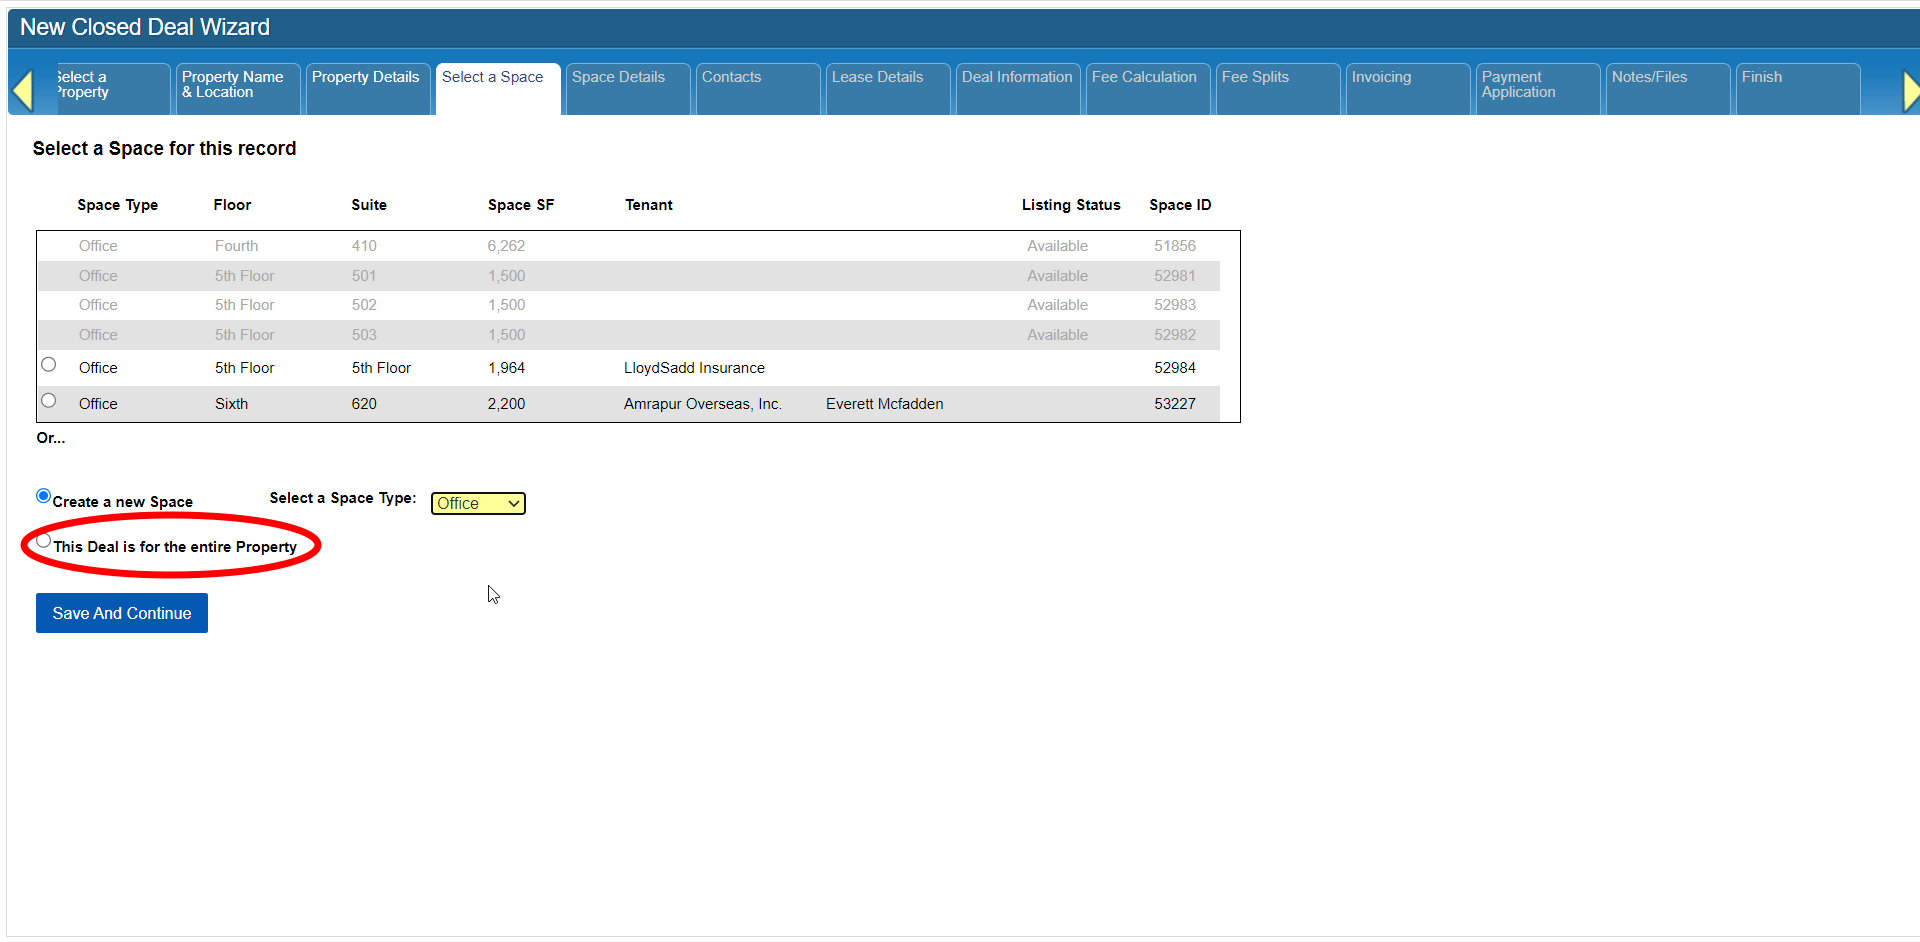
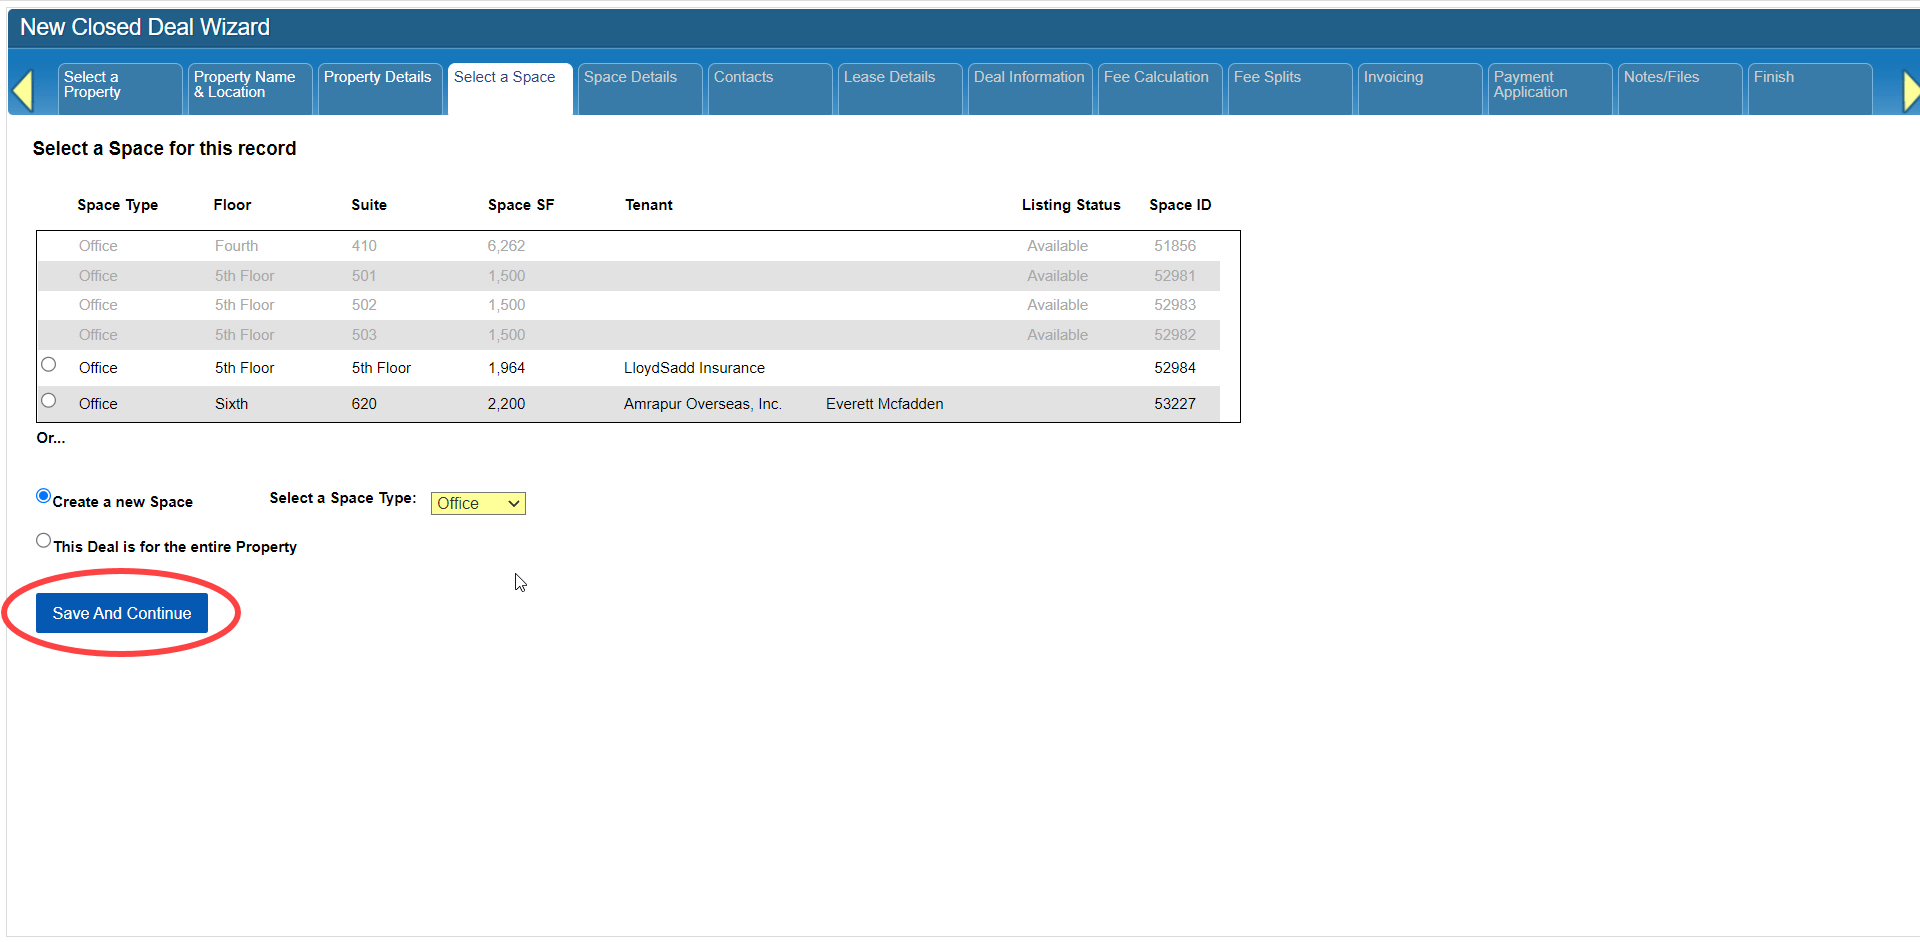
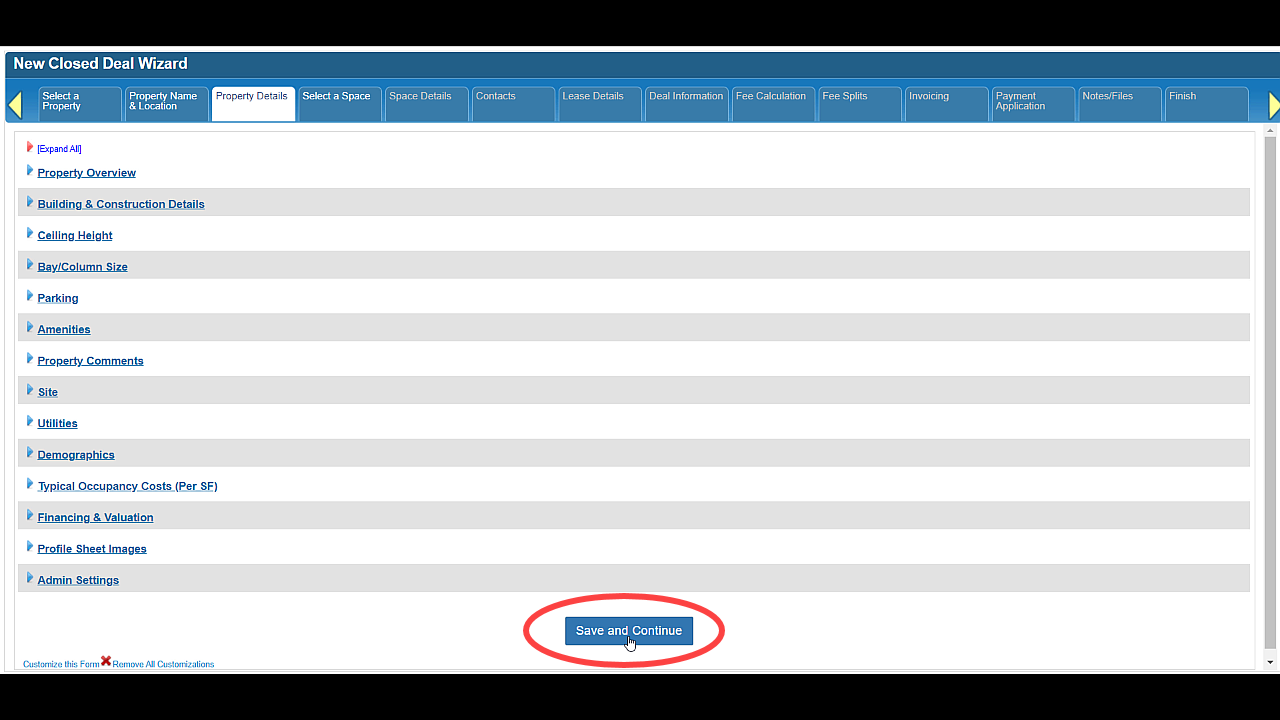
Click on Save and Continue to move on to the next step.
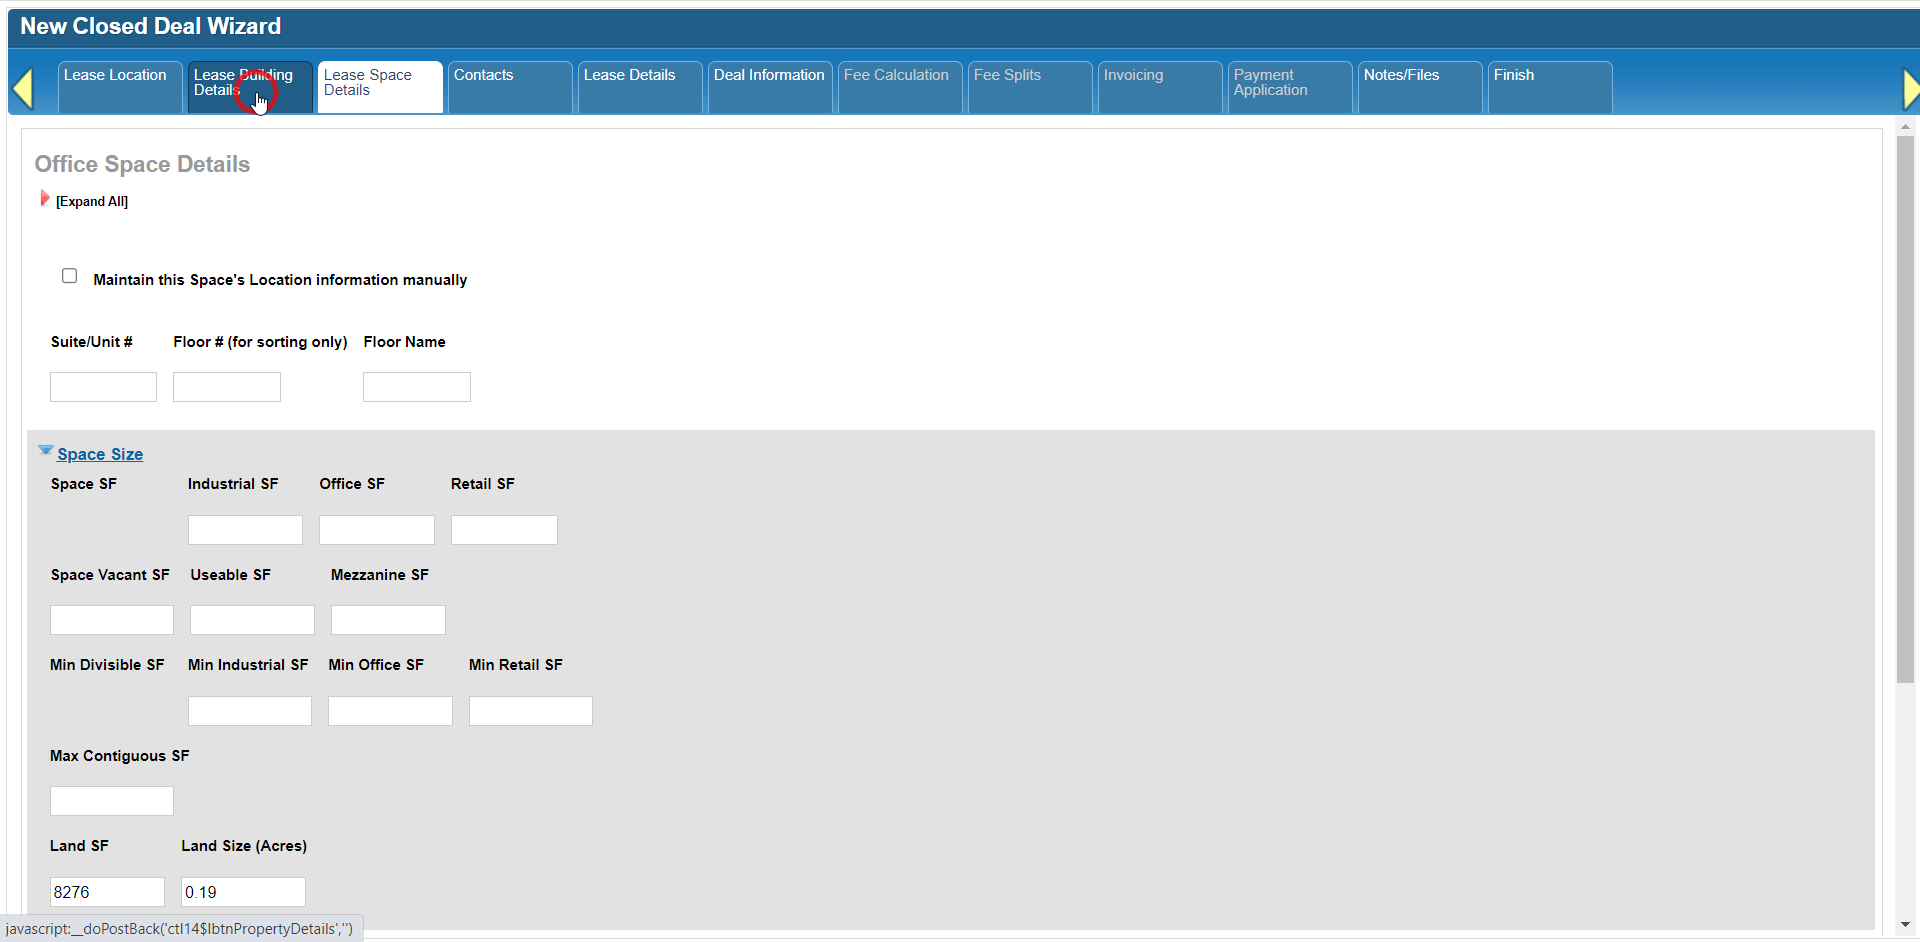
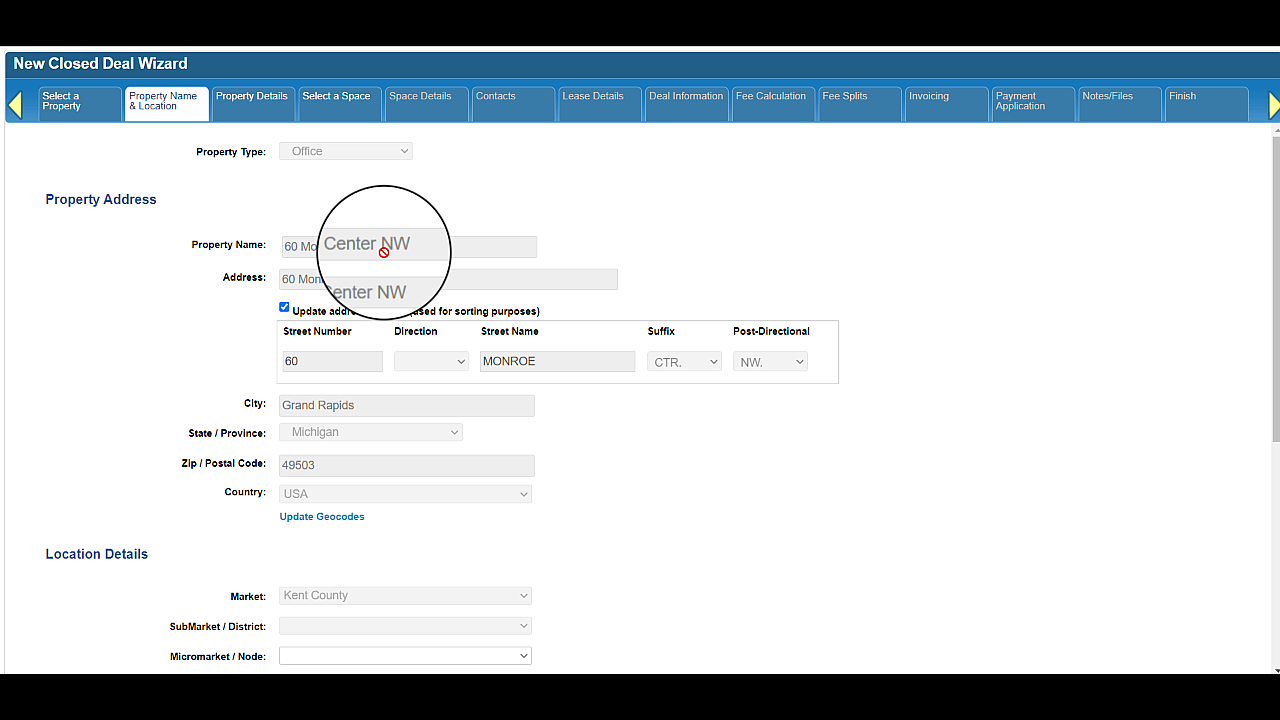
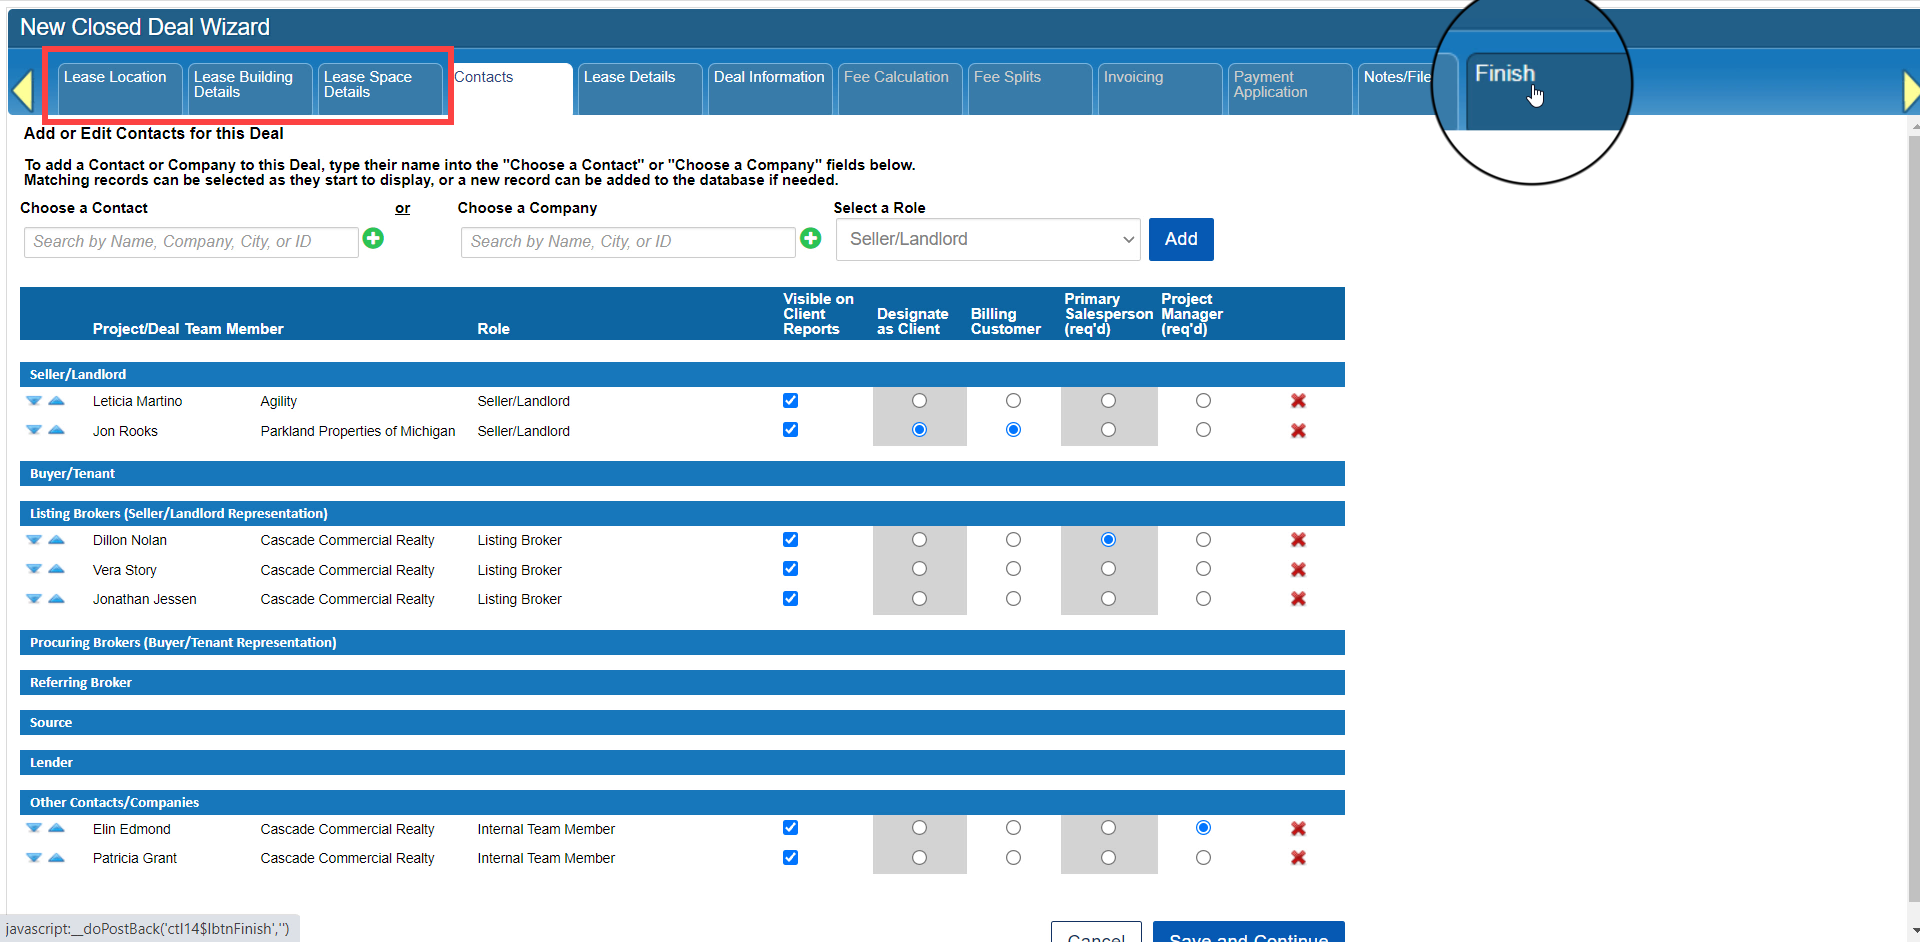
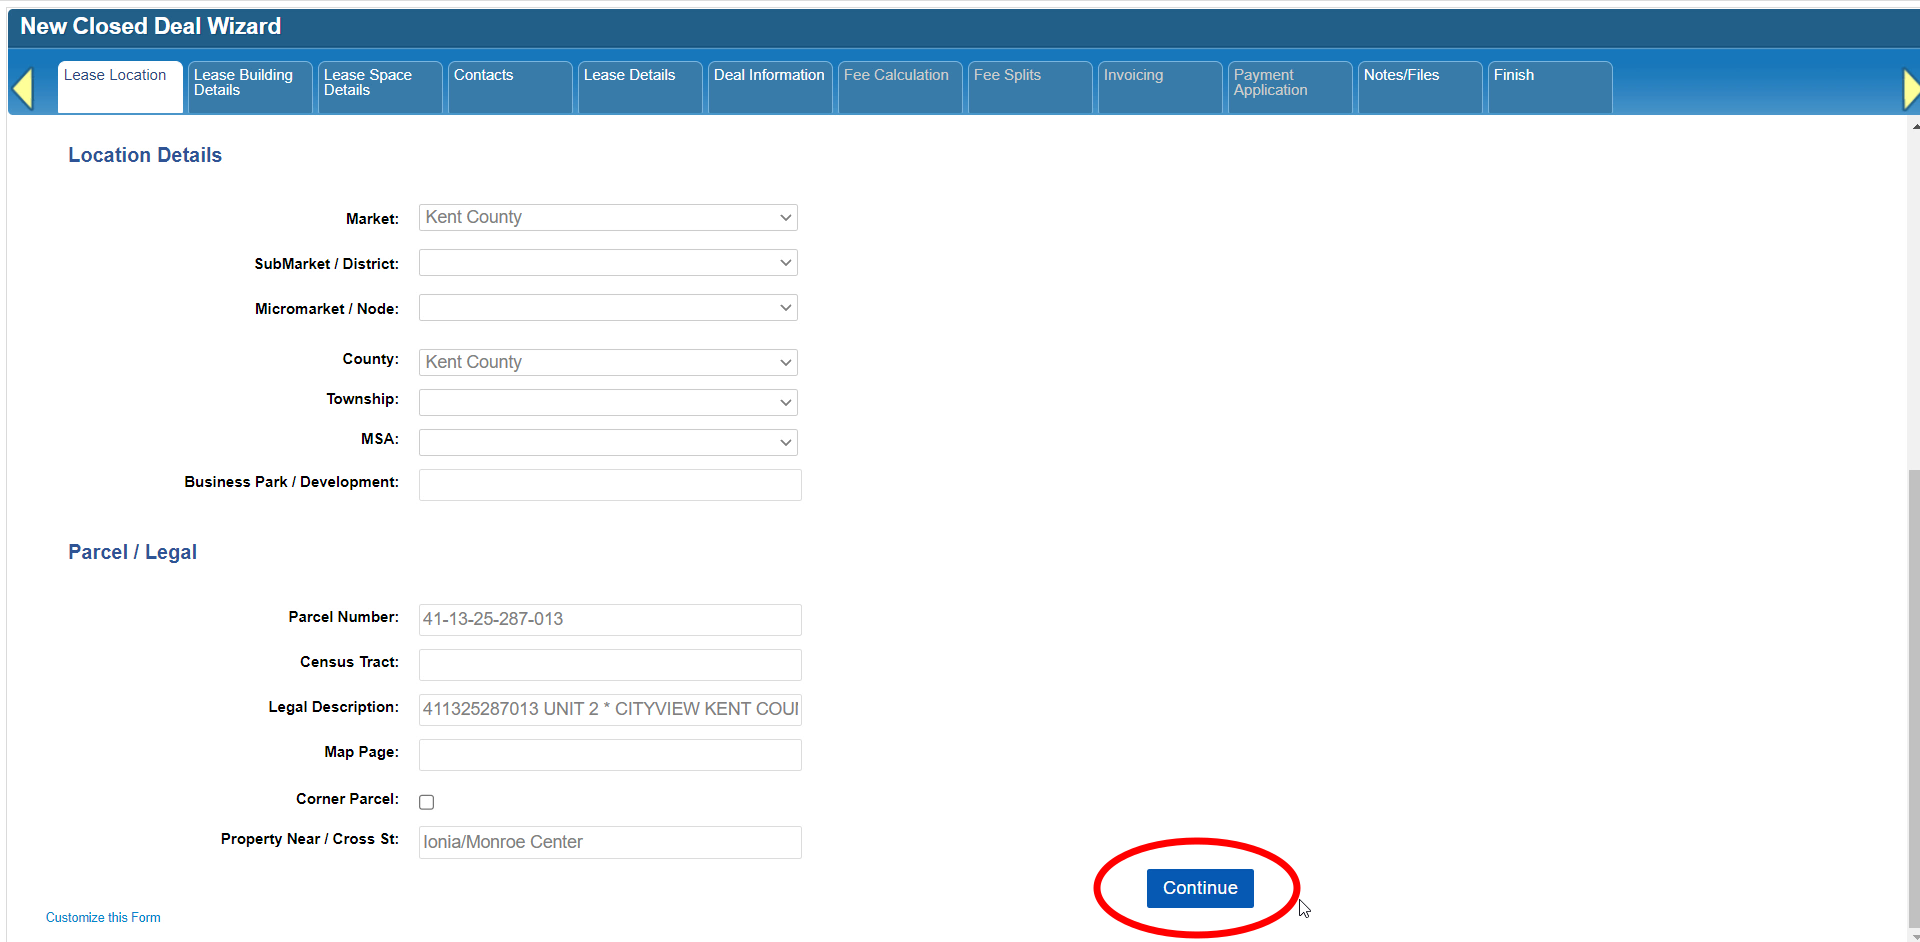
You’ll notice that the tabs at the top up to this point change to Lease Location, Lease Building Details, and Lease Space Details, and you can no longer go back and select a different Space or Property for this Deal. That’s because the system has created a snapshot of the Property and Space, which is now permanently linked to this Deal.
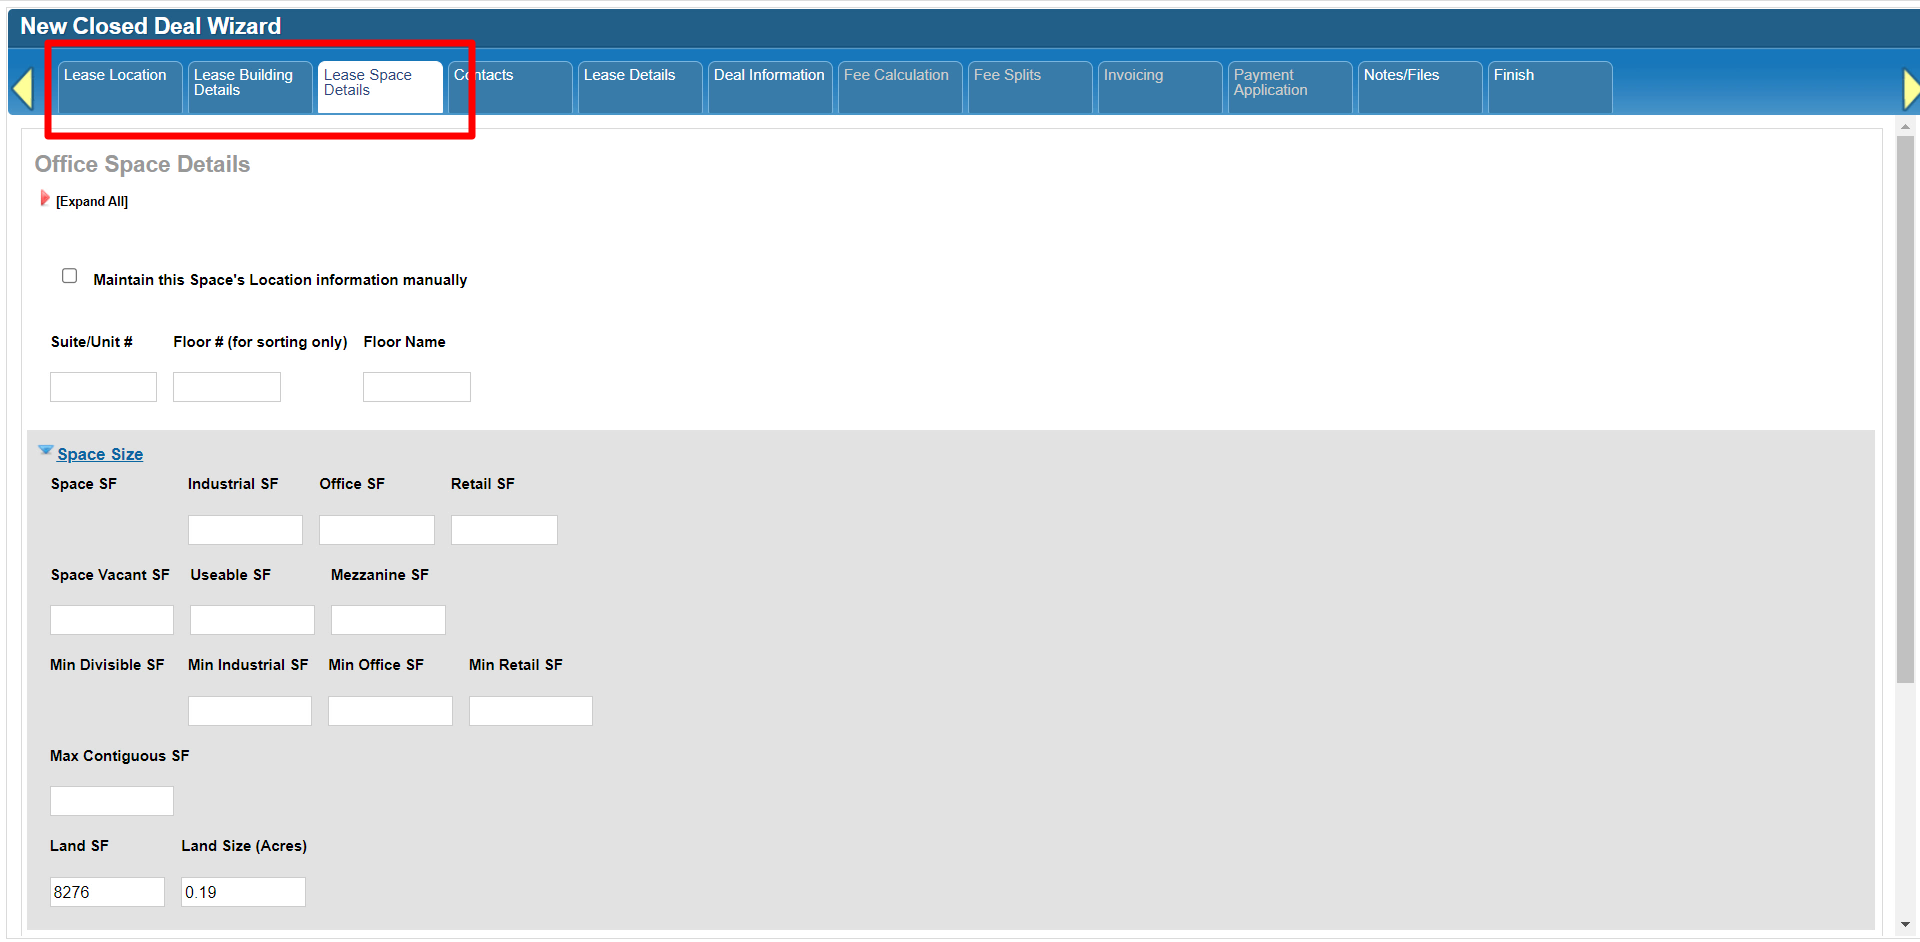
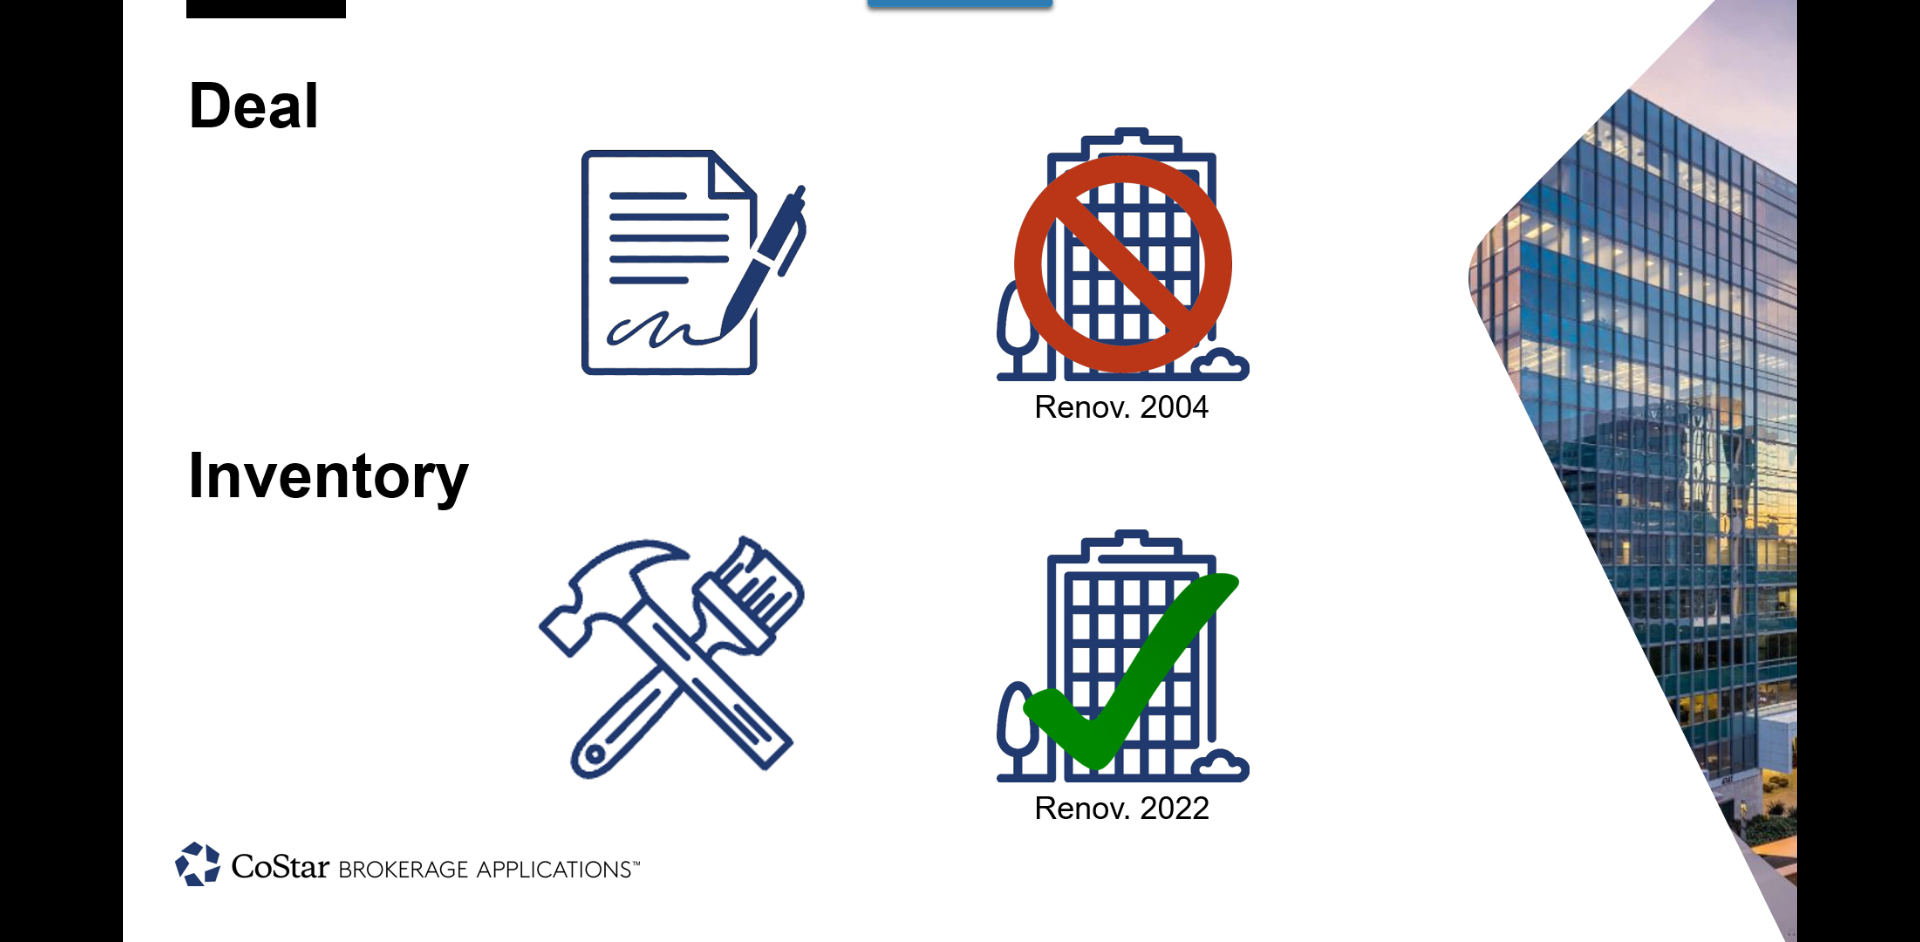
So, what is a snapshot and why is it important for Lease and Sale Comps? A snapshot is a separate copy of the Property and Space you just selected for this Deal, with all of their associated attributes, as of this moment. The system will keep those copies with this Deal and allow the original (or “Inventory”) records to continue to reflect the most up to date information, even as it changes over time.
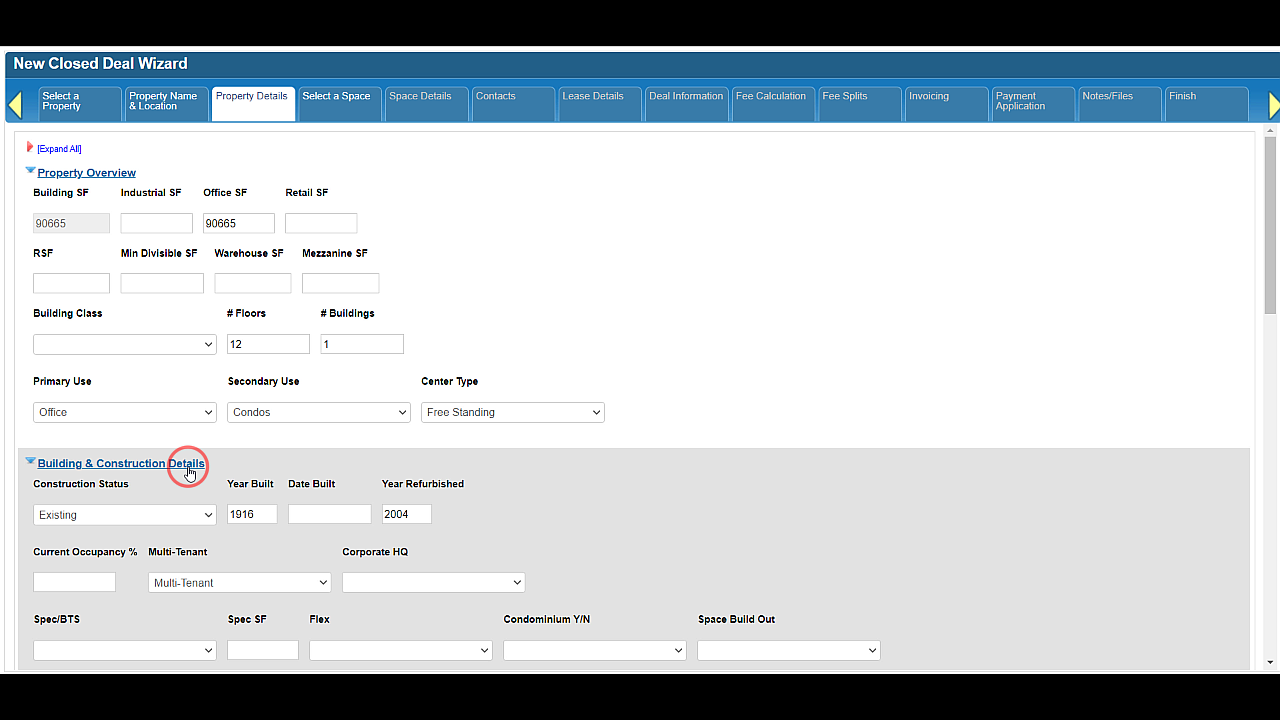
For example, this lease deal represents a lease for office space in a building that was last renovated in 2004. The owner of the building has plans for a significant upgrade to the lobby, with a complete renovation, as well as the addition of a café and several other new amenities. Construction is scheduled to be completed next year, at which time you will change the property details in CoStar Brokerage Applications to reflect the updates to the building. However, you don’t want those changes to affect the Property and Space details for this or other past deals, so the snapshot allows you to keep track of those attributes separately.
You can still click back to those tabs if you need to adjust the Property or Space attributes for this Deal. Those adjustments just won’t be reflected on the original Property or Space anymore. In the next tutorials, we will talk about how the original Property or Space will still be updated to reflect the new lease and tenancy information.
Click here to go to the next tutorial.
Related articles
- How to create a new Closed Deal: Part 2 - New Closed Deal Modal
- How to create a new Closed Deal: Part 3 - Workflow Navigation
- How to create a new Closed Deal: Part 4 - Property
- How to create a new Closed Deal: Part 5 - Space
- How to create a new Closed Deal: Part 6 - Contacts
- How to create a new Closed Deal: Part 7 - Lease Details
- How to create a new Closed Deal: Part 8 - Deal Information
- How to create a new Closed Deal: Part 9 - Fee Calculation
- How to create a new Closed Deal: Part 10 - Fee Splits
- How to create a new Closed Deal: Part 11 - Invoicing
- How to create a new Closed Deal: Part 12 - Payments
- How to create a new Closed Deal: Part 13 - Notes/Files
- How to create a new Closed Deal: Part 14 - Link Project
- How to create a new Closed Deal: Part 15 - Deal Share
- How to create a new Closed Deal: Part 16 - Billing Schedule
- How to create a new Closed Deal: Part 17 - Net Adjustments
- How to create a new Closed Deal: Part 18 - Annuity Schedule
- How to create a new Closed Deal: Part 19 - Sale Details
- How to create a new Closed Deal: Part 20 - Other Starting Points
© 2023 CoStar Group
Attachments:
 CBA - Entering a Closed Deal - 04 Property (Time 0_02_52;14).png (image/png)
 CBA - Entering a Closed Deal - 04 Property (Time 0_02_44;24).png (image/png)
 CBA - Entering a Closed Deal - 04 Property (Time 0_02_38;22).png (image/png)
 CBA - Entering a Closed Deal - 04 Property (Time 0_02_19;12).png (image/png)
 CBA - Entering a Closed Deal - 04 Property (Time 0_02_12;07).png (image/png)
 CBA - Entering a Closed Deal - 04 Property (Time 0_02_00;11).png (image/png)
 CBA - Entering a Closed Deal - 04 Property (Time 0_01_40;21).png (image/png)
 CBA - Entering a Closed Deal - 04 Property (Time 0_01_37;08).png (image/png)
 CBA - Entering a Closed Deal - 04 Property (Time 0_01_32;17).png (image/png)
 CBA - Entering a Closed Deal - 04 Property (Time 0_01_25;02).png (image/png)
 CBA - Entering a Closed Deal - 04 Property (Time 0_01_14;23).png (image/png)
 CBA - Entering a Closed Deal - 04 Property (Time 0_00_59;14).png (image/png)
 CBA - Entering a Closed Deal - 04 Property (Time 0_00_29;24).png (image/png)
 CBA - Entering a Closed Deal - 04 Property (Time 0_00_19;25).png (image/png)
 CBA - Entering a Closed Deal - 02 New Closed Deal Modal all (Time 0_04_23;06).png (image/png)
 CBA - Entering a Closed Deal - 02 New Closed Deal Modal all (Time 0_04_18;08).png (image/png)
 CBA - Entering a Closed Deal - 02 New Closed Deal Modal all (Time 0_03_50;03).png (image/png)
 CBA - Entering a Closed Deal - 02 New Closed Deal Modal all (Time 0_03_28;13).png (image/png)
 CBA - Entering a Closed Deal - 02 New Closed Deal Modal all (Time 0_03_25;09).png (image/png)
 CBA - Entering a Closed Deal - 02 New Closed Deal Modal all (Time 0_02_59;26).png (image/png)
 CBA - Entering a Closed Deal - 02 New Closed Deal Modal all (Time 0_01_27;23).png (image/png)
 CBA - Entering a Closed Deal - 02 New Closed Deal Modal all (Time 0_02_30;26).png (image/png)
 CBA - Entering a Closed Deal - 02 New Closed Deal Modal all (Time 0_02_47;26).png (image/png)
 CBA - Entering a Closed Deal - 02 New Closed Deal Modal all (Time 0_02_43;16).png (image/png)
 CBA - Entering a Closed Deal - 02 New Closed Deal Modal all (Time 0_02_35;01).png (image/png)
 CBA - Entering a Closed Deal - 02 New Closed Deal Modal all (Time 0_02_02;26).png (image/png)
 CBA - Entering a Closed Deal - 02 New Closed Deal Modal all (Time 0_01_54;08).png (image/png)
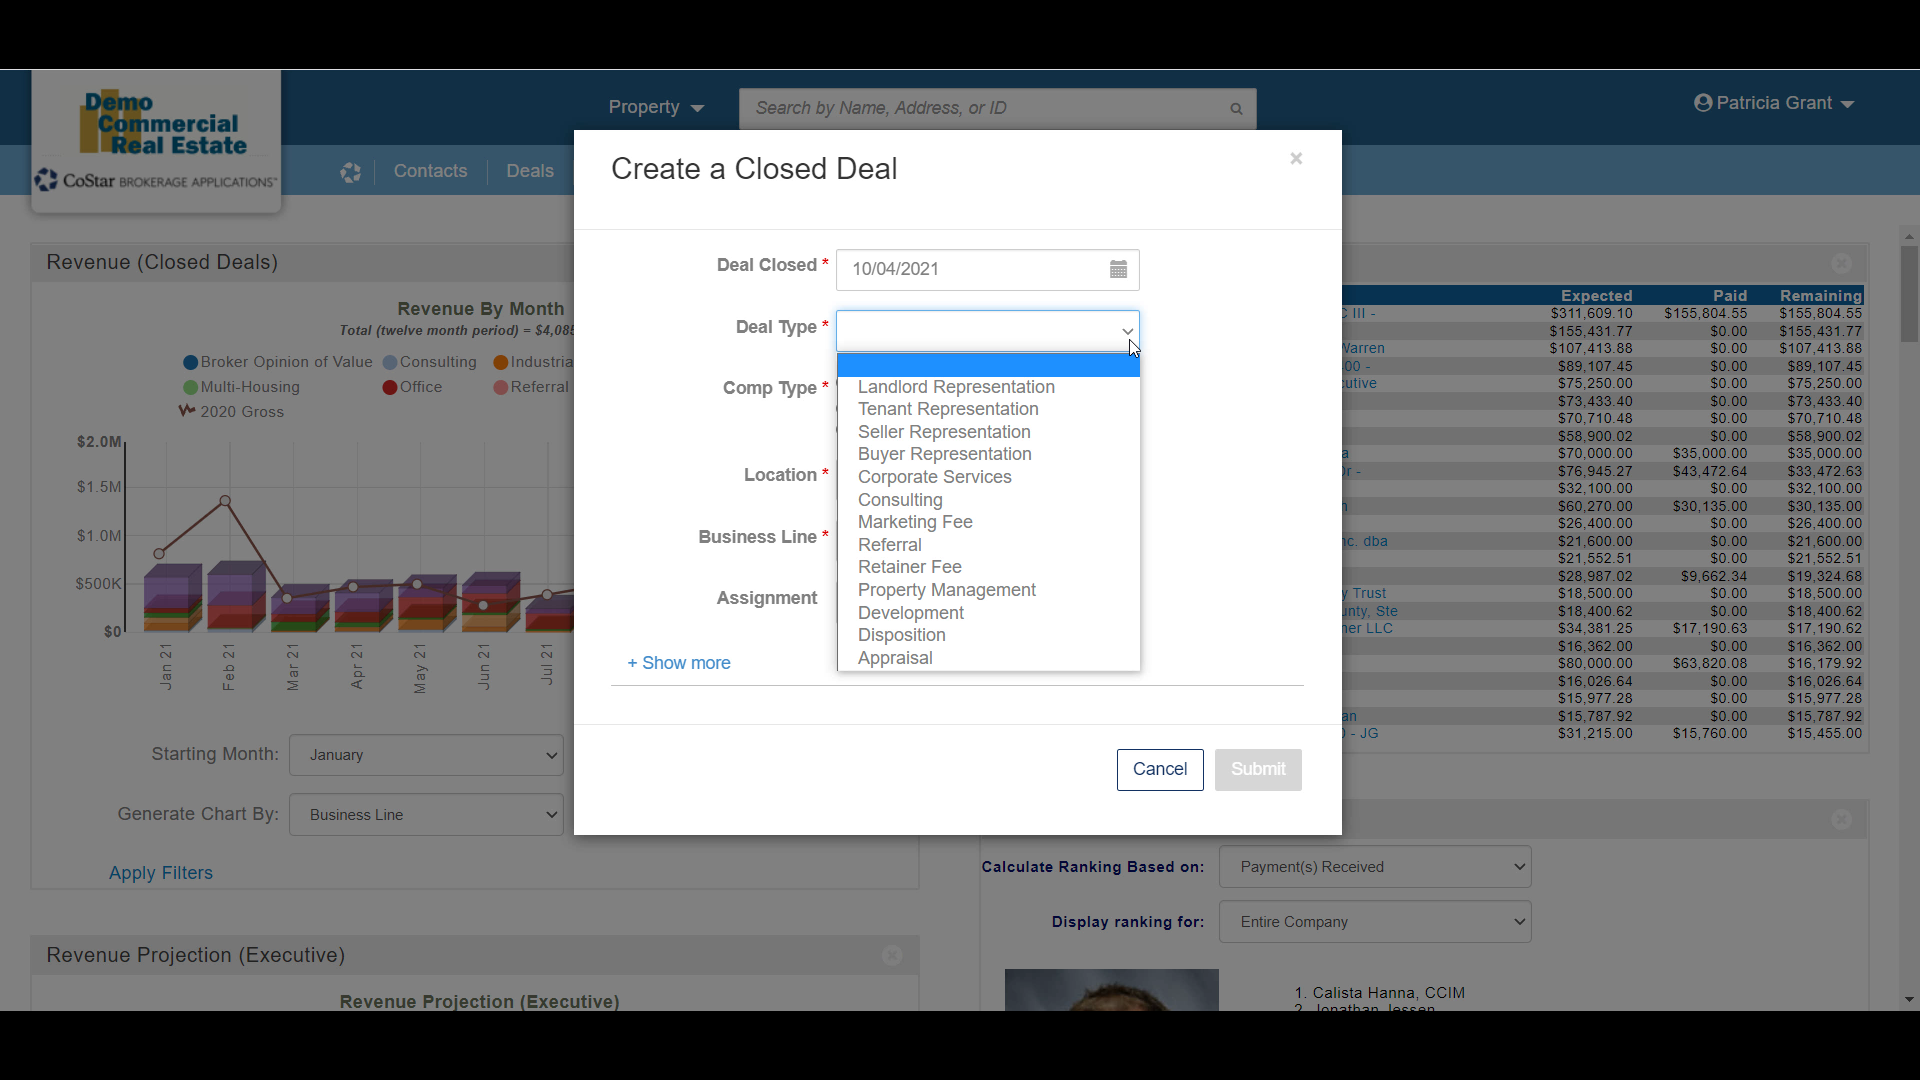 CBA - Entering a Closed Deal - 02 New Closed Deal Modal all (Time 0_01_44;04).png (image/png)
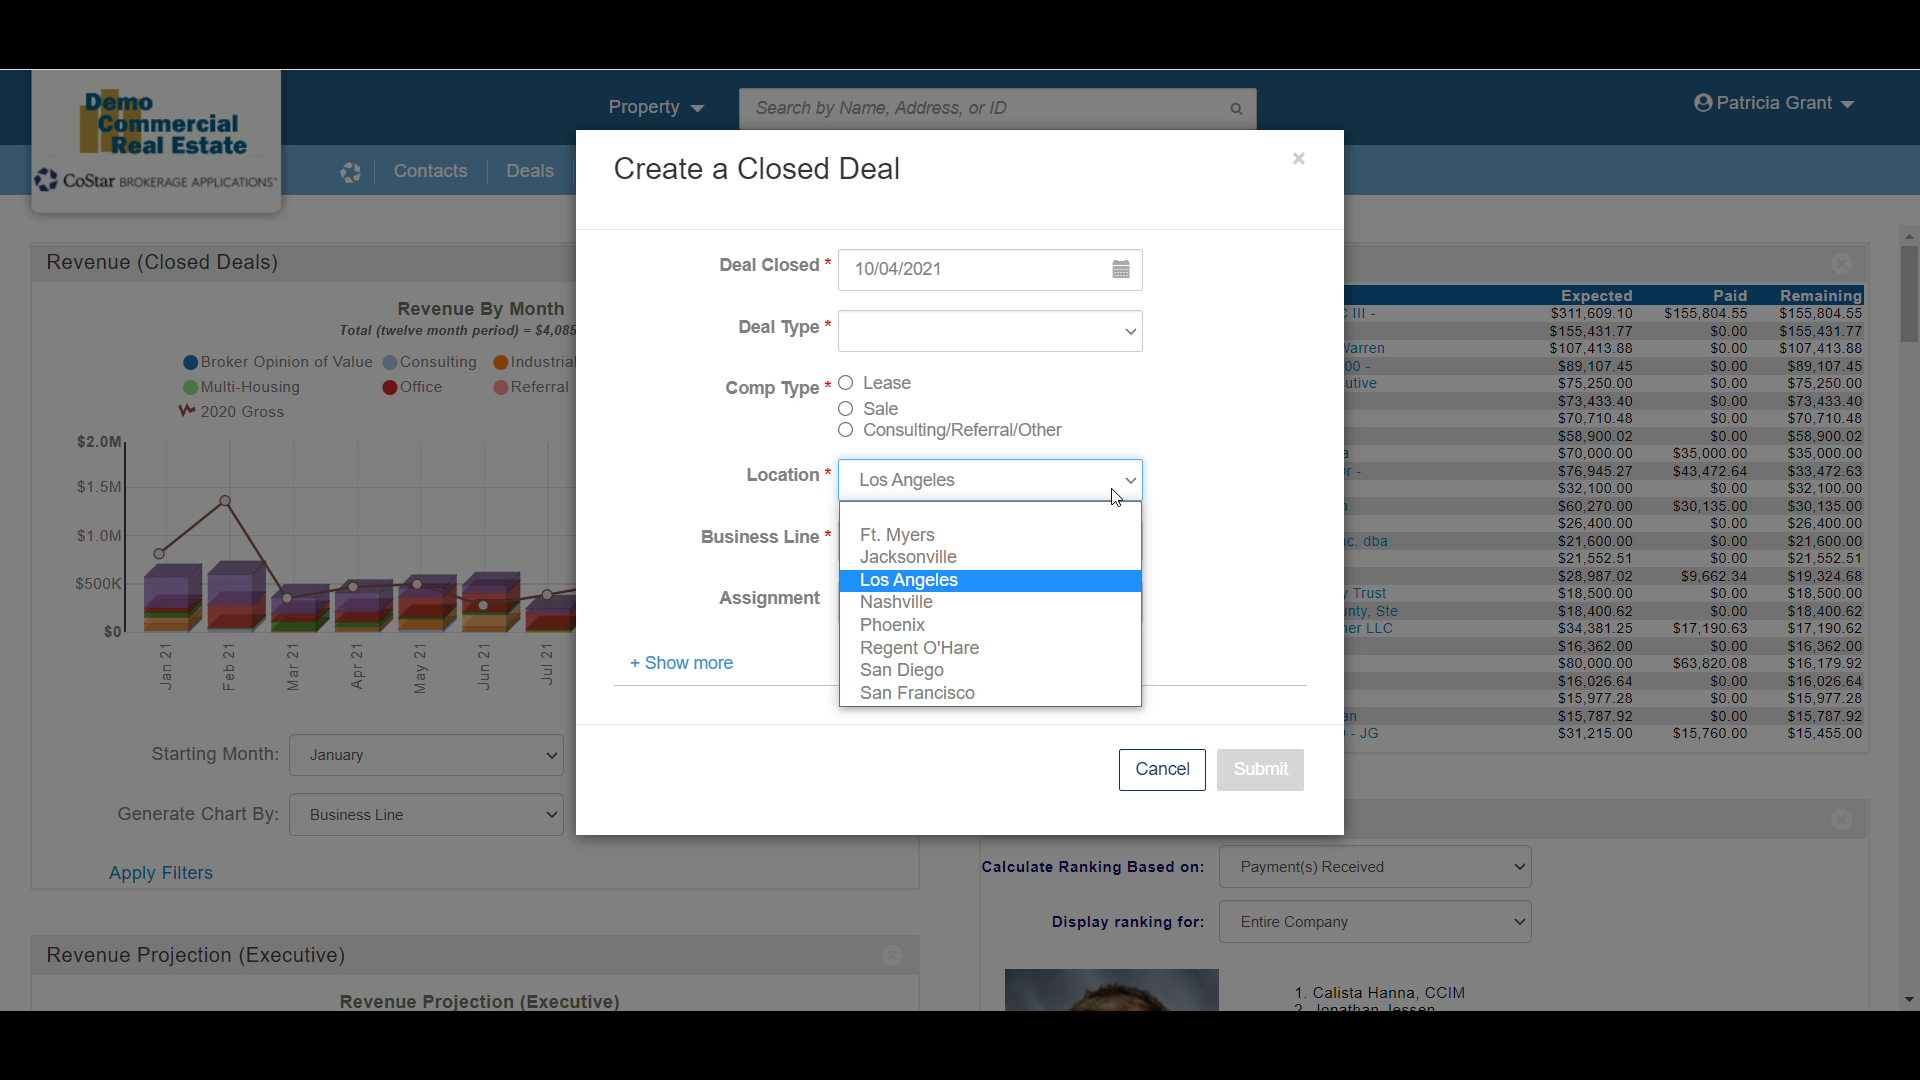 CBA - Entering a Closed Deal - 02 New Closed Deal Modal all (Time 0_01_09;13).png (image/png)
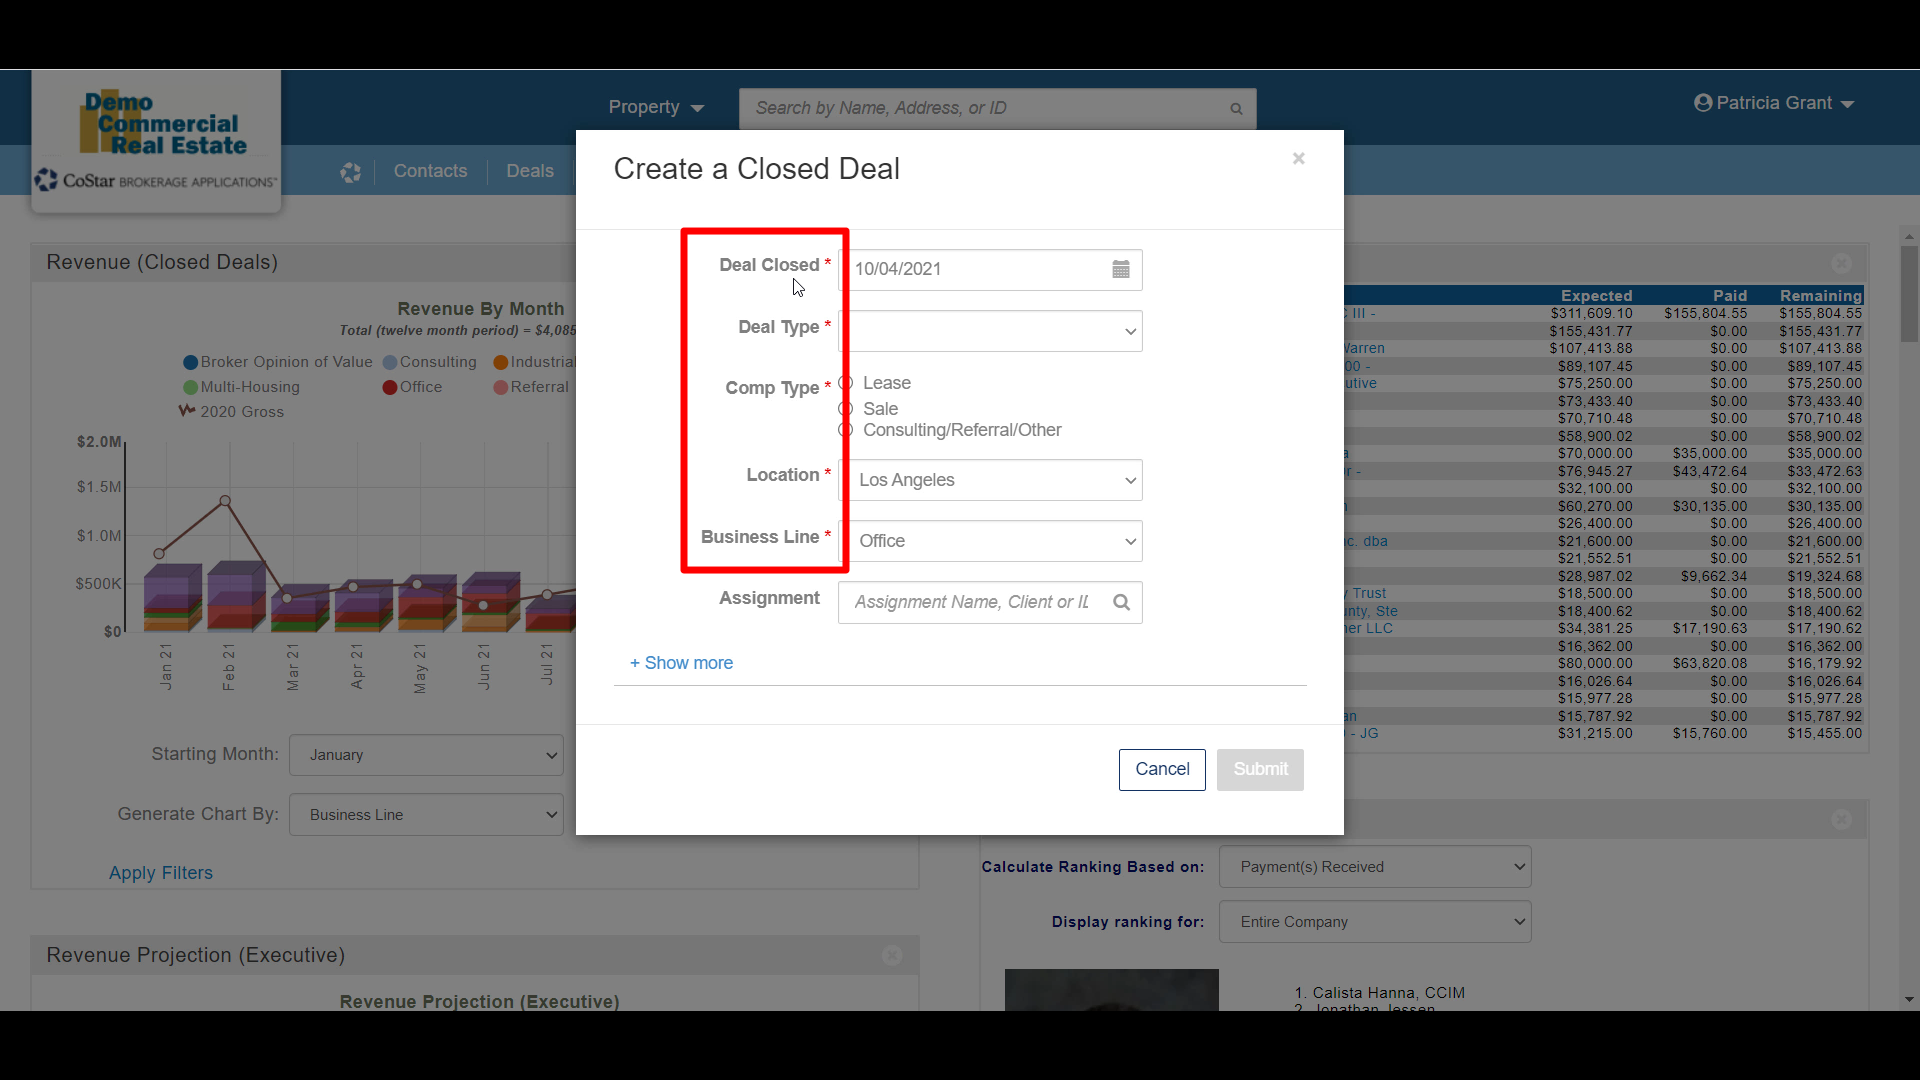 CBA - Entering a Closed Deal - 02 New Closed Deal Modal all (Time 0_00_31;29).png (image/png)
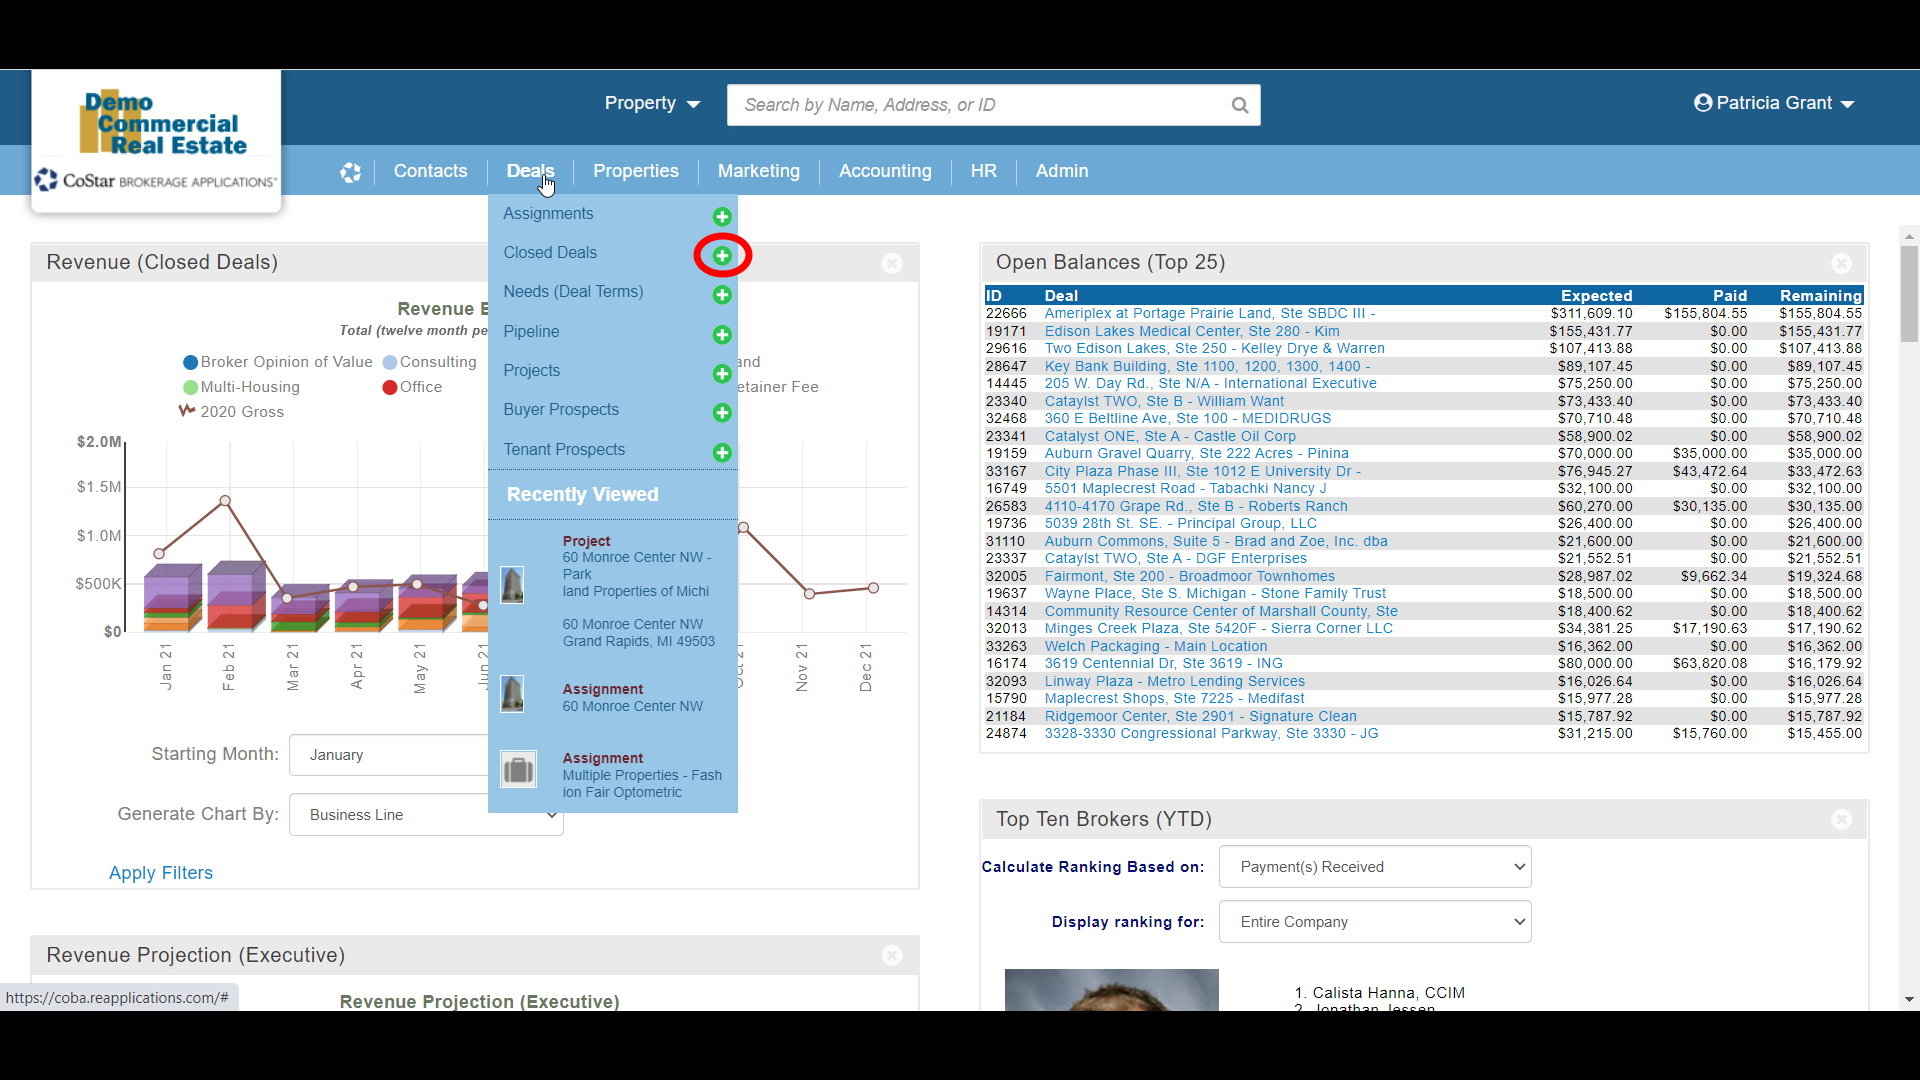 CBA - Entering a Closed Deal - 03 Workflow Navigation (Time 0_00_23;29).png (image/png)
 CBA - Entering a Closed Deal - 03 Workflow Navigation (Time 0_00_37;04).png (image/png)
 CBA - Entering a Closed Deal - 03 Workflow Navigation (Time 0_00_48;01).png (image/png)
 CBA - Entering a Closed Deal - 03 Workflow Navigation (Time 0_01_01;06).png (image/png)
 CBA - Entering a Closed Deal - 03 Workflow Navigation (Time 0_01_27;28).png (image/png)
 CBA - Entering a Closed Deal - 05 Space (Time 0_00_21;08).png (image/png)
CBA - Entering a Closed Deal - 05 Space (Time 0_00_26;10).png (image/png)
CBA - Entering a Closed Deal - 05 Space (Time 0_00_30;17).png (image/png)
CBA - Entering a Closed Deal - 05 Space (Time 0_00_42;06).png (image/png)
CBA - Entering a Closed Deal - 05 Space (Time 0_01_00;08).png (image/png)
CBA - Entering a Closed Deal - 05 Space (Time 0_01_04;25).png (image/png)
CBA - Entering a Closed Deal - 05 Space (Time 0_00_21;08).png (image/png)
CBA - Entering a Closed Deal - 05 Space (Time 0_00_26;10).png (image/png)
CBA - Entering a Closed Deal - 05 Space (Time 0_00_30;17).png (image/png)
CBA - Entering a Closed Deal - 05 Space (Time 0_00_42;06).png (image/png)
CBA - Entering a Closed Deal - 05 Space (Time 0_01_00;08).png (image/png)
CBA - Entering a Closed Deal - 05 Space (Time 0_01_04;25).png (image/png)
 CBA - Entering a Closed Deal - 05 Space (Time 0_01_04;25).png (image/png)
CBA - Entering a Closed Deal - 05 Space (Time 0_01_11;23).png (image/png)
CBA - Entering a Closed Deal - 05 Space (Time 0_01_24;18).png (image/png)
CBA - Entering a Closed Deal - 05 Space (Time 0_02_43;08).png (image/png)
CBA - Entering a Closed Deal - 05 Space (Time 0_02_48;10).png (image/png)
CBA - Entering a Closed Deal - 05 Space (Time 0_01_04;25).png (image/png)
CBA - Entering a Closed Deal - 05 Space (Time 0_01_11;23).png (image/png)
CBA - Entering a Closed Deal - 05 Space (Time 0_01_24;18).png (image/png)
CBA - Entering a Closed Deal - 05 Space (Time 0_02_43;08).png (image/png)
CBA - Entering a Closed Deal - 05 Space (Time 0_02_48;10).png (image/png)