This tutorial will go over the features of the Deal Information form for this lease.
Instructions
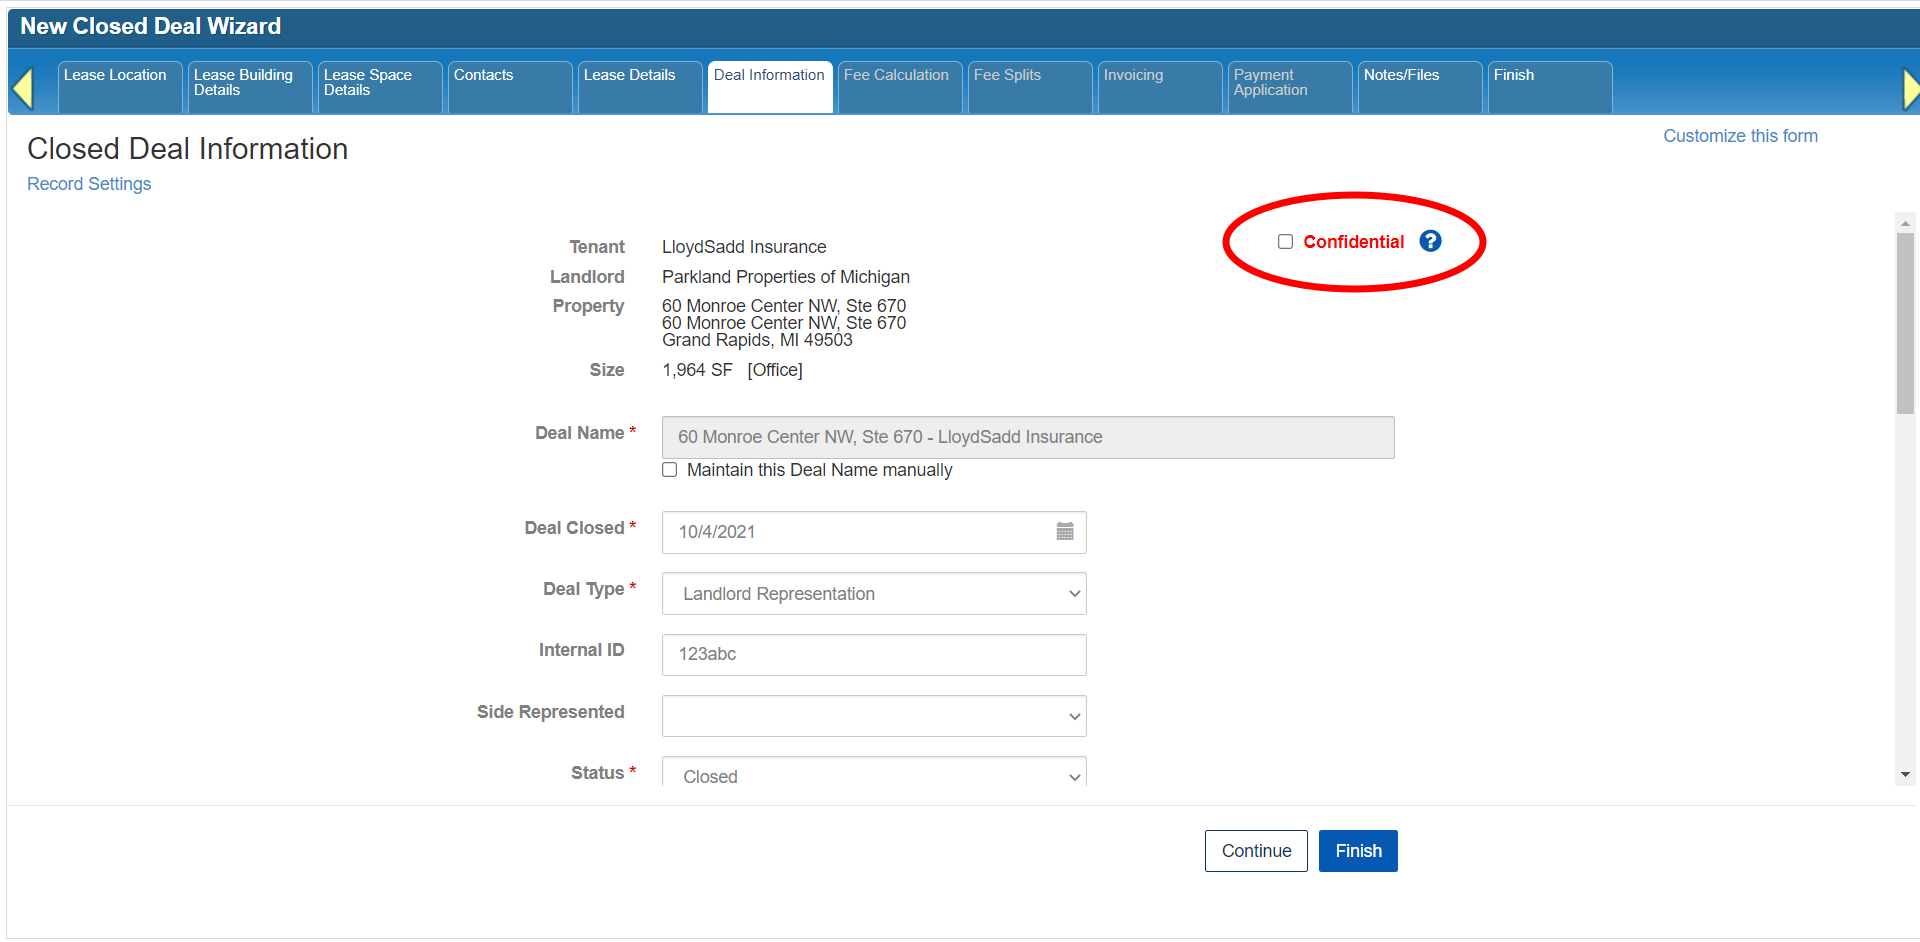
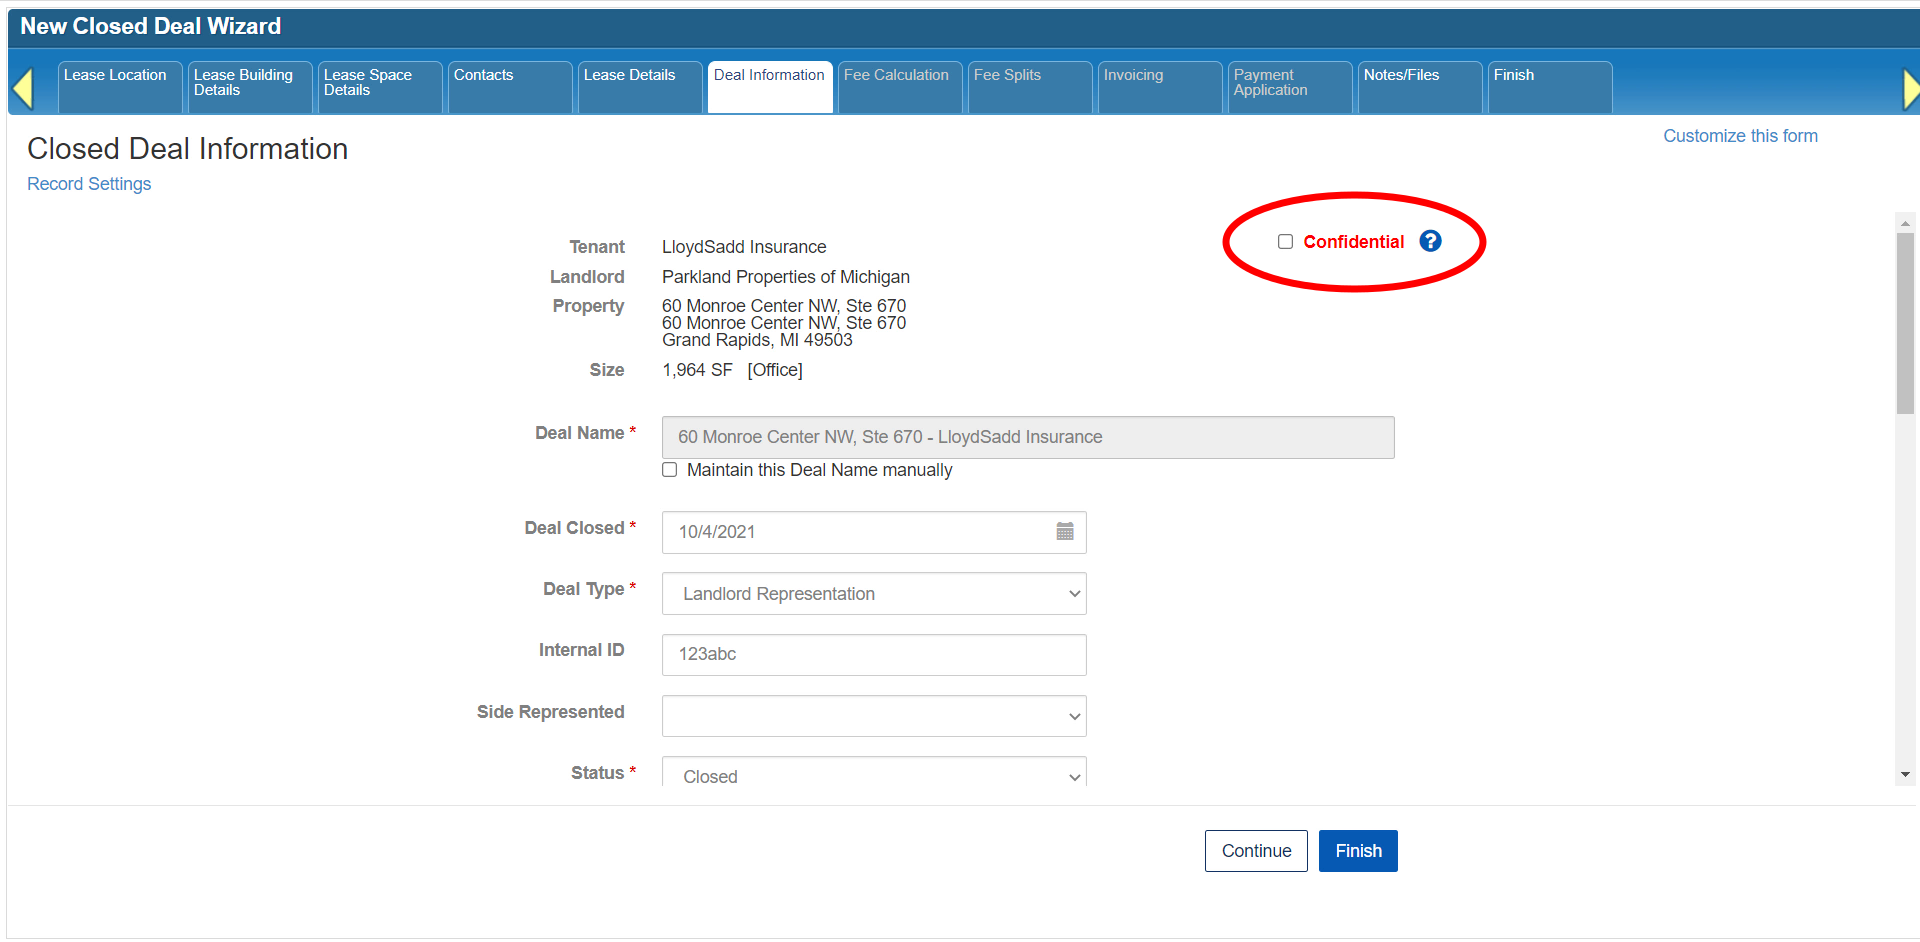
While the Lease Details form encompasses the terms of the lease itself (or, for Sale deals, the terms of the sale), the Deal Information form defines the internal attributes of the deal for your firm.

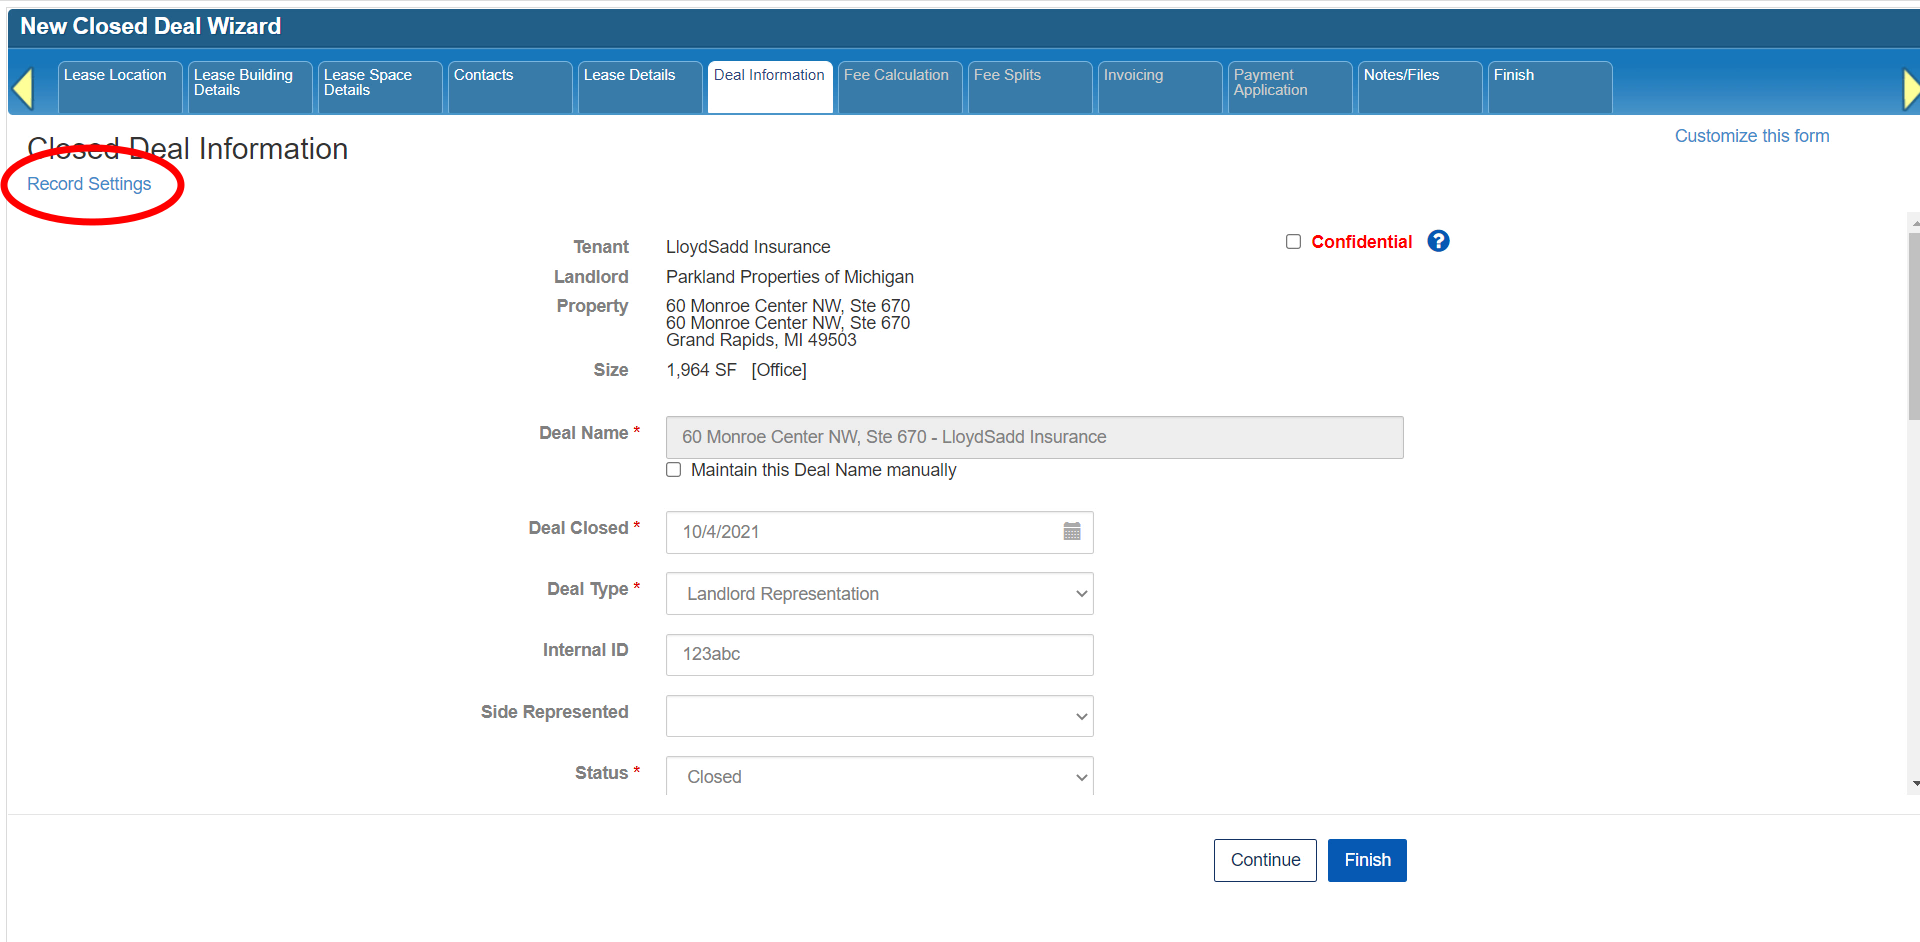
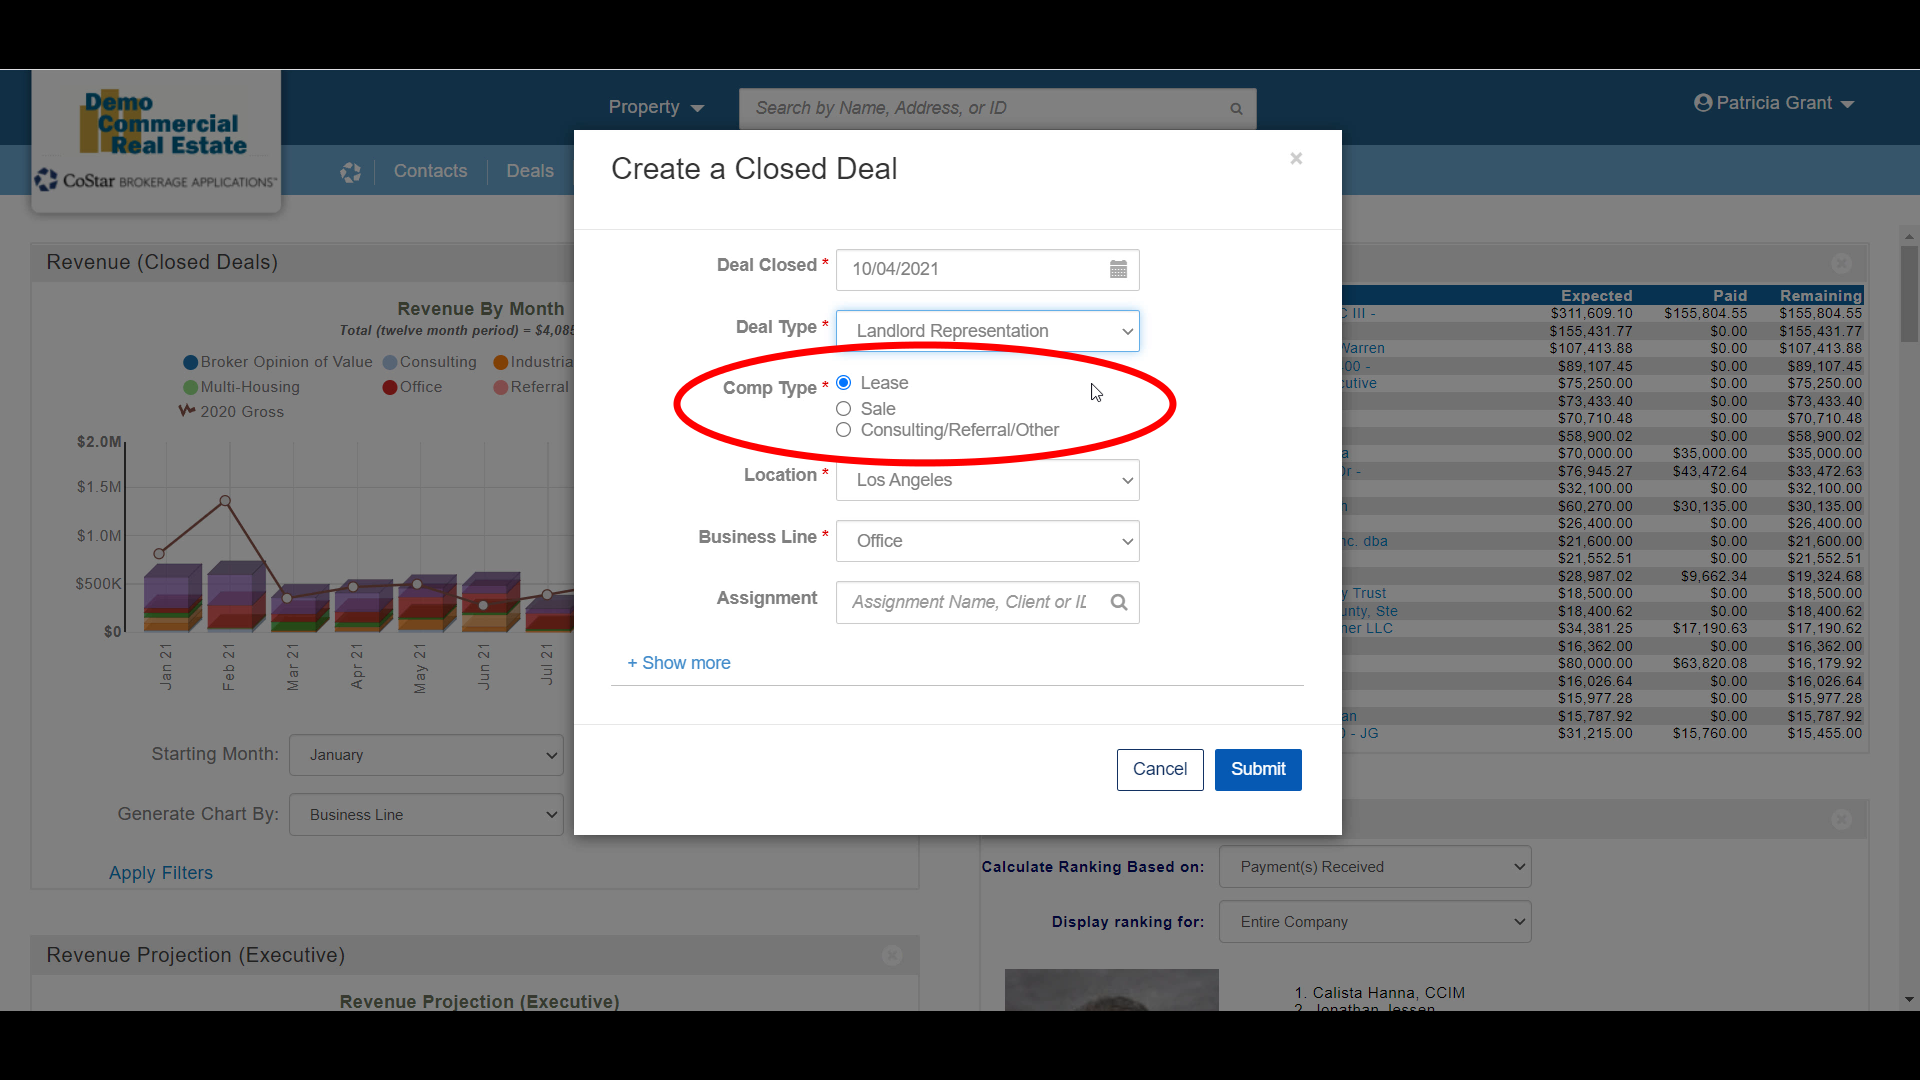
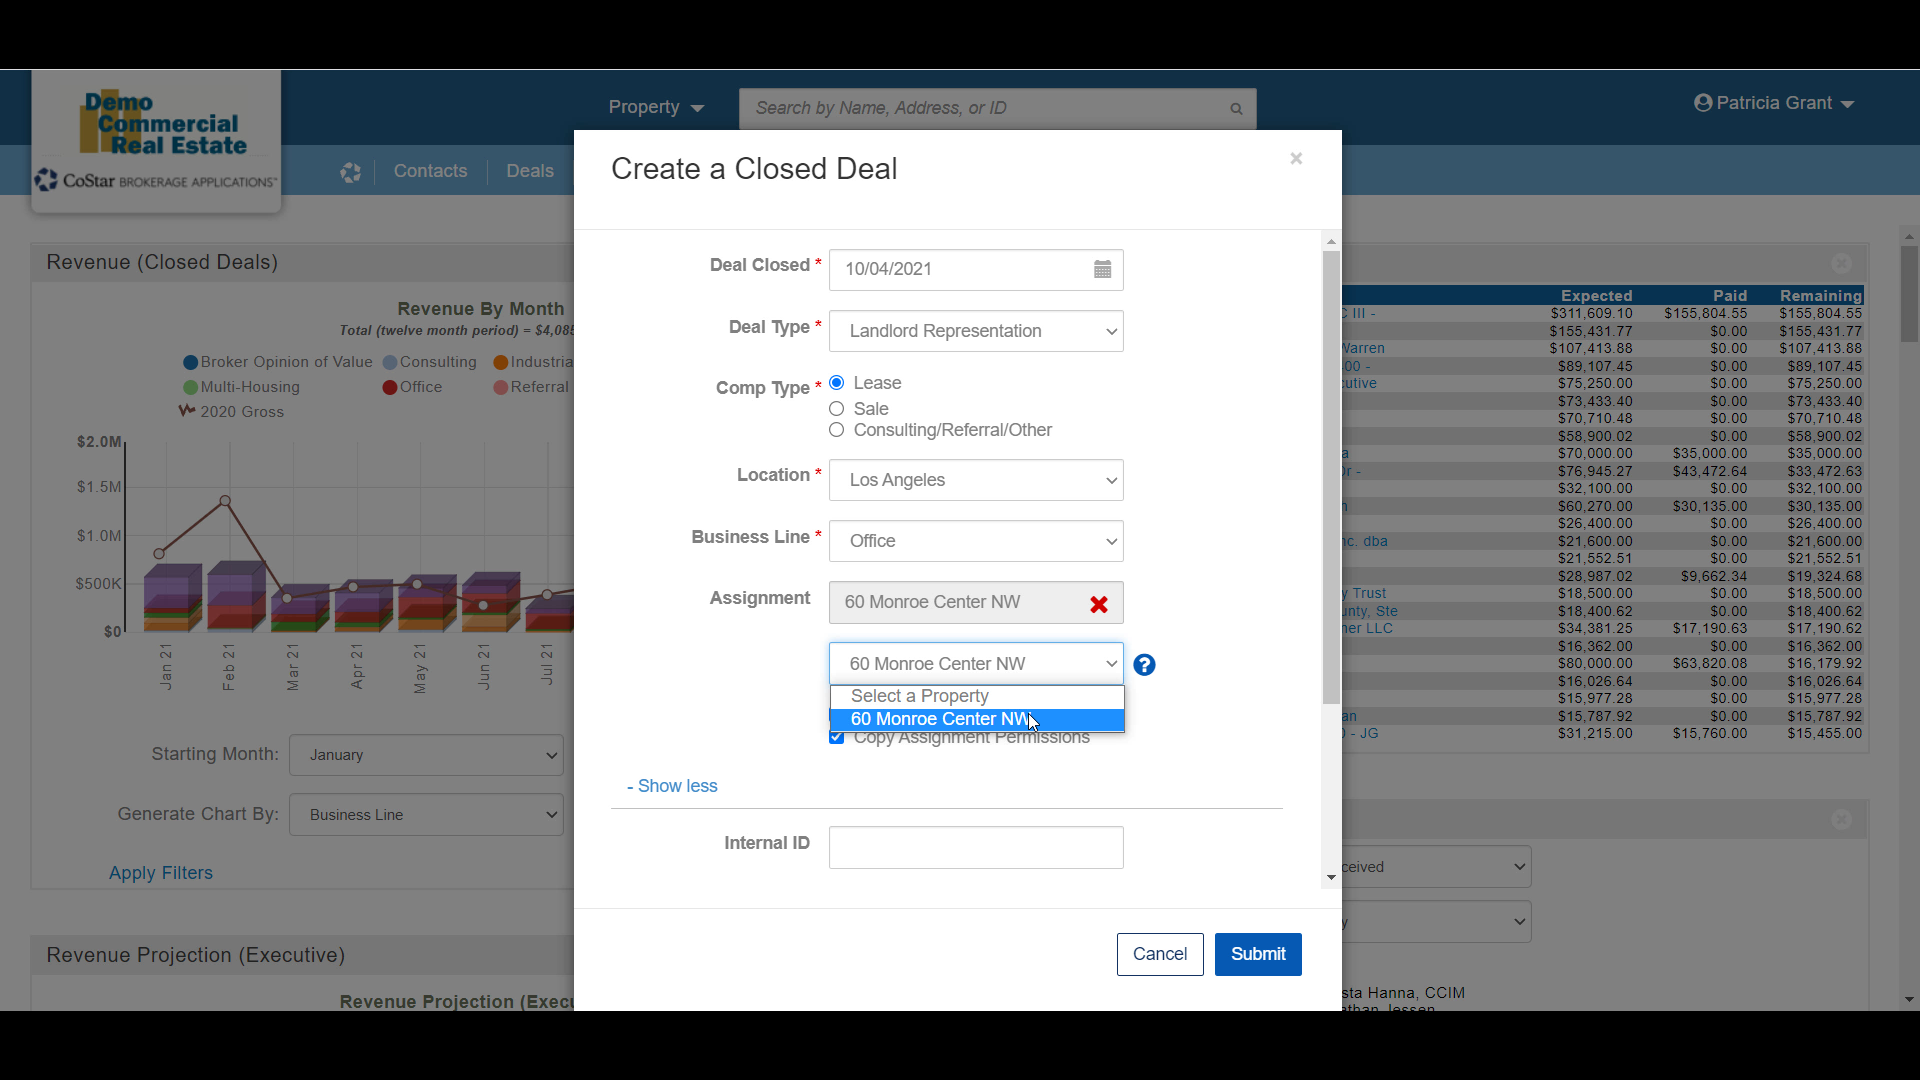
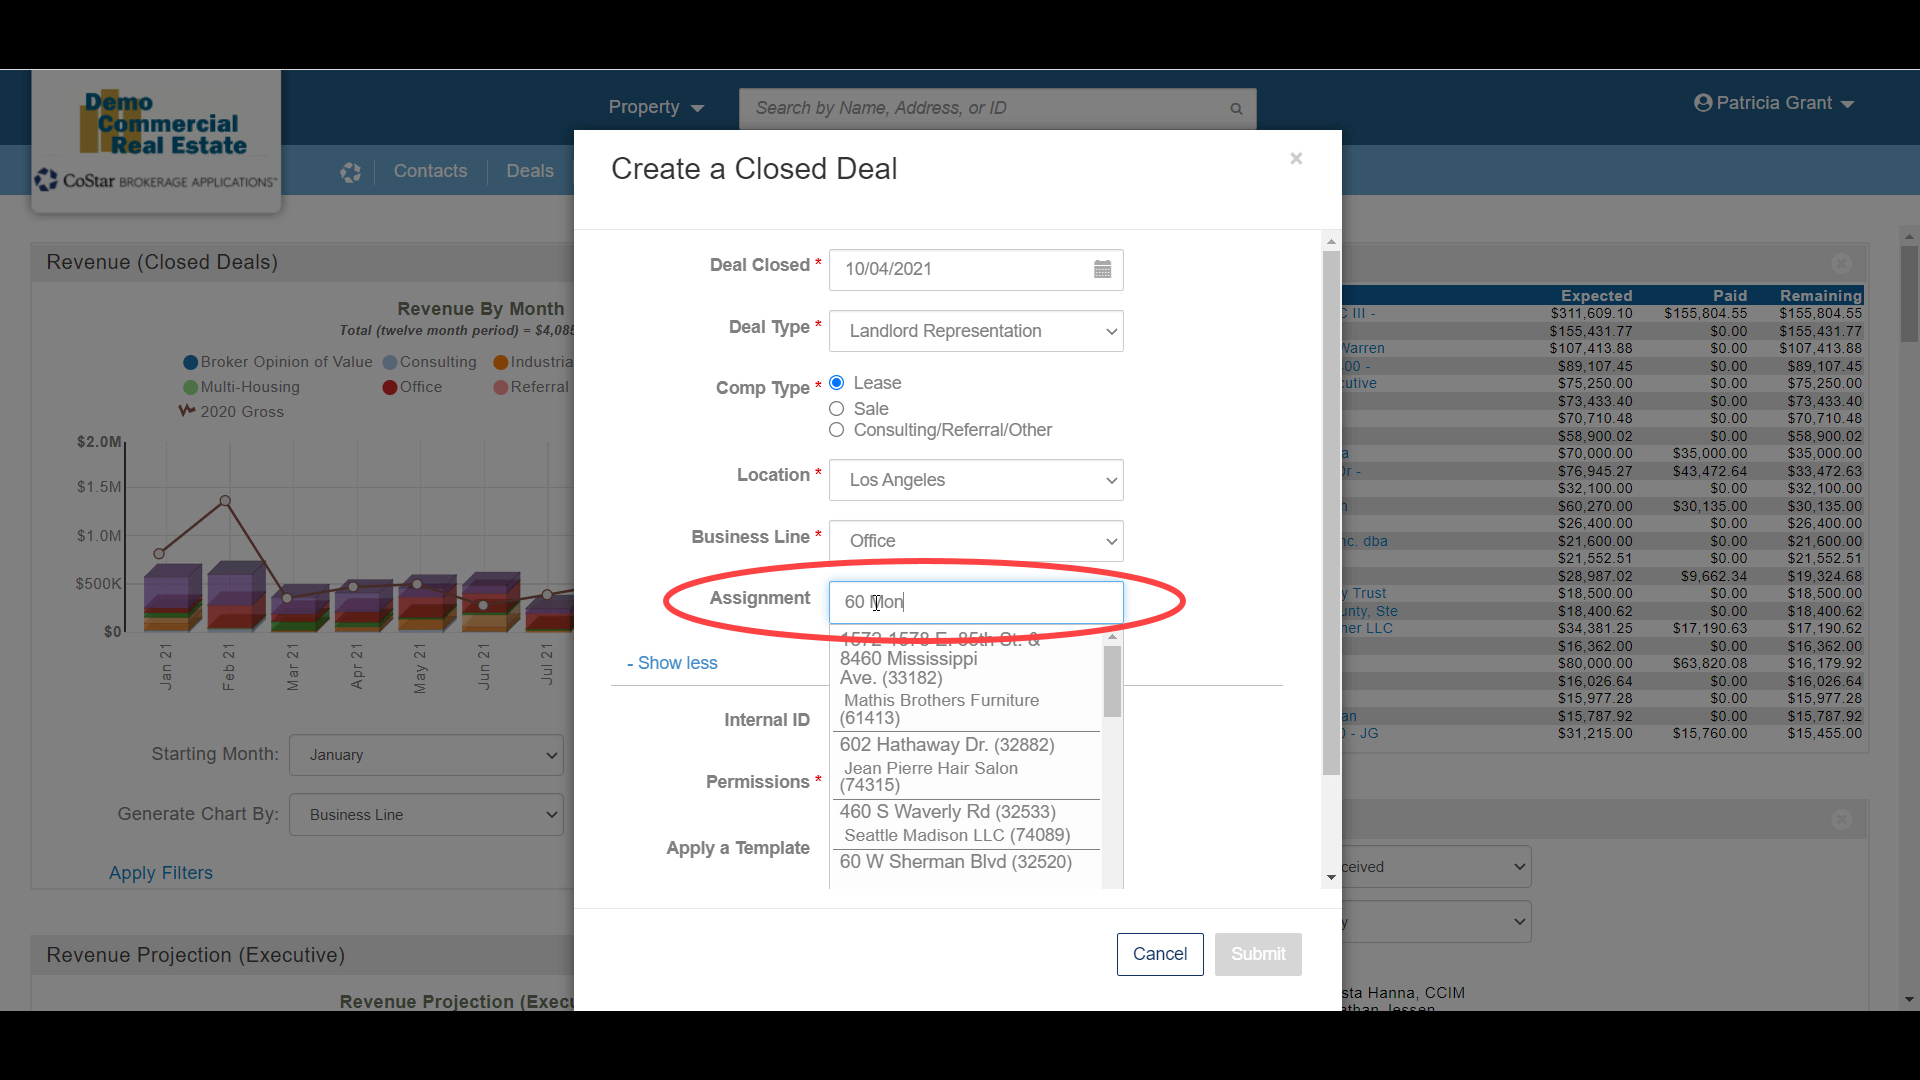
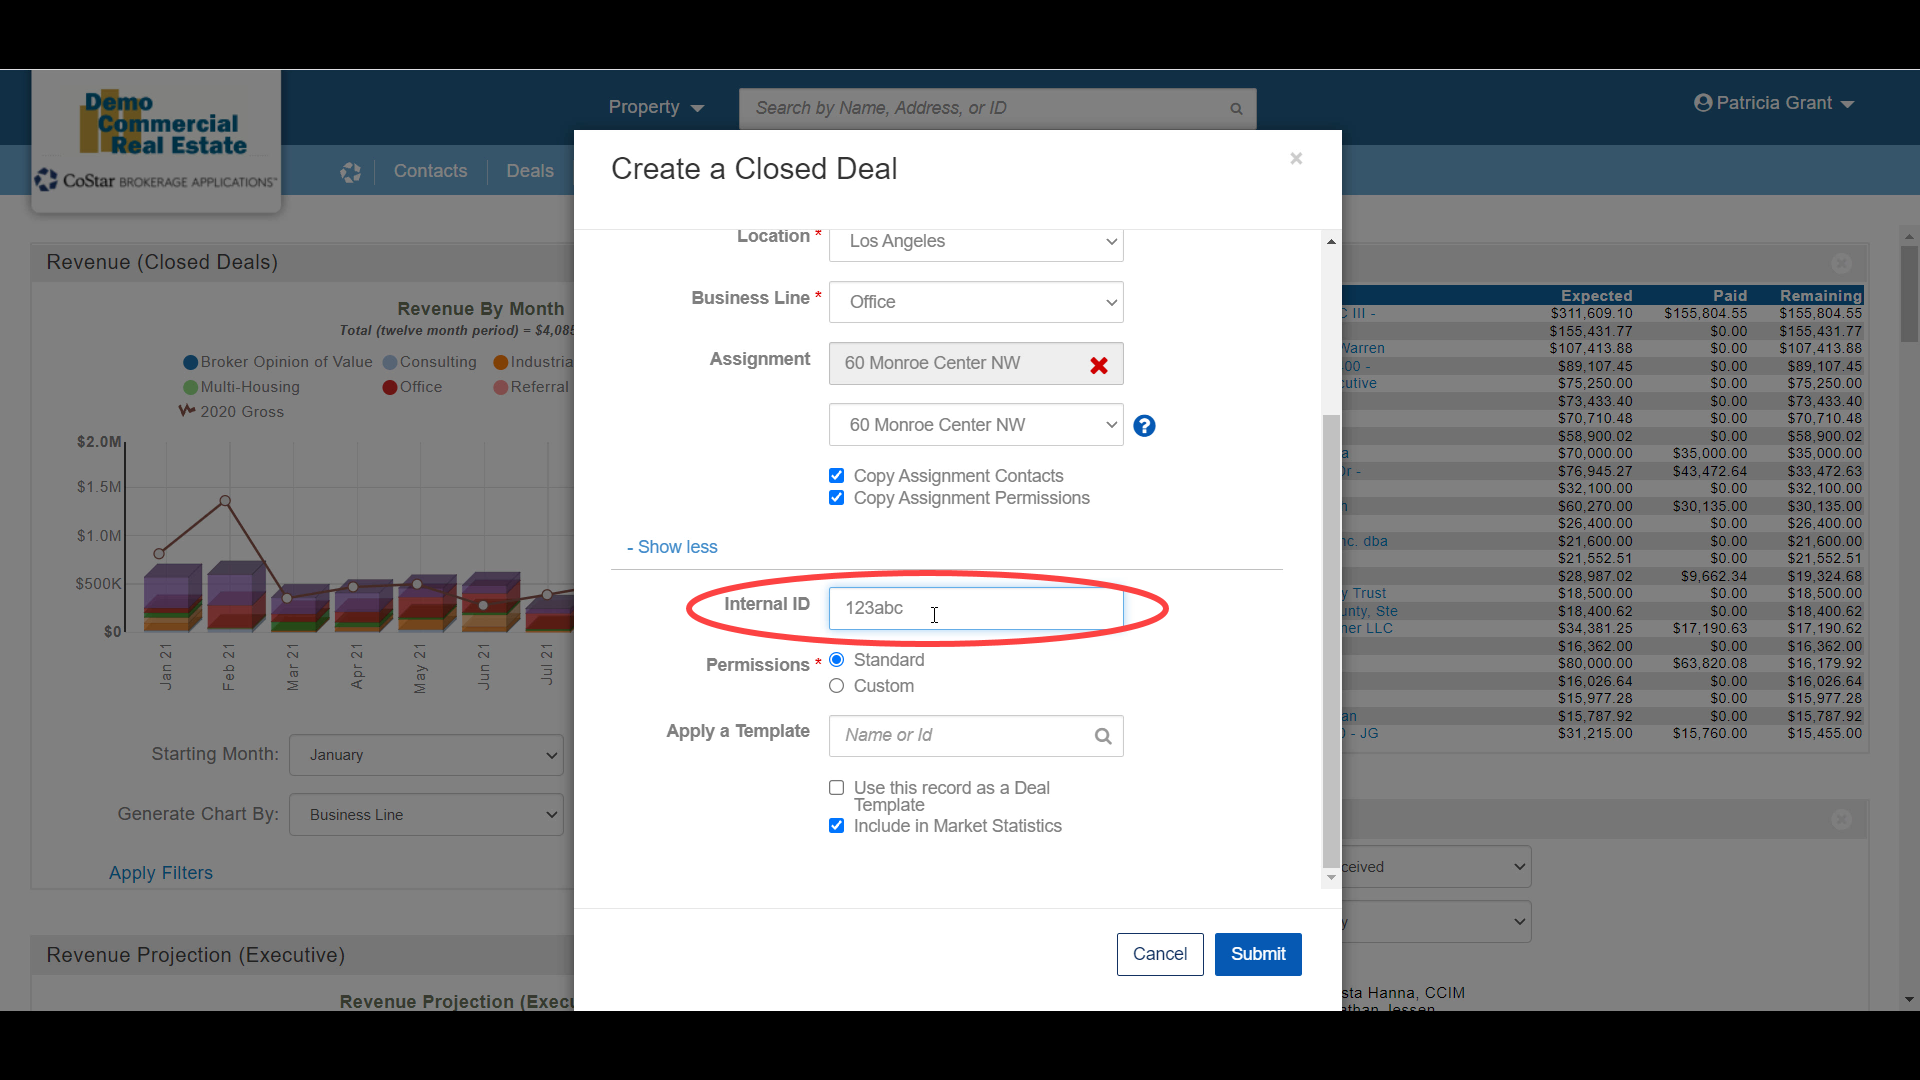
Many of the fields that were on the initial New Closed Deal modal at the start of this process are also on this form. So, you have the opportunity to make corrections or additions to those attributes if you need to. Notice that the required fields are again indicated by an asterisk and are already populated.

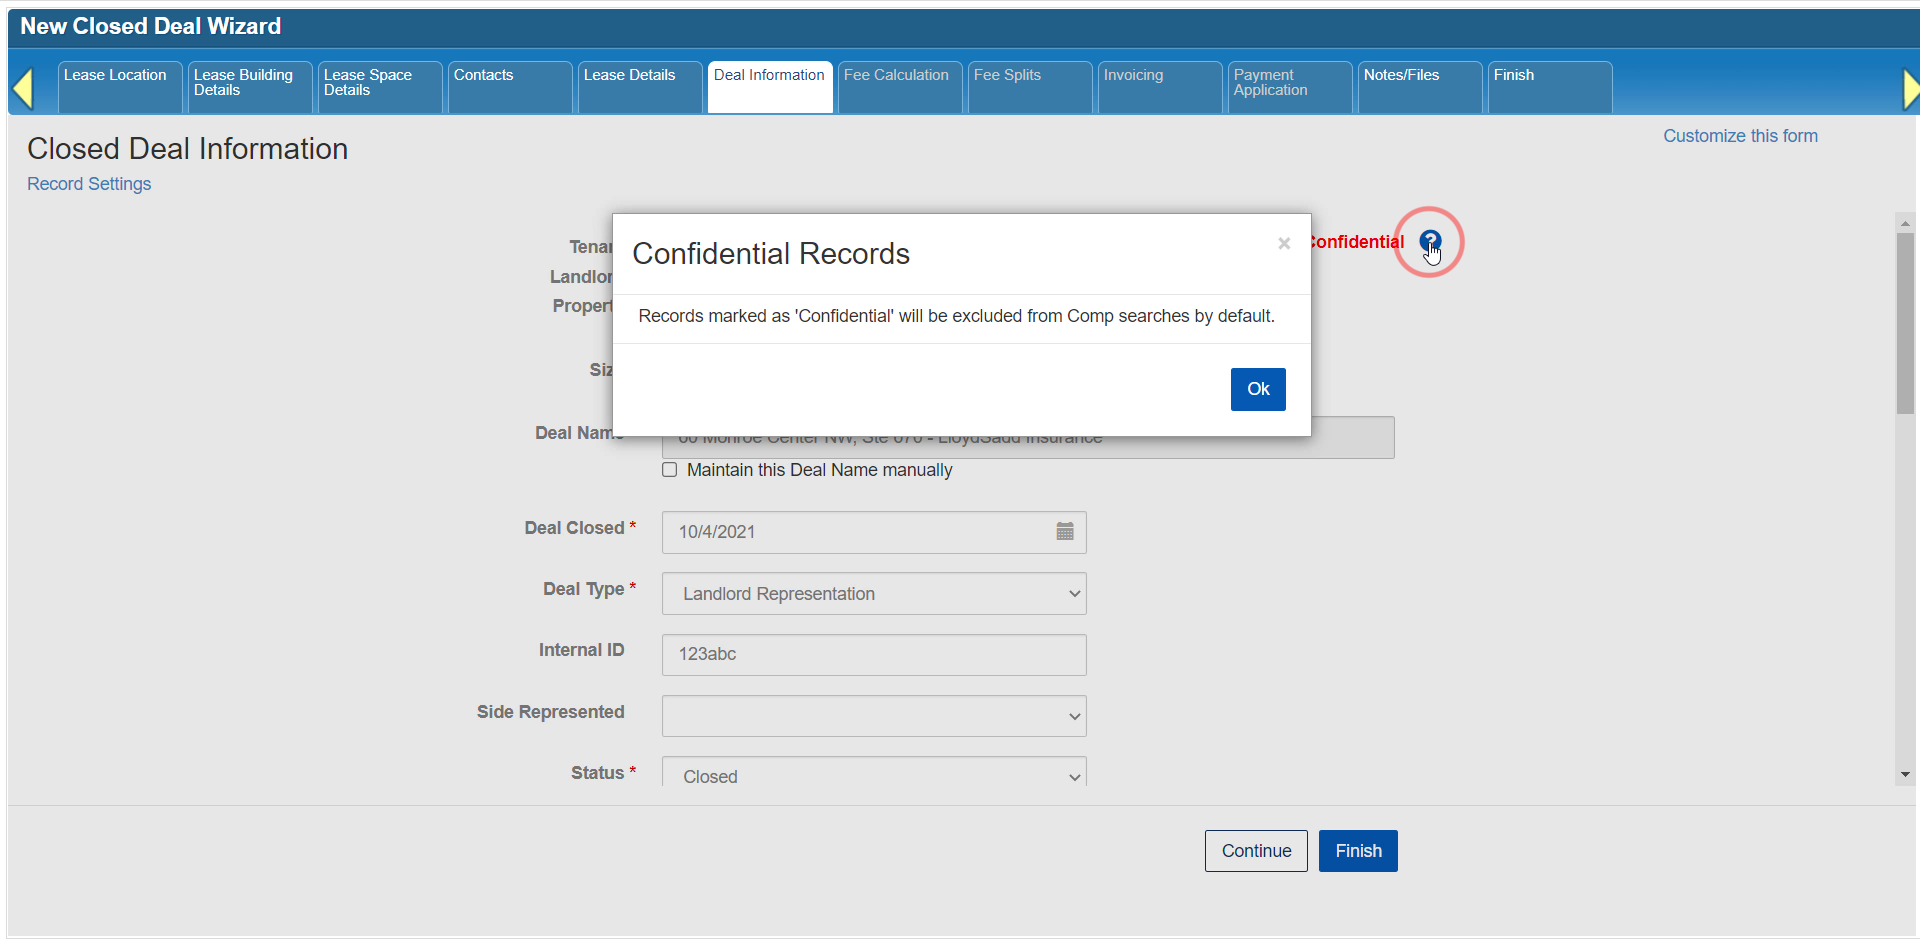
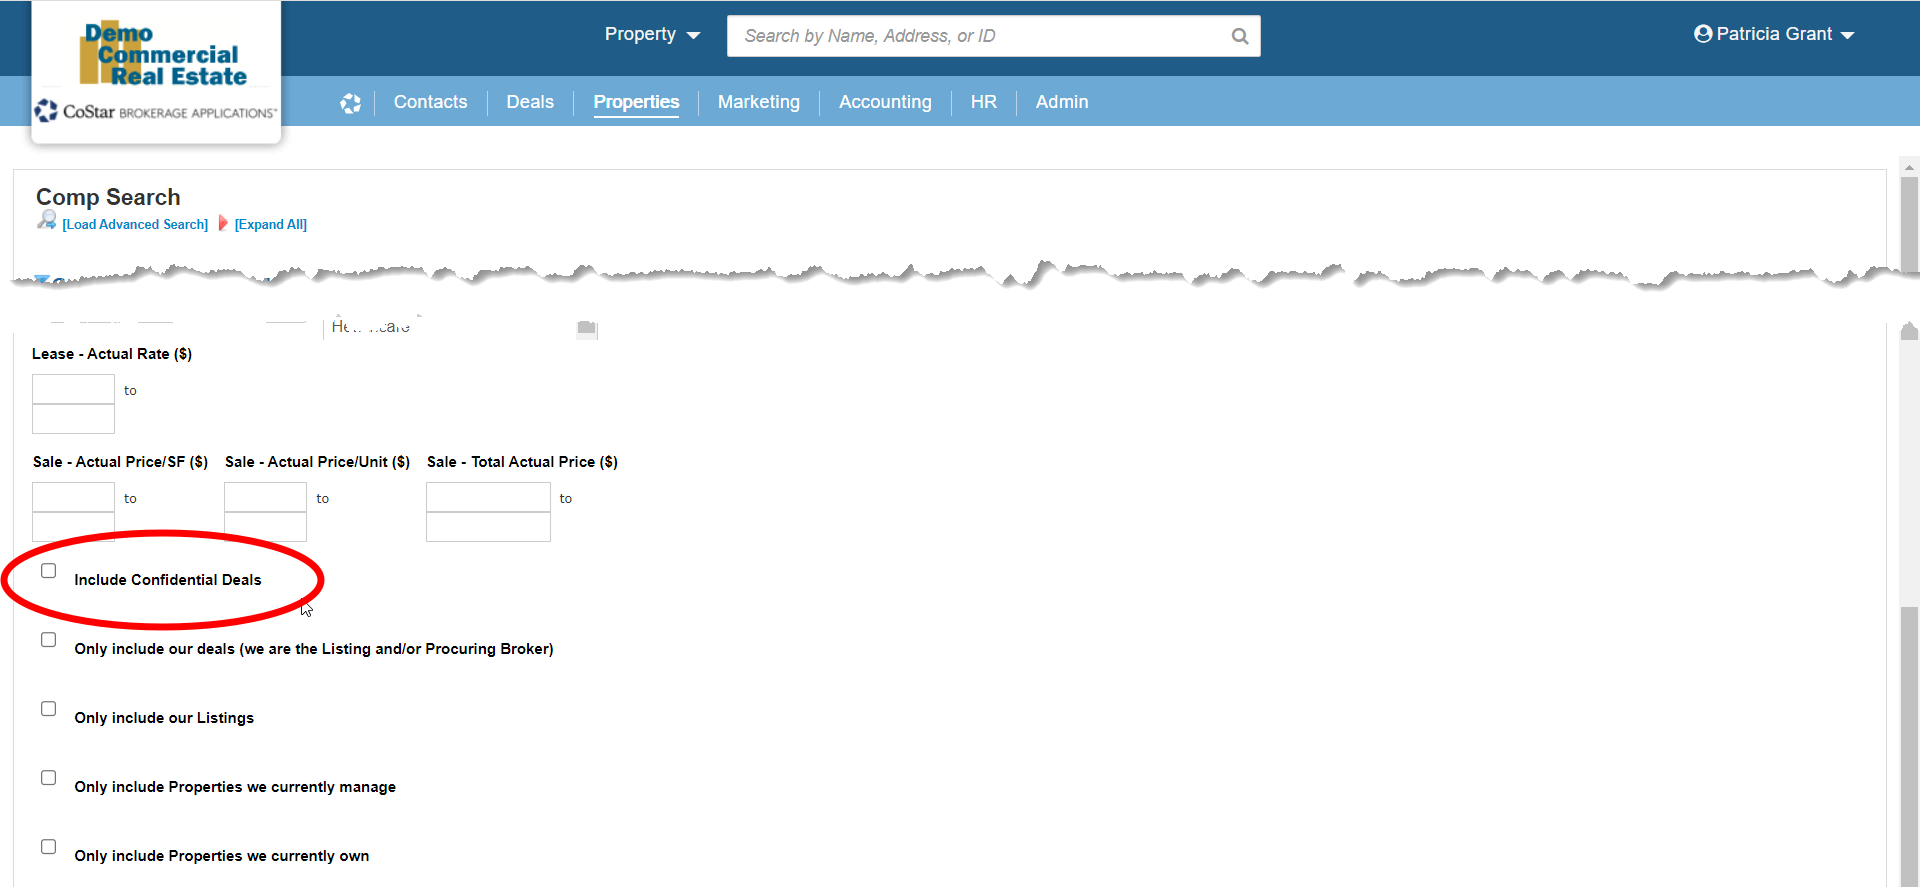
The Confidential checkbox at the top of the form is the same as the one on the Lease or Sale Details forms.

Clicking on the blue Help icon will open up an explanation for the purpose of this option if you need a reminder.
One of the pre-populated fields is the Deal Name. It’s an automatic compilation of key information you have already entered for this deal, such as the Property address and Tenant Company. If you want to change the Deal Name (for example, if your firm has a different naming convention for Deals), click on the “Maintain this Deal Name manually” checkbox. This will unlock the field and allow you to edit it. Please note that once this option is checked, the Deal Name will no longer automatically update if changes are made to the Deal or its associated Property or Contacts. Unchecking the box will cause the Deal Name to be re-populated with the system’s standard format.

The Record Settings option at the top left of the form allows you to modify system settings for this Deal record. This is just one way to access those settings; you can also open this modal from the Deal dashboard once you’ve finished creating this Closed Deal.
Again, required fields are already populated with previously entered values.
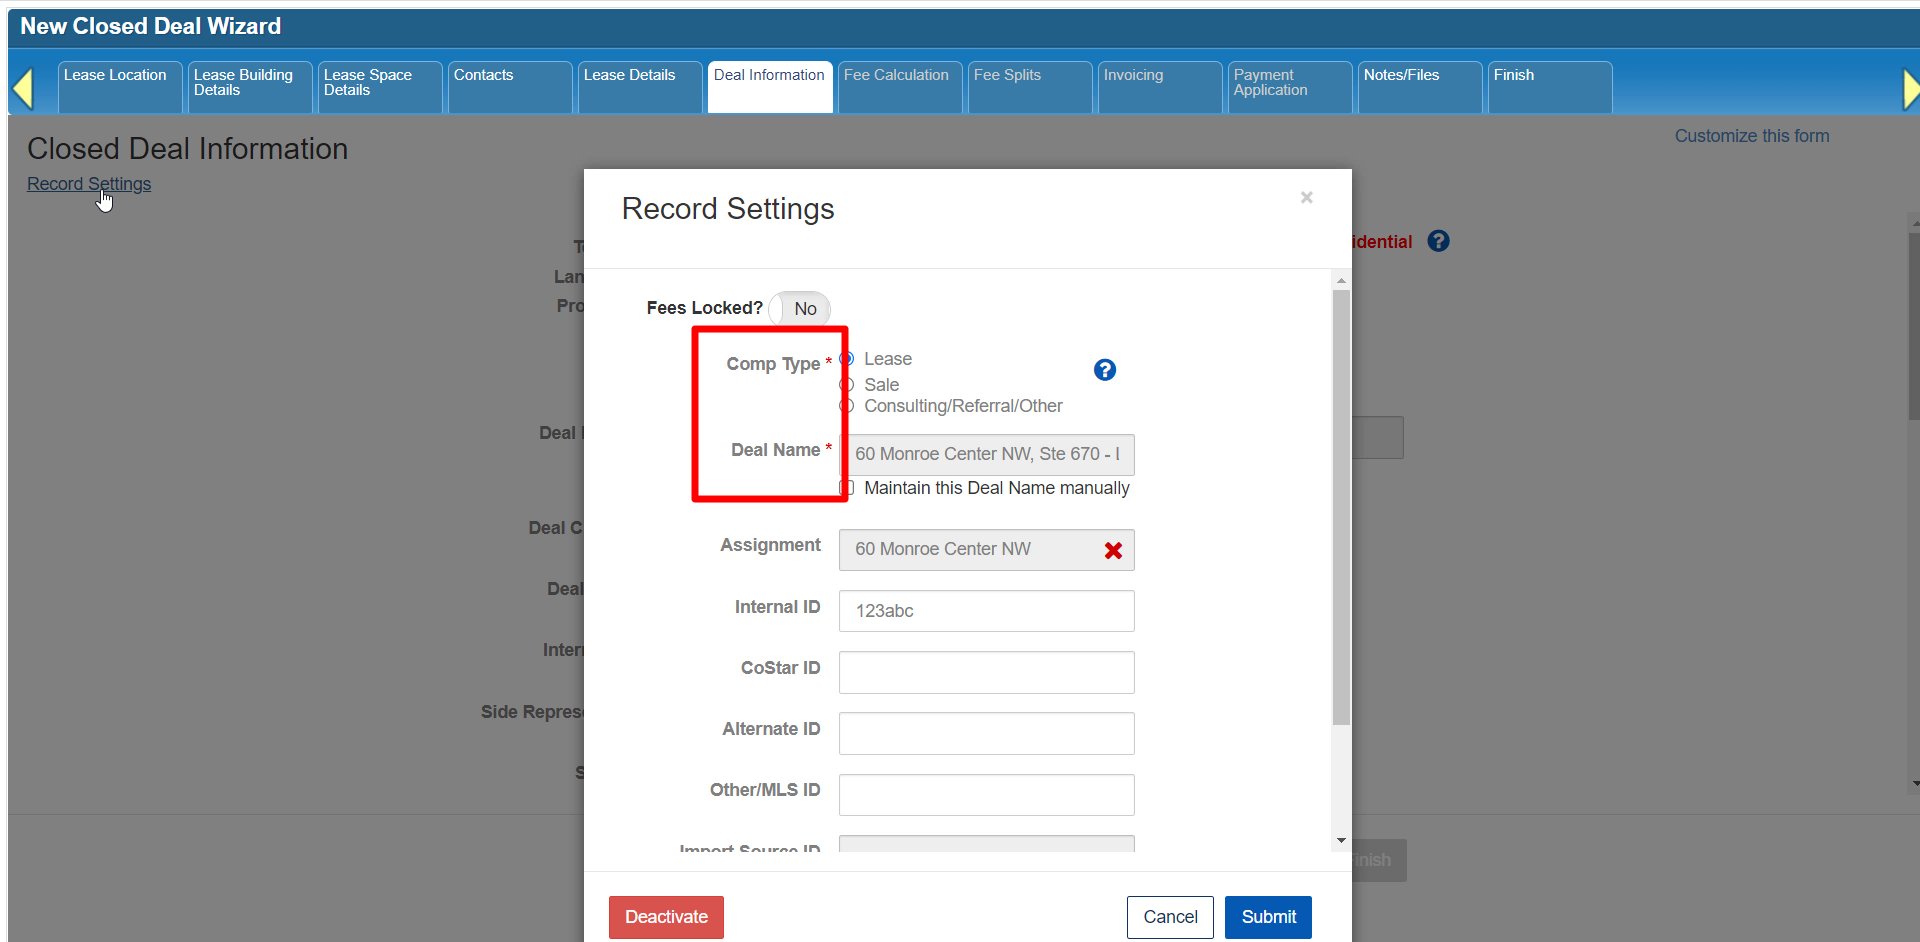
Some options, such as the Fees Locked feature, may be locked from editing or hidden, depending on your user settings. We’ll talk about the Fees Locked feature in a later tutorial.

In the case of Comp Type, this option will be locked if you don’t currently have a Property linked to this Deal. If you need to change the Comp Type, click Cancel to close this modal, then go back to the Select a Property tab to finish that step first.

There are a few additional fields on the Record Settings modal for various types of IDs.
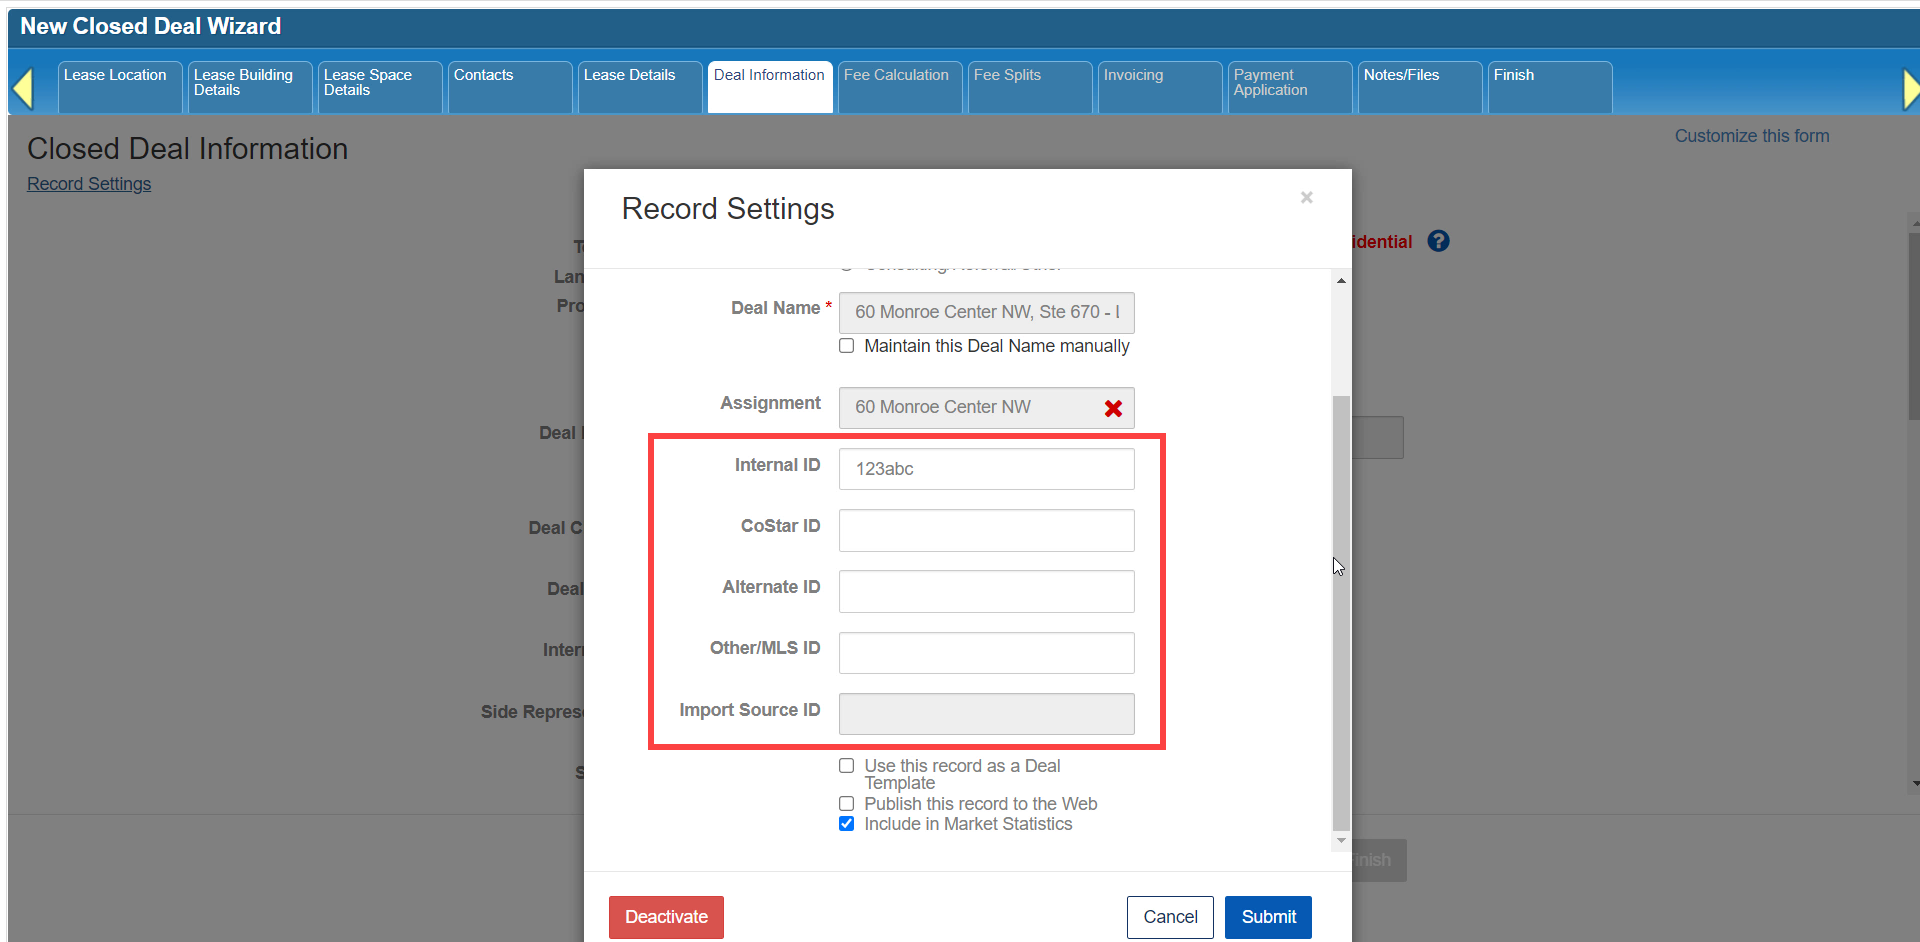
You also have the option of deactivating this Deal if needed. Certain types of records in CoStar Brokerage Applications can’t be permanently deleted. Deactivating those records removes them from searches, lists, and reports instead. They can be reactivated by your system administrator.

Click Submit if you’ve made any changes to this form or Cancel to close it without saving your changes.

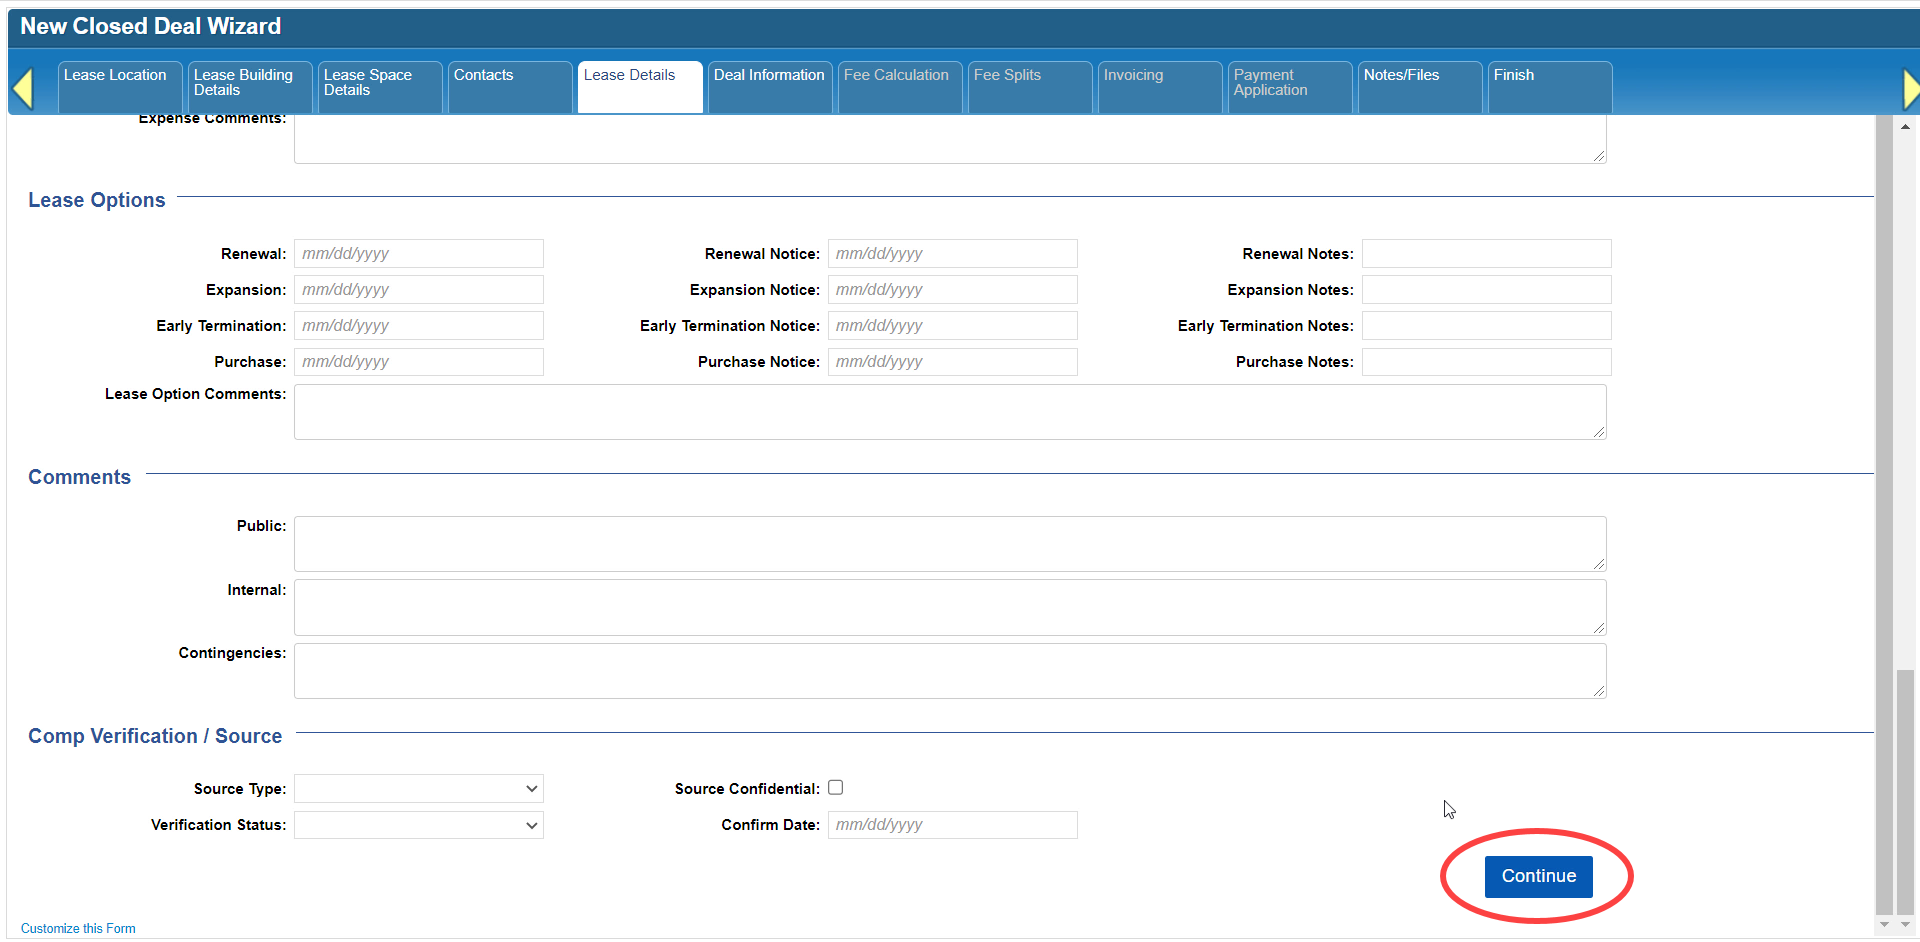
Populate the rest of any relevant fields on the Deal Information form, then click Continue.

Click here to go to the next tutorial.
Related articles
- How to create a new Closed Deal: Part 2 - New Closed Deal Modal
- How to create a new Closed Deal: Part 3 - Workflow Navigation
- How to create a new Closed Deal: Part 4 - Property
- How to create a new Closed Deal: Part 5 - Space
- How to create a new Closed Deal: Part 6 - Contacts
- How to create a new Closed Deal: Part 7 - Lease Details
- How to create a new Closed Deal: Part 8 - Deal Information
- How to create a new Closed Deal: Part 9 - Fee Calculation
- How to create a new Closed Deal: Part 10 - Fee Splits
- How to create a new Closed Deal: Part 11 - Invoicing
- How to create a new Closed Deal: Part 12 - Payments
- How to create a new Closed Deal: Part 13 - Notes/Files
- How to create a new Closed Deal: Part 14 - Link Project
- How to create a new Closed Deal: Part 15 - Deal Share
- How to create a new Closed Deal: Part 16 - Billing Schedule
- How to create a new Closed Deal: Part 17 - Net Adjustments
- How to create a new Closed Deal: Part 18 - Annuity Schedule
- How to create a new Closed Deal: Part 19 - Sale Details
- How to create a new Closed Deal: Part 20 - Other Starting Points
© 2023 CoStar Group
Attachments:
 CBA - Entering a Closed Deal - 07 Lease Details (Time 0_04_05;00).png (image/png)
 CBA - Entering a Closed Deal - 07 Lease Details (Time 0_03_58;14).png (image/png)
 CBA - Entering a Closed Deal - 07 Lease Details (Time 0_03_50;07).png (image/png)
 CBA - Entering a Closed Deal - 07 Lease Details (Time 0_03_28;24).png (image/png)
 CBA - Entering a Closed Deal - 07 Lease Details (Time 0_03_23;17).png (image/png)
 CBA - Entering a Closed Deal - 07 Lease Details (Time 0_03_10;18).png (image/png)
 CBA - Entering a Closed Deal - 07 Lease Details (Time 0_02_59;26).png (image/png)
 CBA - Entering a Closed Deal - 07 Lease Details (Time 0_02_40;00).png (image/png)
 CBA - Entering a Closed Deal - 07 Lease Details (Time 0_02_33;17).png (image/png)
 CBA - Entering a Closed Deal - 07 Lease Details (Time 0_02_08;29).png (image/png)
 CBA - Entering a Closed Deal - 07 Lease Details (Time 0_01_52;03).png (image/png)
 CBA - Entering a Closed Deal - 07 Lease Details (Time 0_01_30;17).png (image/png)
 CBA - Entering a Closed Deal - 07 Lease Details (Time 0_01_26;00).png (image/png)
 CBA - Entering a Closed Deal - 07 Lease Details (Time 0_01_03;21).png (image/png)
 CBA - Entering a Closed Deal - 07 Lease Details (Time 0_00_19;09).png (image/png)
 CBA - Entering a Closed Deal - 05 Space (Time 0_02_48;10).png (image/png)
 CBA - Entering a Closed Deal - 05 Space (Time 0_02_43;08).png (image/png)
 CBA - Entering a Closed Deal - 05 Space (Time 0_01_24;18).png (image/png)
 CBA - Entering a Closed Deal - 05 Space (Time 0_01_11;23).png (image/png)
 CBA - Entering a Closed Deal - 05 Space (Time 0_01_04;25).png (image/png)
 CBA - Entering a Closed Deal - 05 Space (Time 0_01_00;08).png (image/png)
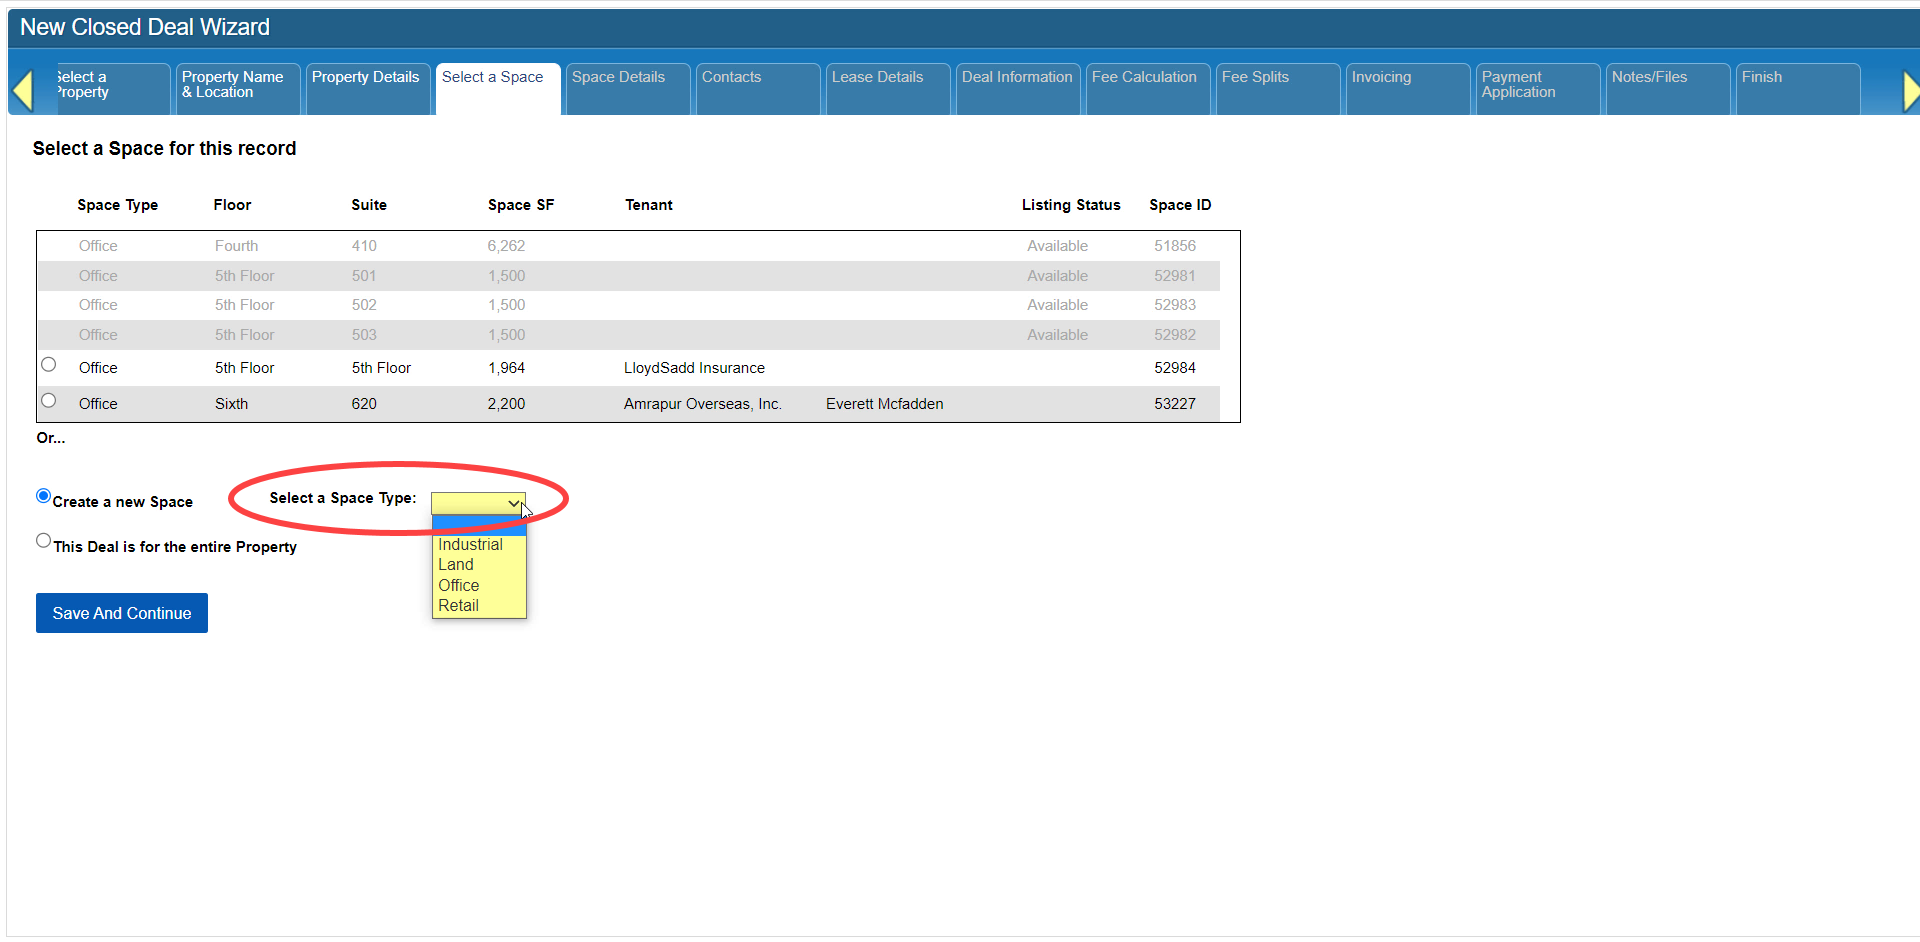 CBA - Entering a Closed Deal - 05 Space (Time 0_00_42;06).png (image/png)
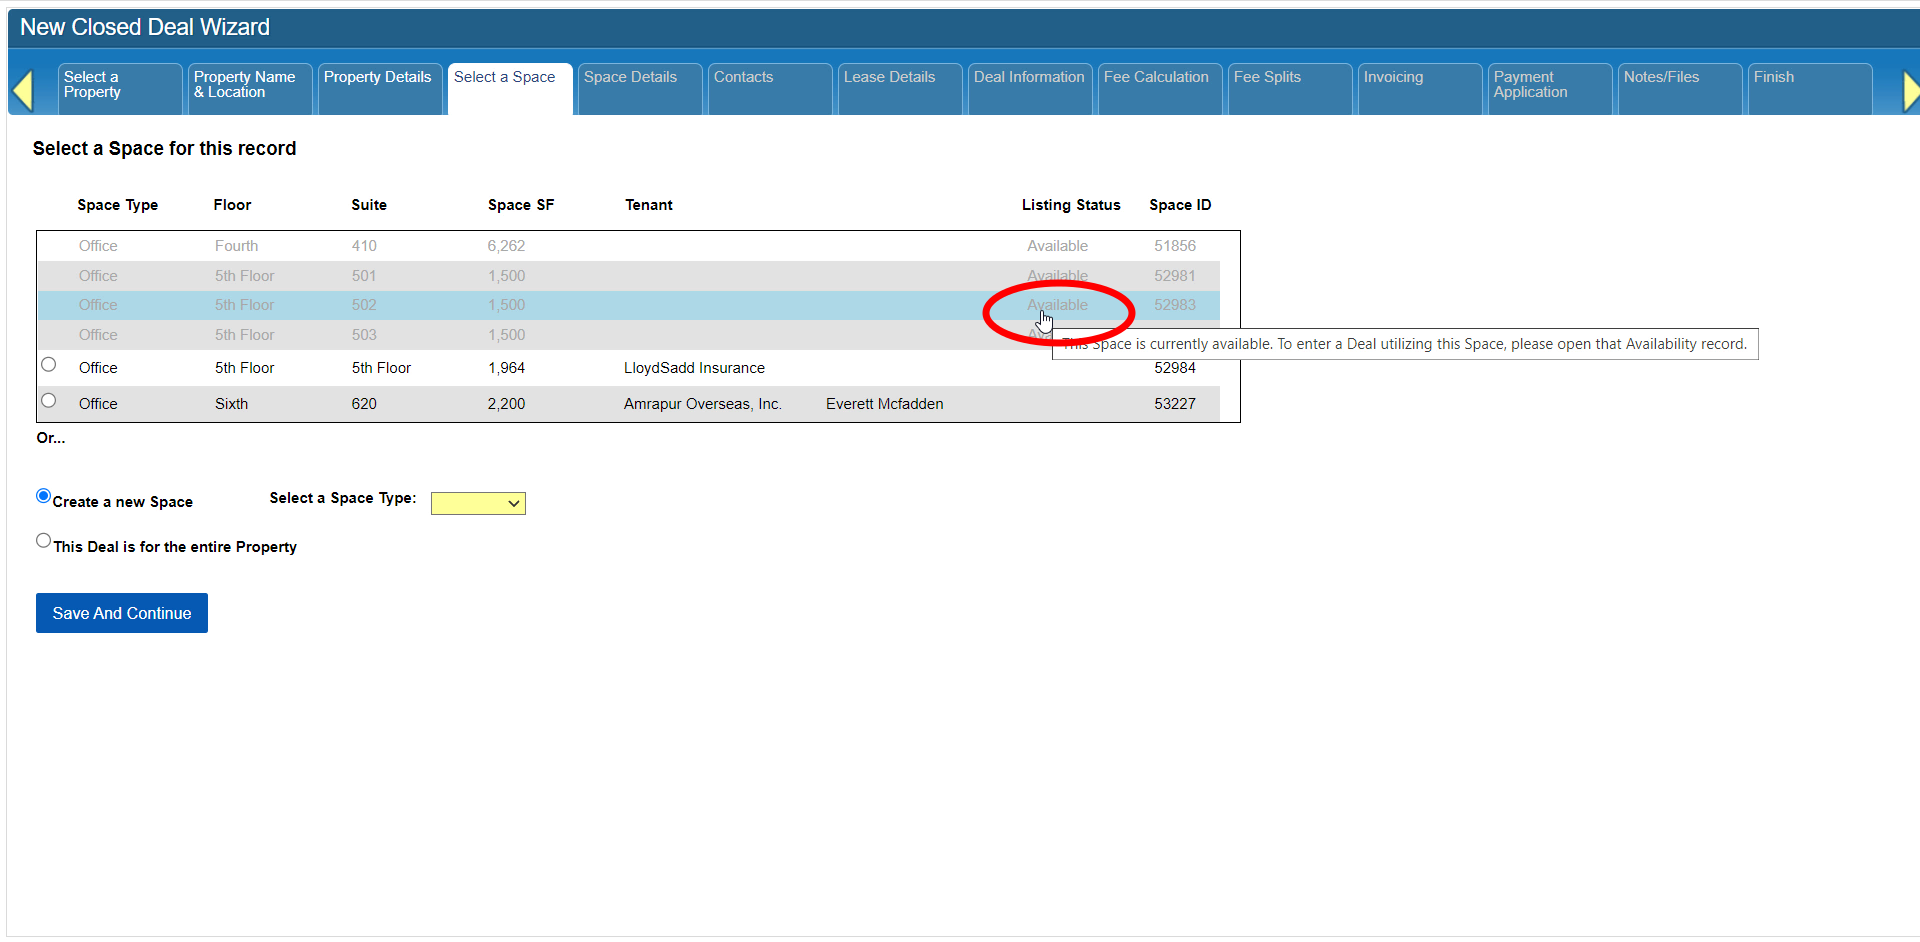 CBA - Entering a Closed Deal - 05 Space (Time 0_00_30;17).png (image/png)
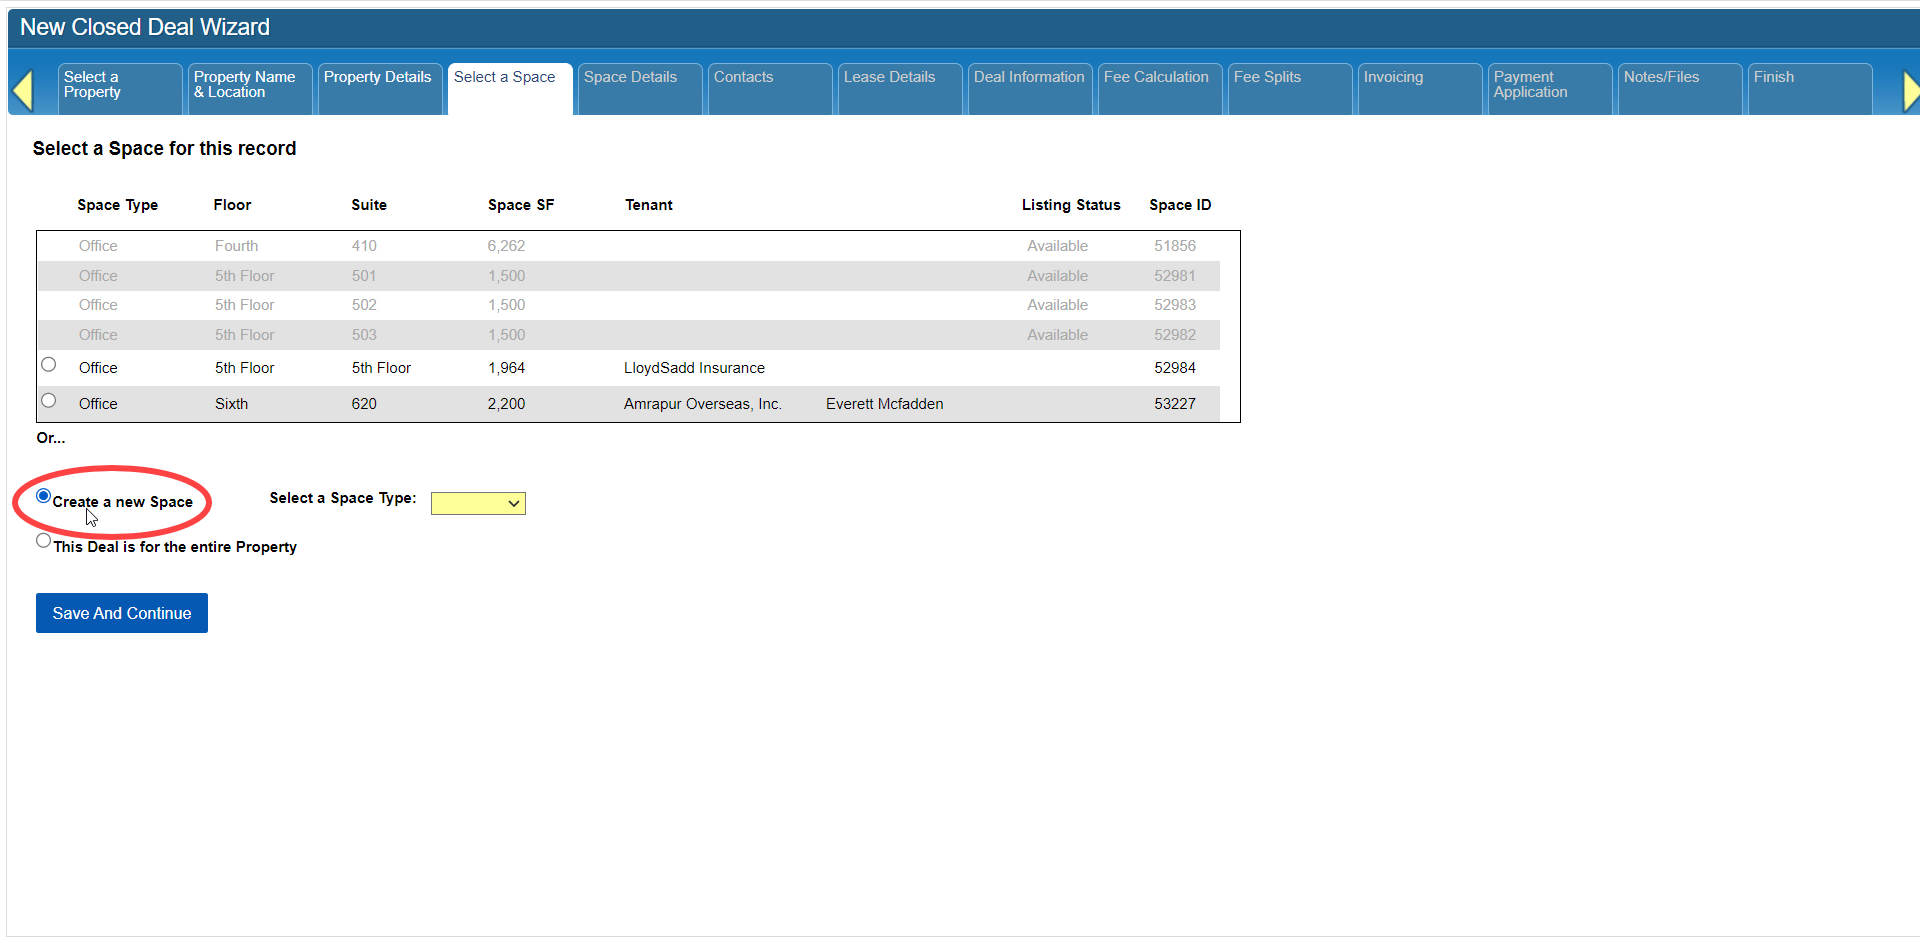 CBA - Entering a Closed Deal - 05 Space (Time 0_00_26;10).png (image/png)
 CBA - Entering a Closed Deal - 05 Space (Time 0_00_21;08).png (image/png)
 CBA - Entering a Closed Deal - 03 Workflow Navigation (Time 0_01_27;28).png (image/png)
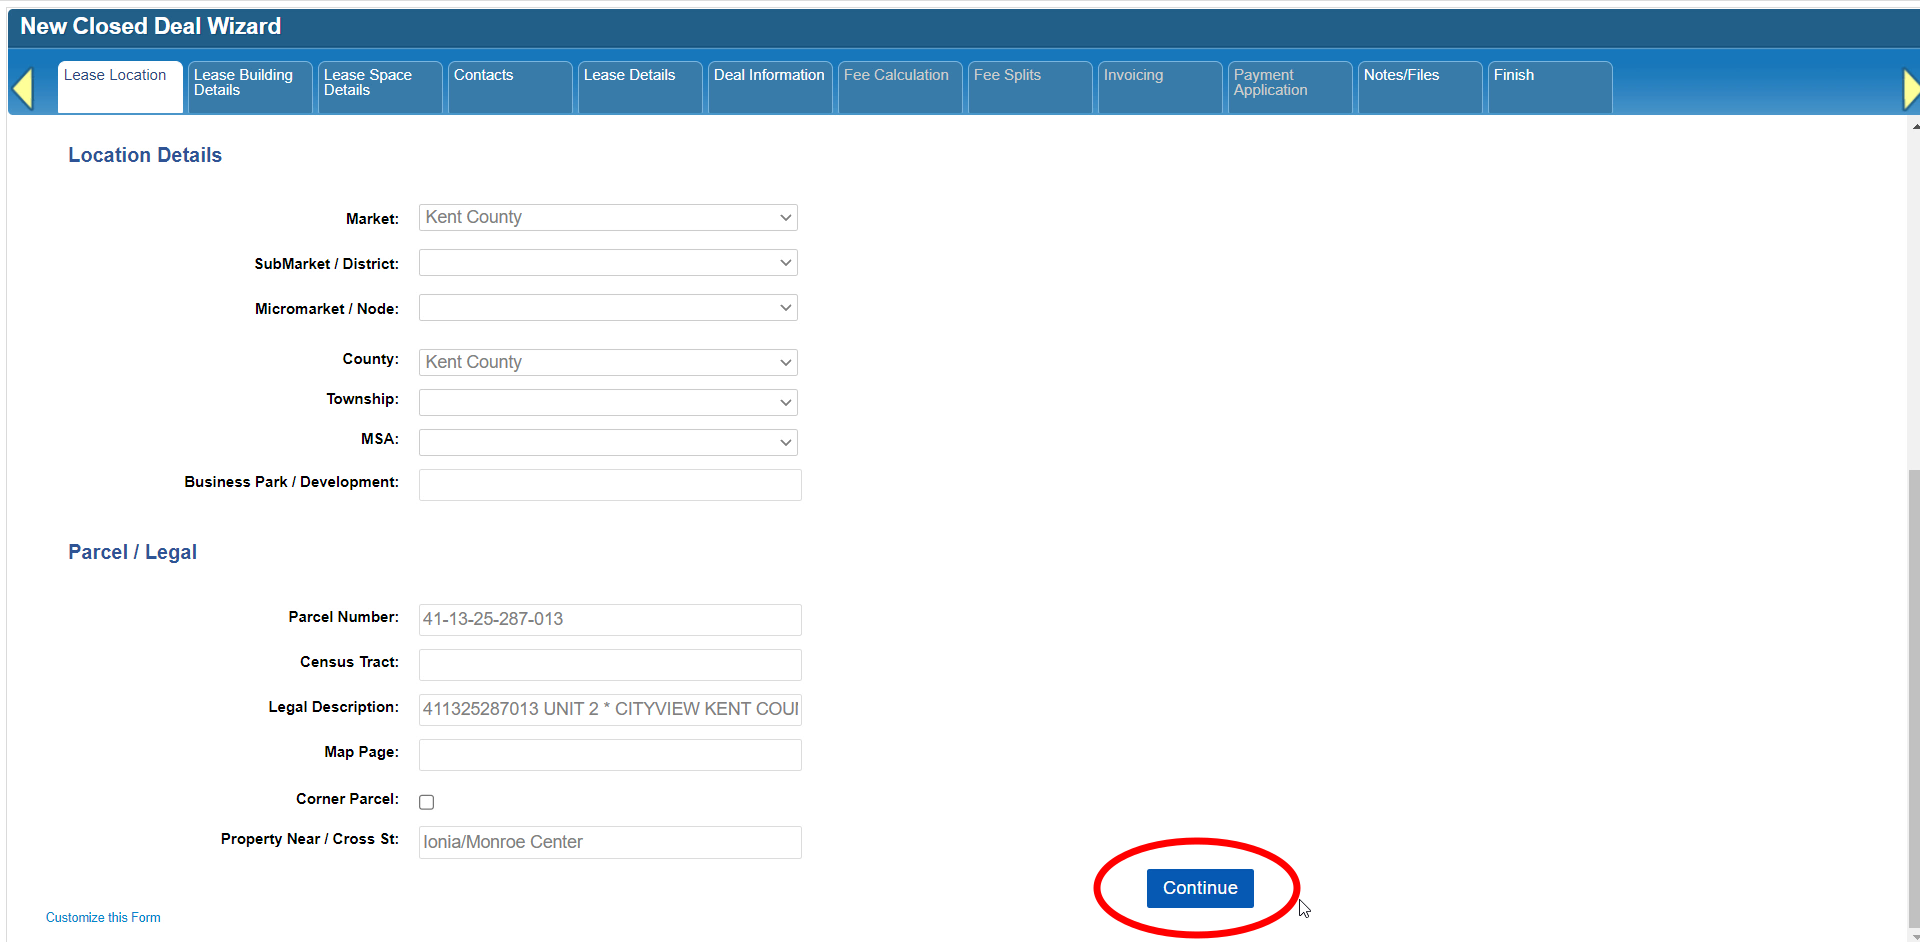 CBA - Entering a Closed Deal - 03 Workflow Navigation (Time 0_01_01;06).png (image/png)
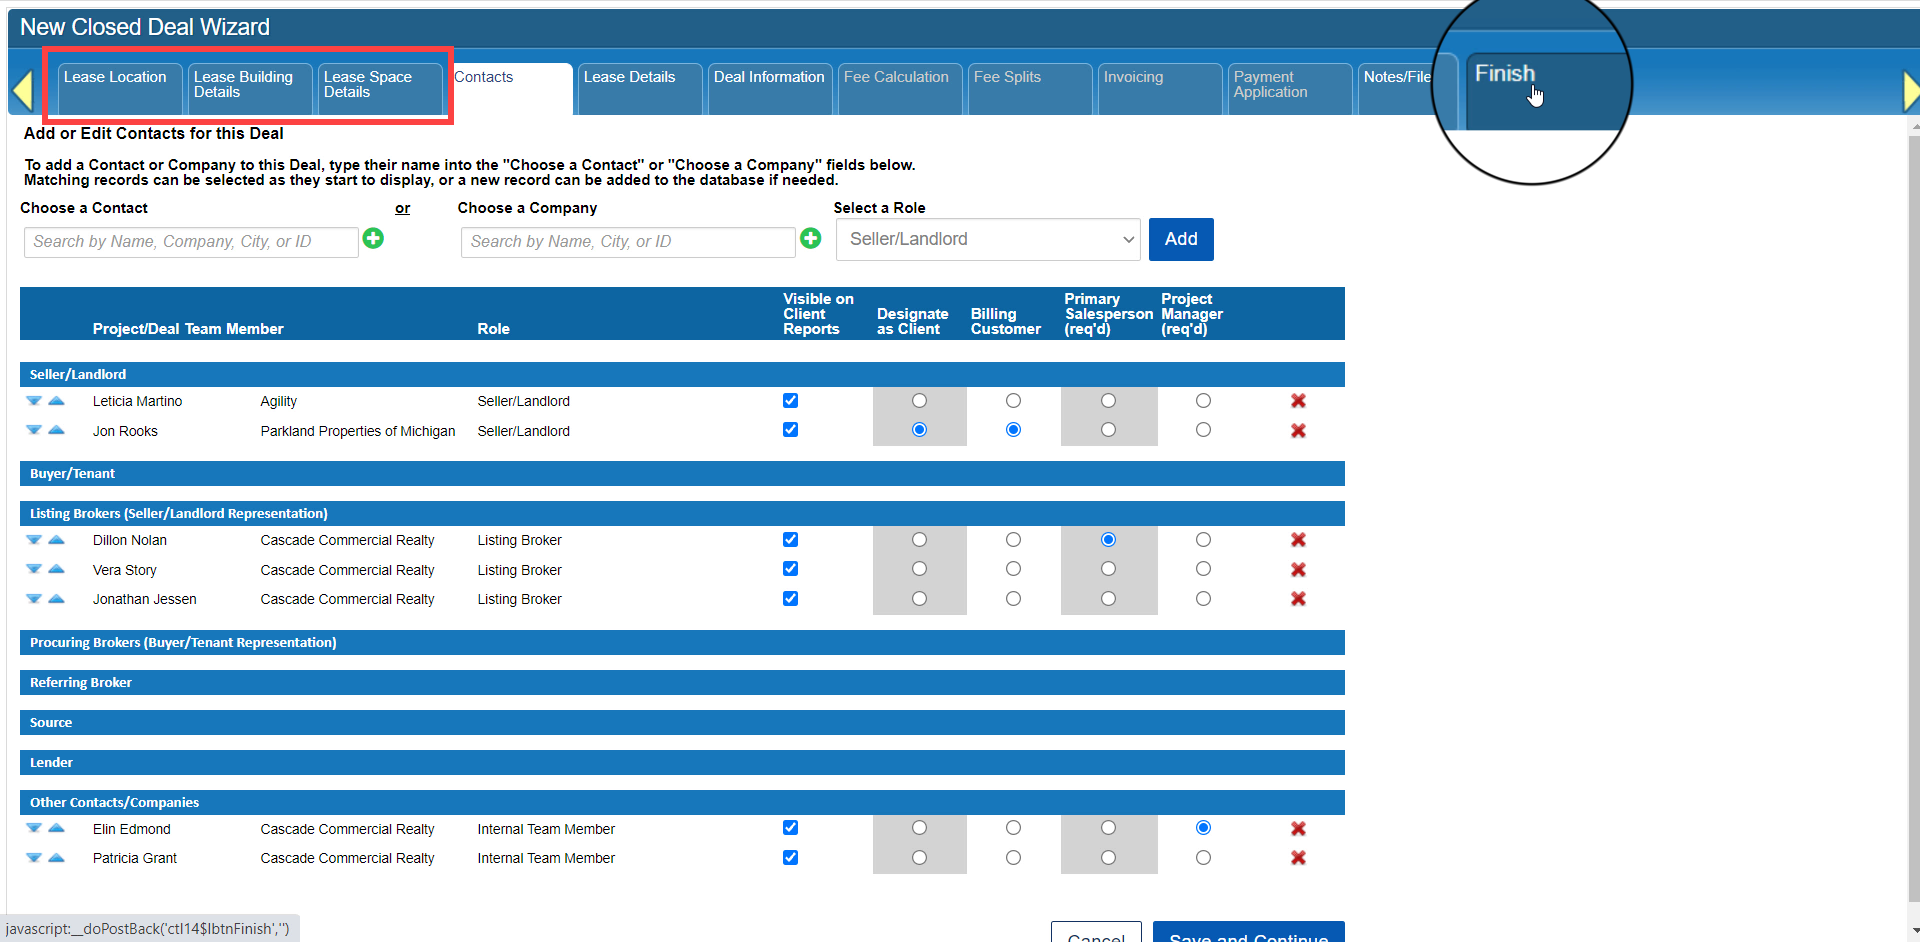 CBA - Entering a Closed Deal - 03 Workflow Navigation (Time 0_00_48;01).png (image/png)
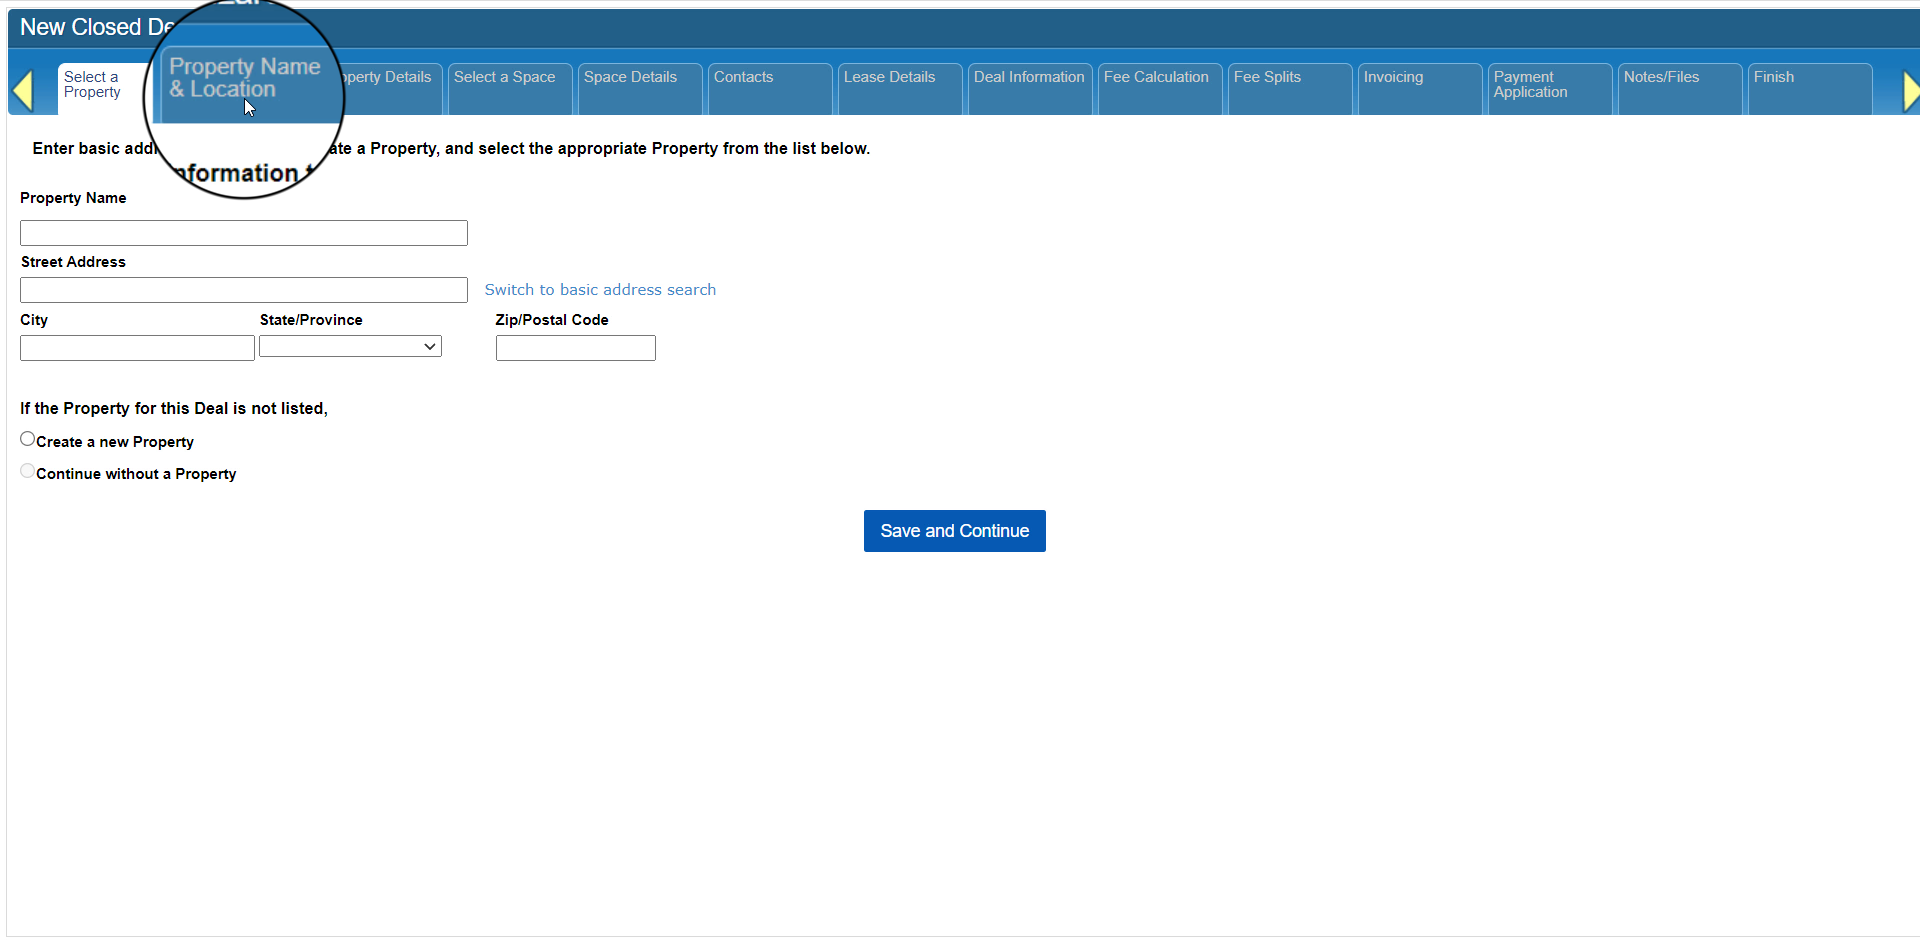 CBA - Entering a Closed Deal - 03 Workflow Navigation (Time 0_00_37;04).png (image/png)
 CBA - Entering a Closed Deal - 03 Workflow Navigation (Time 0_00_23;29).png (image/png)
 CBA - Entering a Closed Deal - 02 New Closed Deal Modal all (Time 0_00_31;29).png (image/png)
 CBA - Entering a Closed Deal - 02 New Closed Deal Modal all (Time 0_01_09;13).png (image/png)
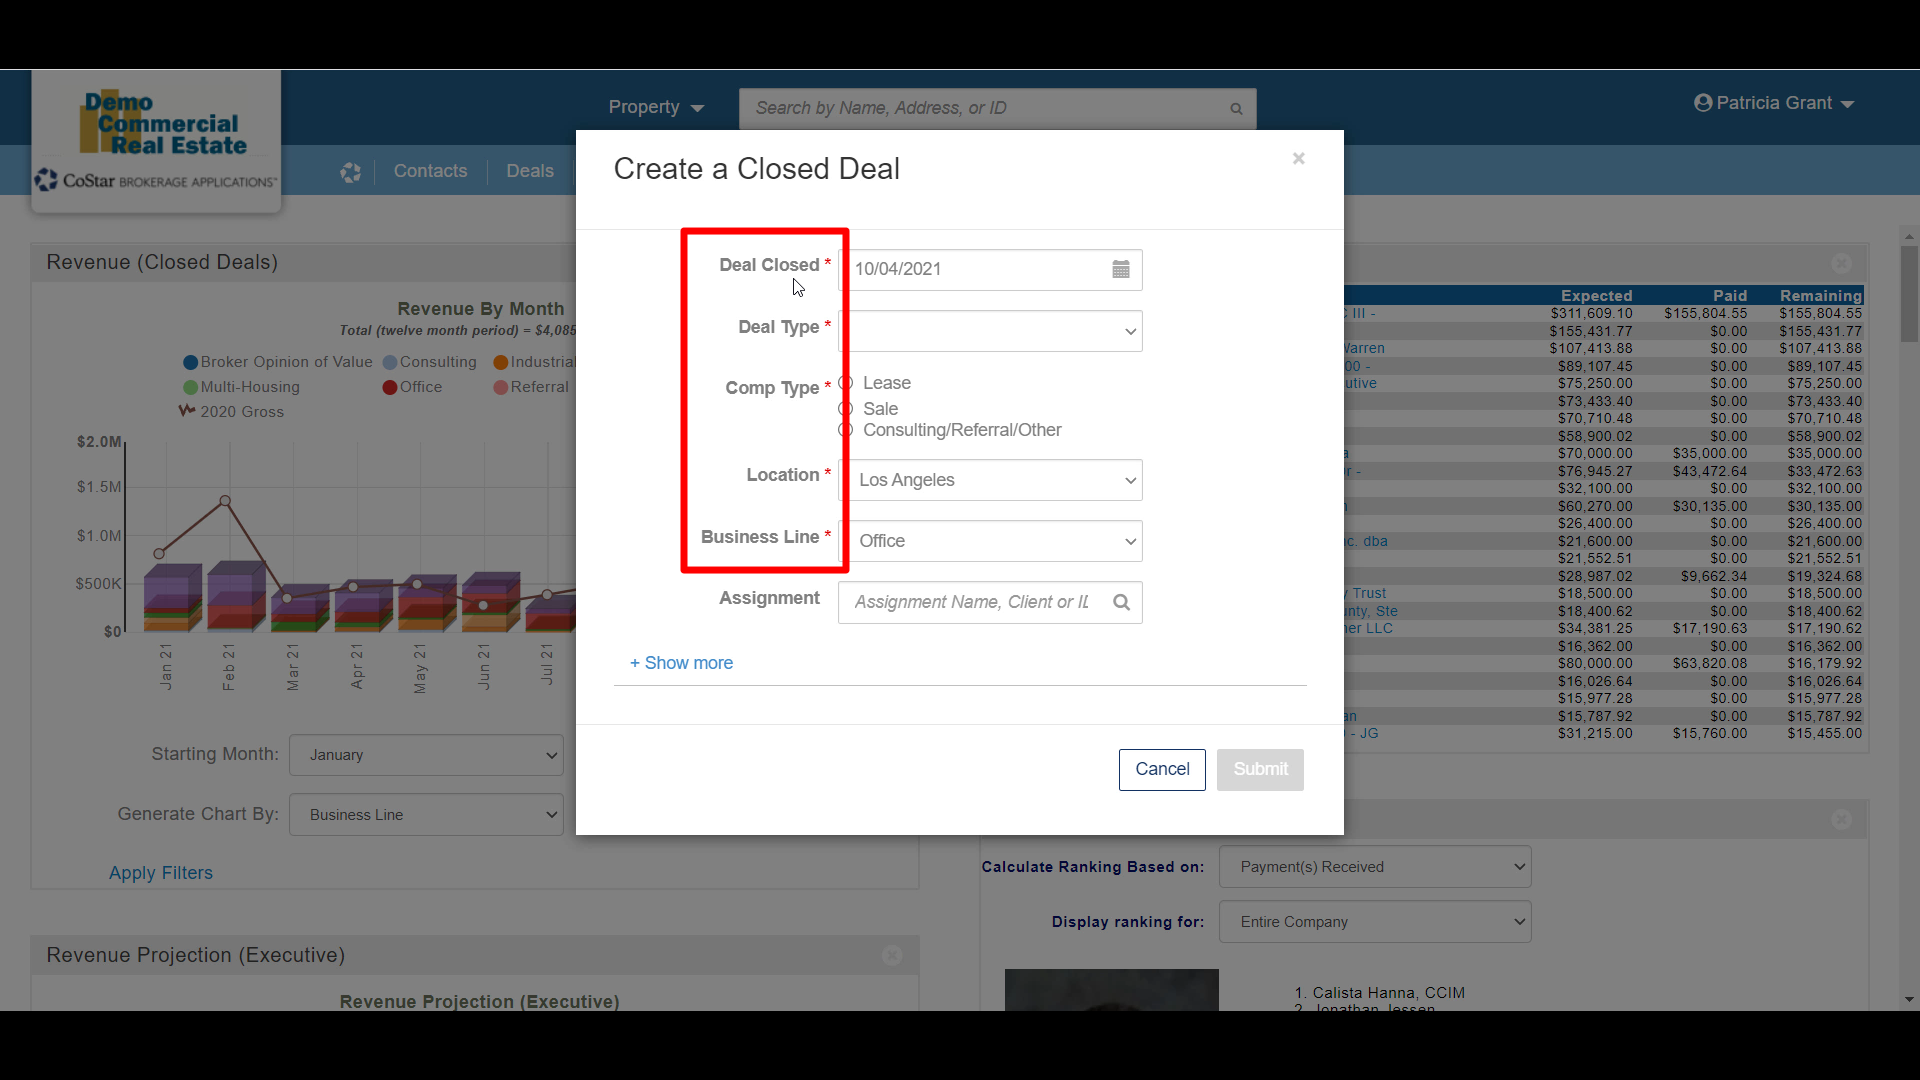 CBA - Entering a Closed Deal - 02 New Closed Deal Modal all (Time 0_01_44;04).png (image/png)
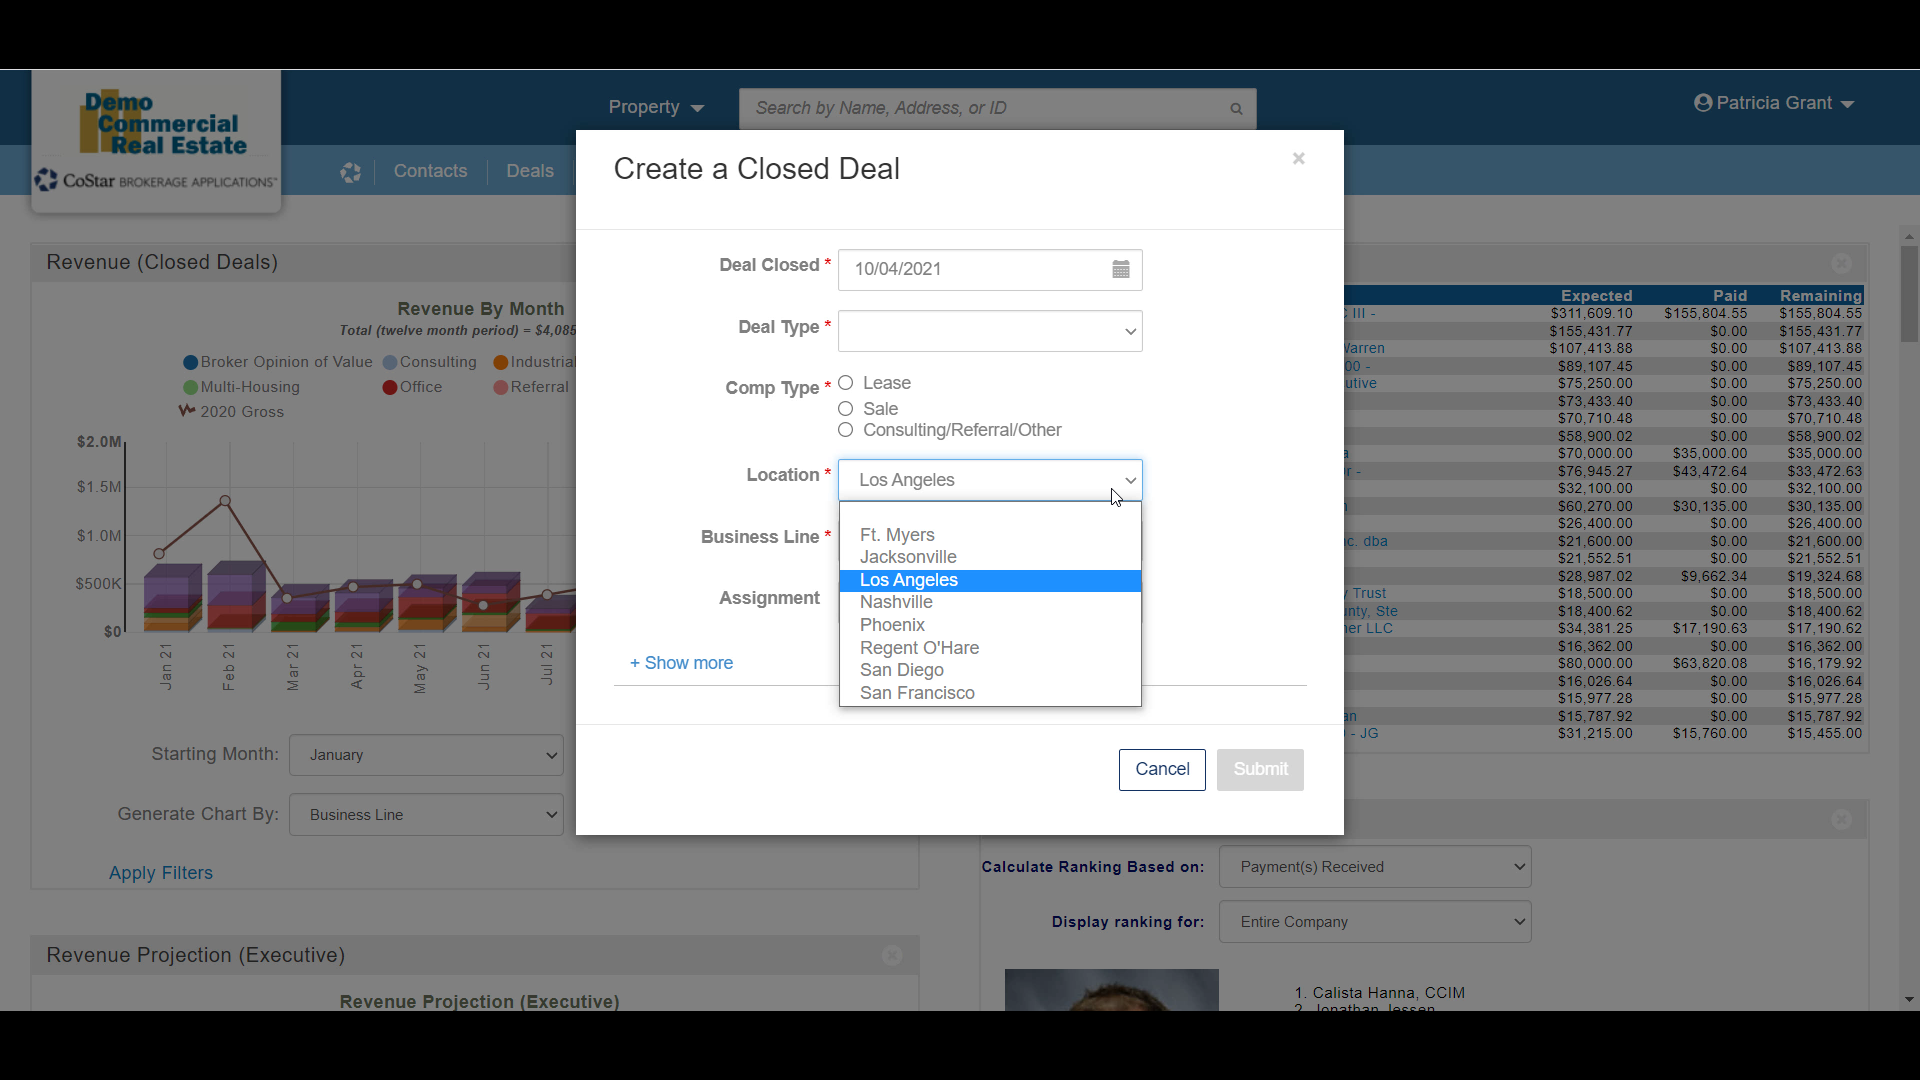 CBA - Entering a Closed Deal - 02 New Closed Deal Modal all (Time 0_01_54;08).png (image/png)
 CBA - Entering a Closed Deal - 02 New Closed Deal Modal all (Time 0_02_02;26).png (image/png)
 CBA - Entering a Closed Deal - 02 New Closed Deal Modal all (Time 0_02_35;01).png (image/png)
 CBA - Entering a Closed Deal - 02 New Closed Deal Modal all (Time 0_02_43;16).png (image/png)
 CBA - Entering a Closed Deal - 02 New Closed Deal Modal all (Time 0_02_47;26).png (image/png)
 CBA - Entering a Closed Deal - 02 New Closed Deal Modal all (Time 0_02_30;26).png (image/png)
 CBA - Entering a Closed Deal - 02 New Closed Deal Modal all (Time 0_01_27;23).png (image/png)
 CBA - Entering a Closed Deal - 02 New Closed Deal Modal all (Time 0_02_59;26).png (image/png)
 CBA - Entering a Closed Deal - 02 New Closed Deal Modal all (Time 0_03_25;09).png (image/png)
 CBA - Entering a Closed Deal - 02 New Closed Deal Modal all (Time 0_03_28;13).png (image/png)
 CBA - Entering a Closed Deal - 02 New Closed Deal Modal all (Time 0_03_50;03).png (image/png)
 CBA - Entering a Closed Deal - 02 New Closed Deal Modal all (Time 0_04_18;08).png (image/png)
 CBA - Entering a Closed Deal - 02 New Closed Deal Modal all (Time 0_04_23;06).png (image/png)
 CBA - Entering a Closed Deal - 04 Property (Time 0_00_19;25).png (image/png)
 CBA - Entering a Closed Deal - 04 Property (Time 0_00_29;24).png (image/png)
 CBA - Entering a Closed Deal - 04 Property (Time 0_00_59;14).png (image/png)
 CBA - Entering a Closed Deal - 04 Property (Time 0_01_14;23).png (image/png)
 CBA - Entering a Closed Deal - 04 Property (Time 0_01_25;02).png (image/png)
 CBA - Entering a Closed Deal - 04 Property (Time 0_01_32;17).png (image/png)
 CBA - Entering a Closed Deal - 04 Property (Time 0_01_37;08).png (image/png)
 CBA - Entering a Closed Deal - 04 Property (Time 0_01_40;21).png (image/png)
 CBA - Entering a Closed Deal - 04 Property (Time 0_02_00;11).png (image/png)
 CBA - Entering a Closed Deal - 04 Property (Time 0_02_12;07).png (image/png)
 CBA - Entering a Closed Deal - 04 Property (Time 0_02_19;12).png (image/png)
 CBA - Entering a Closed Deal - 04 Property (Time 0_02_38;22).png (image/png)
 CBA - Entering a Closed Deal - 04 Property (Time 0_02_44;24).png (image/png)
 CBA - Entering a Closed Deal - 04 Property (Time 0_02_52;14).png (image/png)
 CBA - Entering a Closed Deal - 06 Contacts (Time 0_00_33;28).png (image/png)
 CBA - Entering a Closed Deal - 06 Contacts (Time 0_00_51;04).png (image/png)
 CBA - Entering a Closed Deal - 06 Contacts (Time 0_01_21;18).png (image/png)
 CBA - Entering a Closed Deal - 06 Contacts (Time 0_01_27;02).png (image/png)
 CBA - Entering a Closed Deal - 06 Contacts (Time 0_01_40;29).png (image/png)
 CBA - Entering a Closed Deal - 06 Contacts (Time 0_01_52;12).png (image/png)
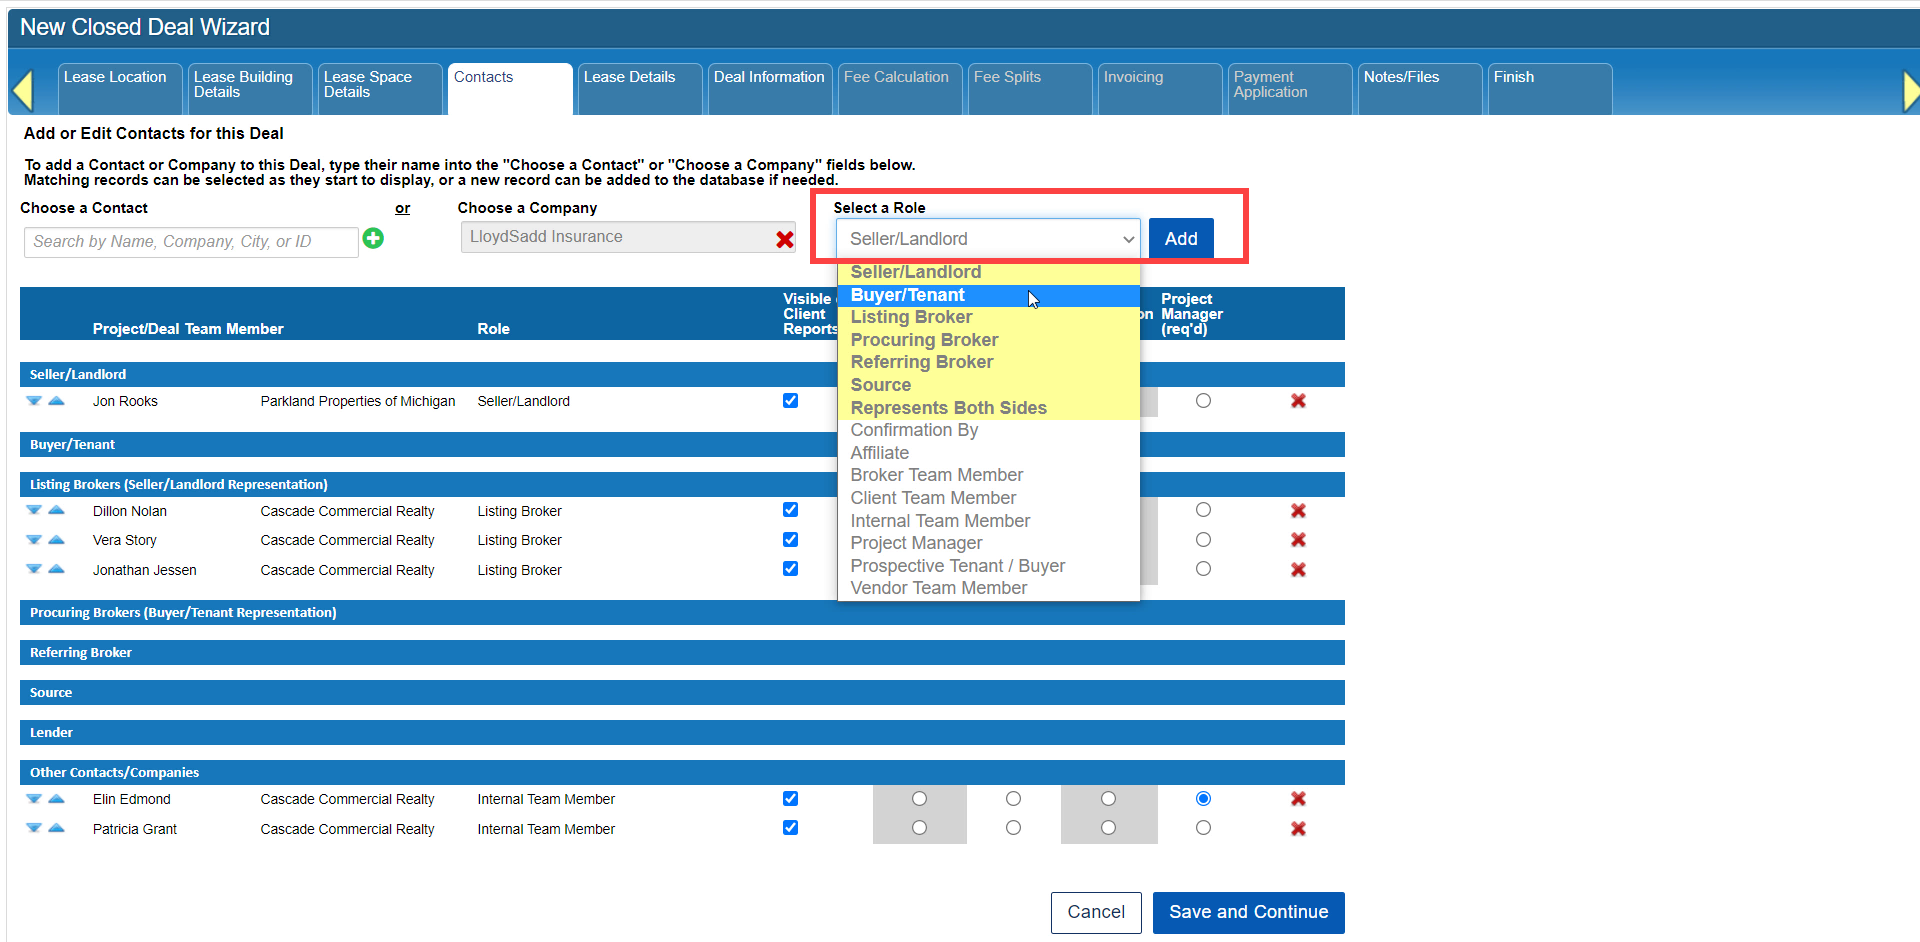 CBA - Entering a Closed Deal - 06 Contacts (Time 0_01_58;01).png (image/png)
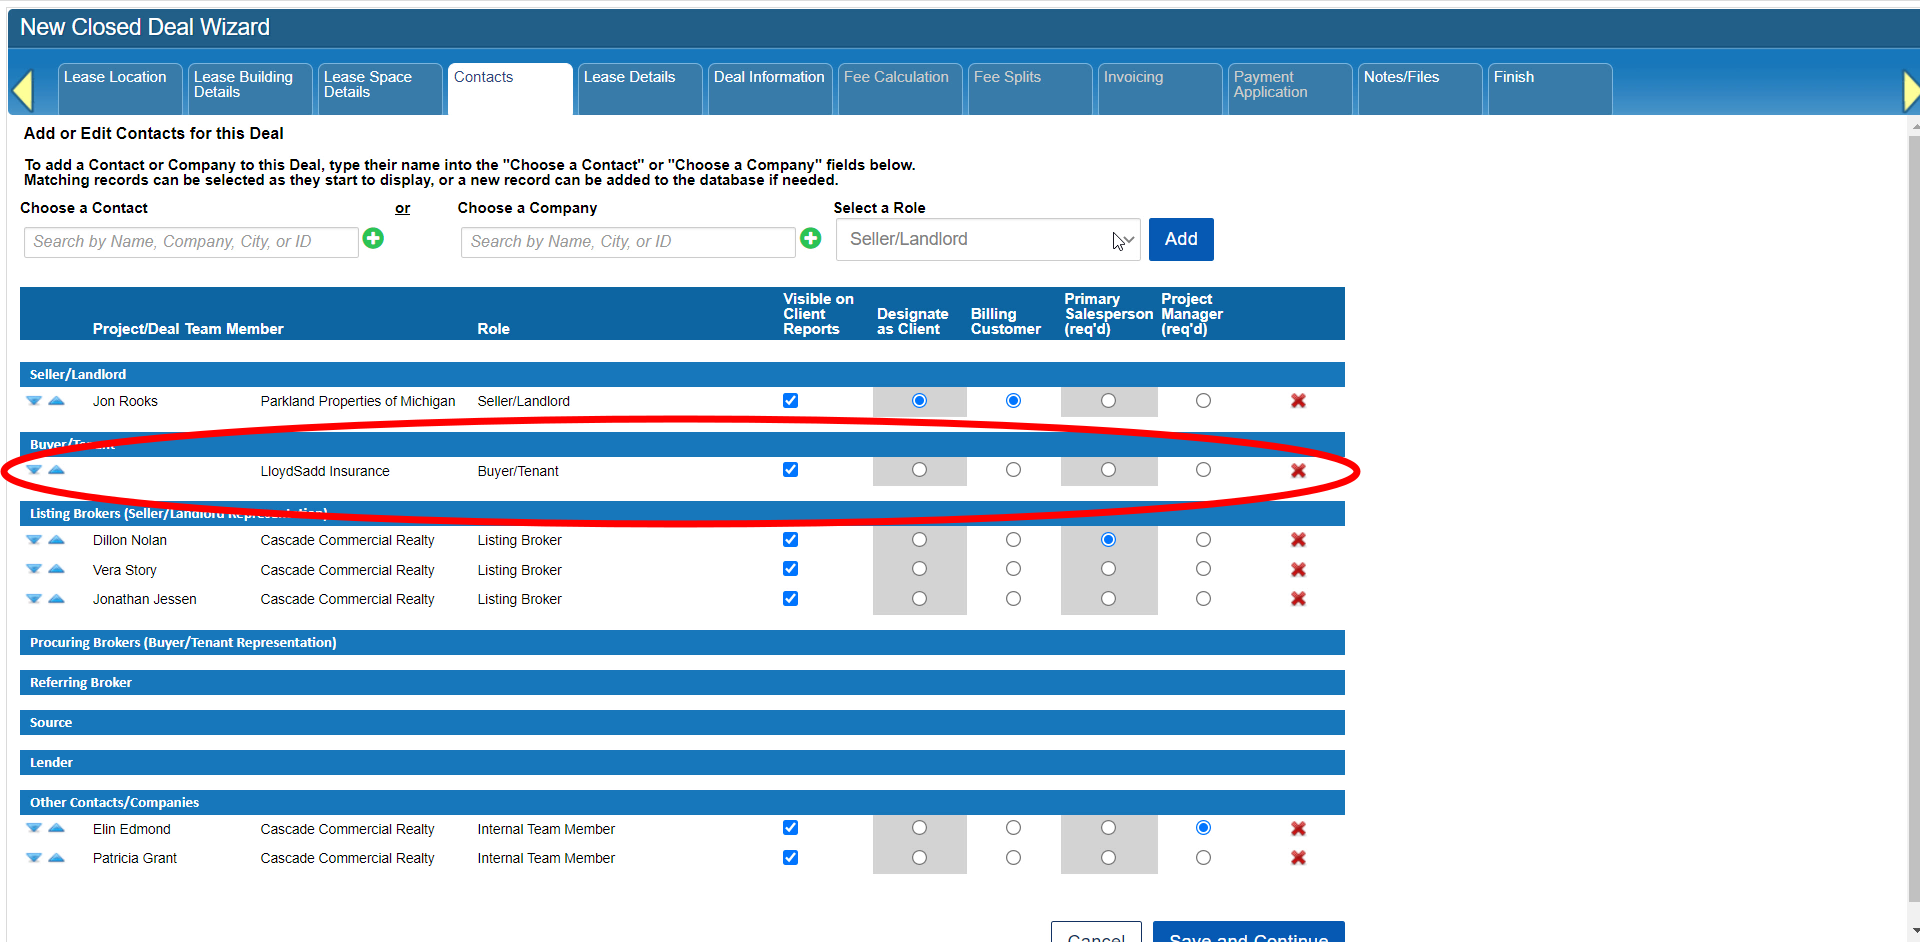 CBA - Entering a Closed Deal - 06 Contacts (Time 0_02_08;13).png (image/png)
 CBA - Entering a Closed Deal - 06 Contacts (Time 0_02_26;14).png (image/png)
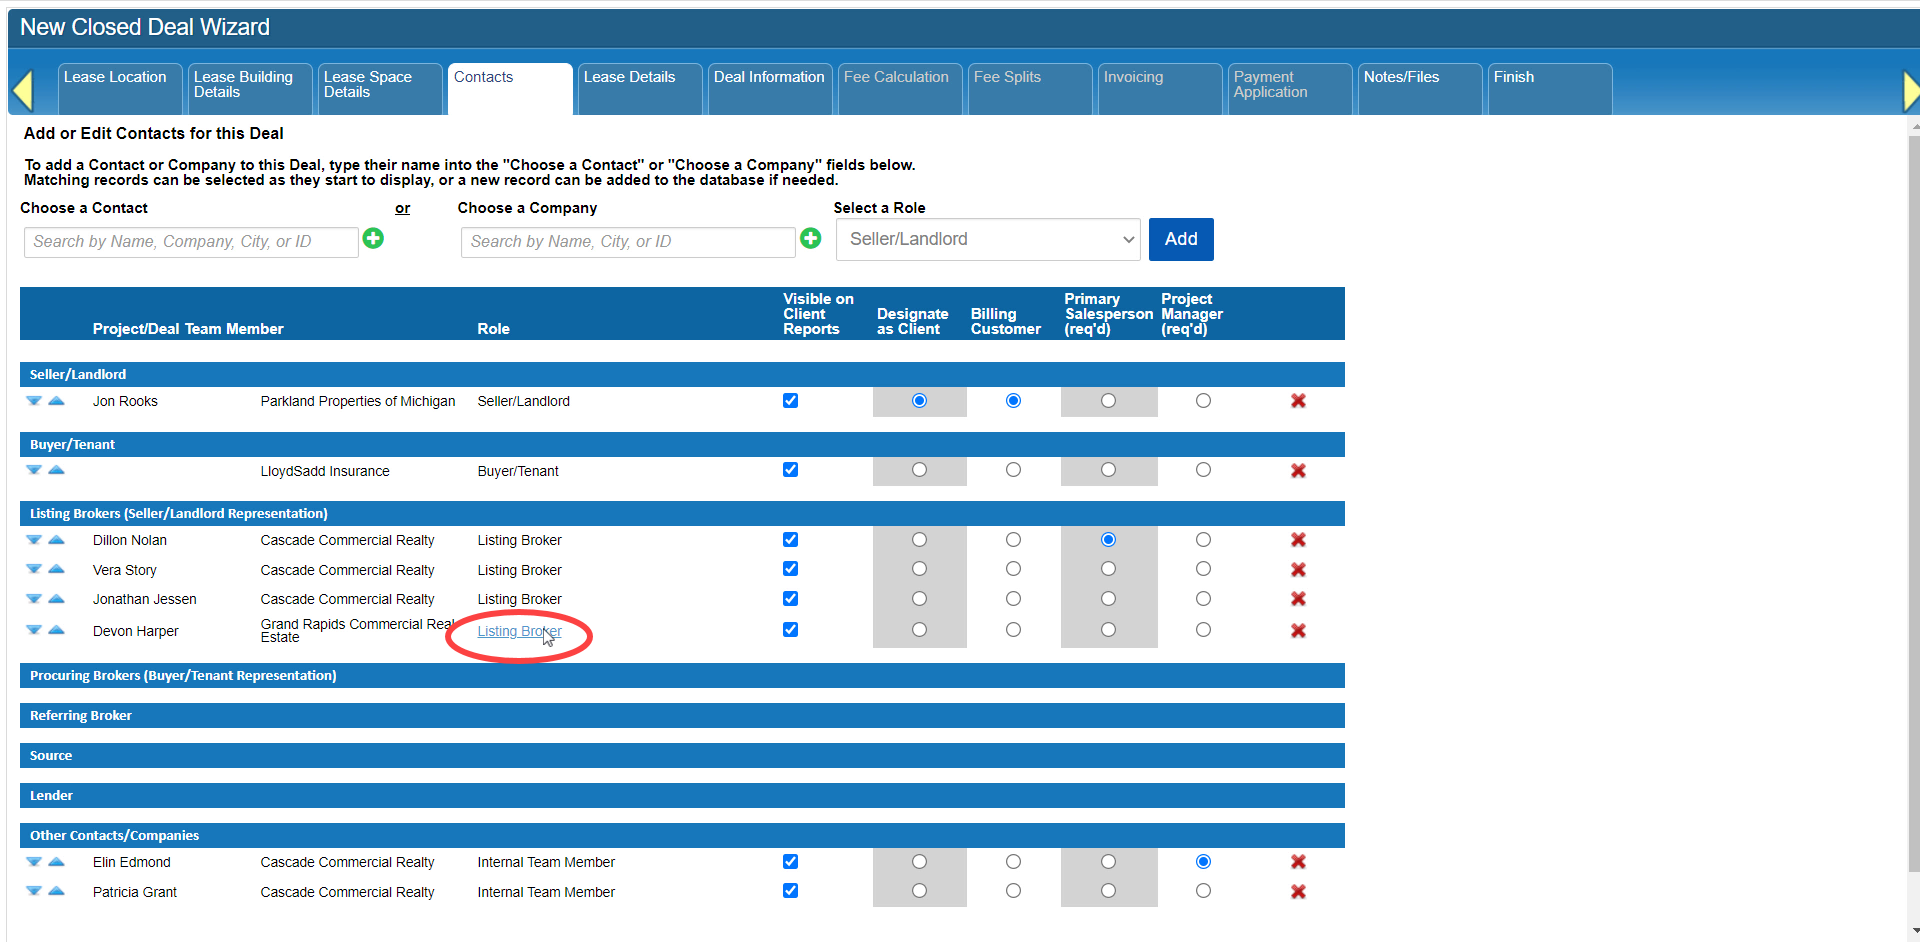 CBA - Entering a Closed Deal - 06 Contacts (Time 0_02_30;08).png (image/png)
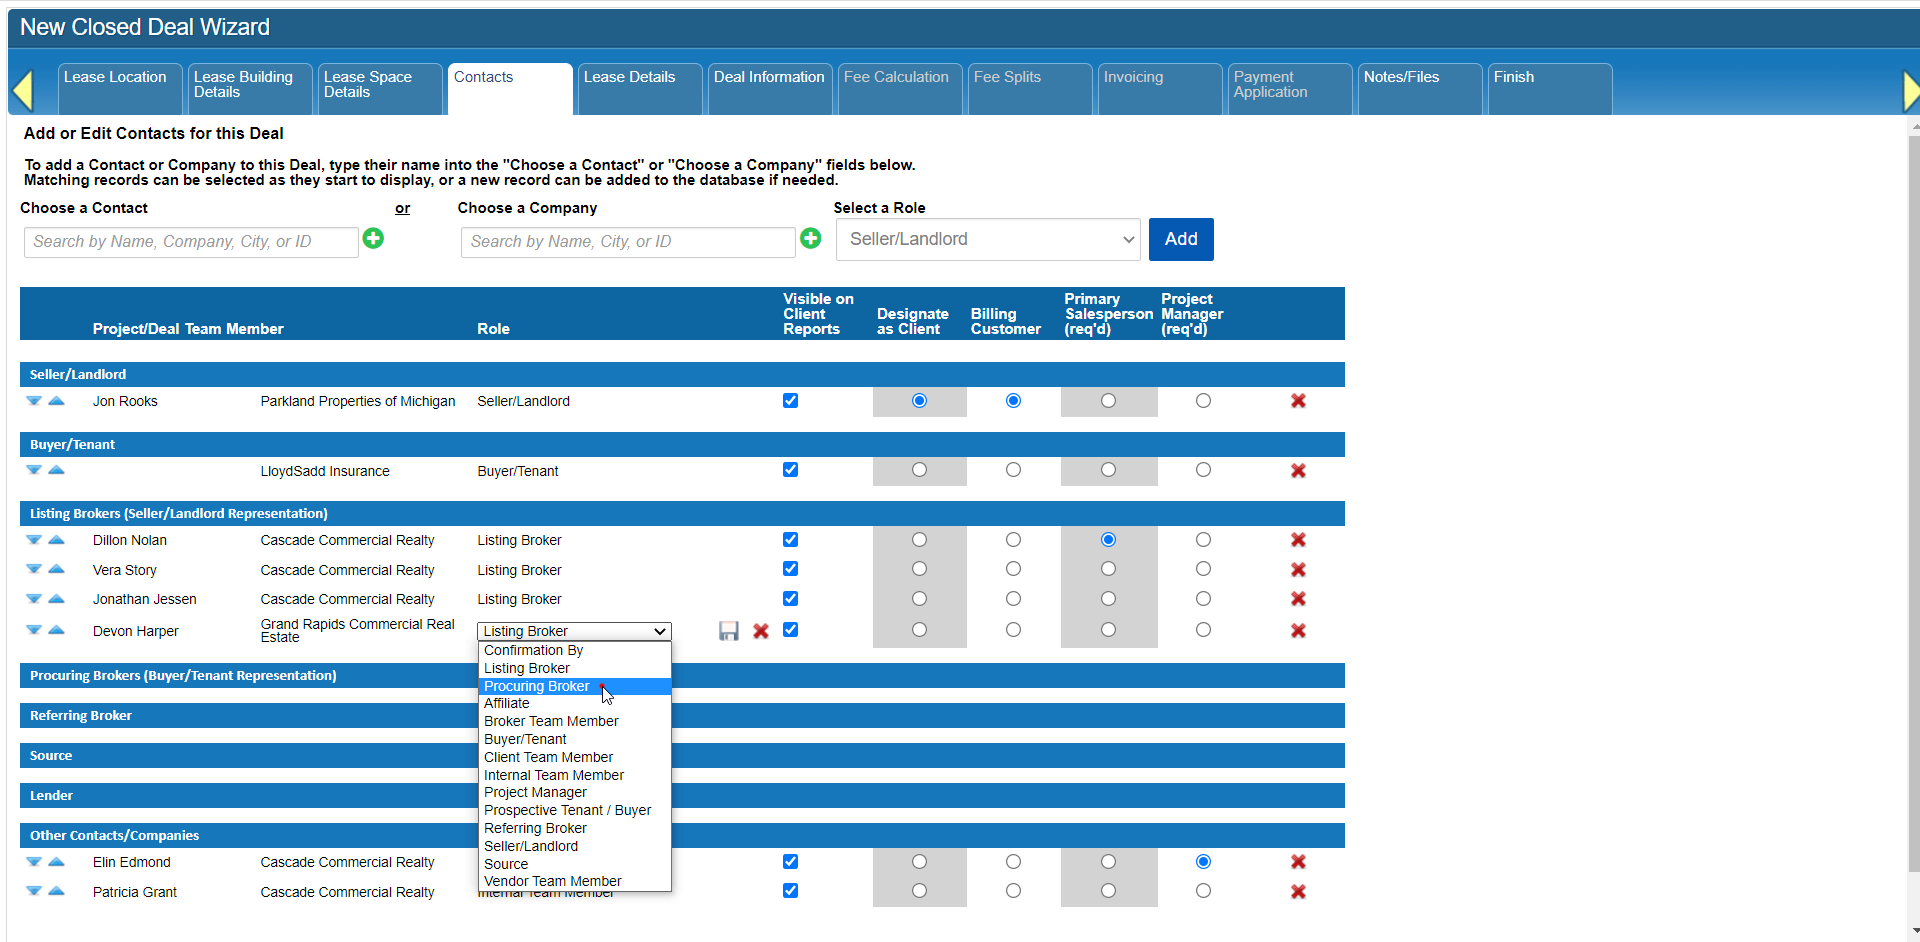 CBA - Entering a Closed Deal - 06 Contacts (Time 0_03_00;07).png (image/png)
 CBA - Entering a Closed Deal - 06 Contacts (Time 0_03_02;26).png (image/png)
 CBA - Entering a Closed Deal - 08 Deal Information (Time 0_00_24;04).png (image/png)
CBA - Entering a Closed Deal - 08 Deal Information (Time 0_00_45;08).png (image/png)
CBA - Entering a Closed Deal - 08 Deal Information (Time 0_00_52;05).png (image/png)
CBA - Entering a Closed Deal - 08 Deal Information (Time 0_00_24;04).png (image/png)
CBA - Entering a Closed Deal - 08 Deal Information (Time 0_00_45;08).png (image/png)
CBA - Entering a Closed Deal - 08 Deal Information (Time 0_00_52;05).png (image/png)
 CBA - Entering a Closed Deal - 08 Deal Information (Time 0_00_52;05).png (image/png)
 CBA - Entering a Closed Deal - 08 Deal Information (Time 0_00_52;05).png (image/png)
CBA - Entering a Closed Deal - 08 Deal Information (Time 0_01_00;26).png (image/png)
CBA - Entering a Closed Deal - 08 Deal Information (Time 0_01_27;04).png (image/png)
CBA - Entering a Closed Deal - 08 Deal Information (Time 0_01_55;00).png (image/png)
CBA - Entering a Closed Deal - 08 Deal Information (Time 0_02_14;05).png (image/png)
CBA - Entering a Closed Deal - 08 Deal Information (Time 0_02_19;07).png (image/png)
CBA - Entering a Closed Deal - 08 Deal Information (Time 0_02_38;14).png (image/png)
CBA - Entering a Closed Deal - 08 Deal Information (Time 0_02_53;10).png (image/png)
CBA - Entering a Closed Deal - 08 Deal Information (Time 0_02_55;26).png (image/png)
CBA - Entering a Closed Deal - 08 Deal Information (Time 0_03_14;29).png (image/png)
CBA - Entering a Closed Deal - 08 Deal Information (Time 0_03_28;25).png (image/png)
CBA - Entering a Closed Deal - 08 Deal Information (Time 0_00_52;05).png (image/png)
CBA - Entering a Closed Deal - 08 Deal Information (Time 0_01_00;26).png (image/png)
CBA - Entering a Closed Deal - 08 Deal Information (Time 0_01_27;04).png (image/png)
CBA - Entering a Closed Deal - 08 Deal Information (Time 0_01_55;00).png (image/png)
CBA - Entering a Closed Deal - 08 Deal Information (Time 0_02_14;05).png (image/png)
CBA - Entering a Closed Deal - 08 Deal Information (Time 0_02_19;07).png (image/png)
CBA - Entering a Closed Deal - 08 Deal Information (Time 0_02_38;14).png (image/png)
CBA - Entering a Closed Deal - 08 Deal Information (Time 0_02_53;10).png (image/png)
CBA - Entering a Closed Deal - 08 Deal Information (Time 0_02_55;26).png (image/png)
CBA - Entering a Closed Deal - 08 Deal Information (Time 0_03_14;29).png (image/png)
CBA - Entering a Closed Deal - 08 Deal Information (Time 0_03_28;25).png (image/png)