This tutorial will cover the process of calculating the Deal’s Transaction Value (or Total Consideration), Commission, and other associated fees.
Instructions
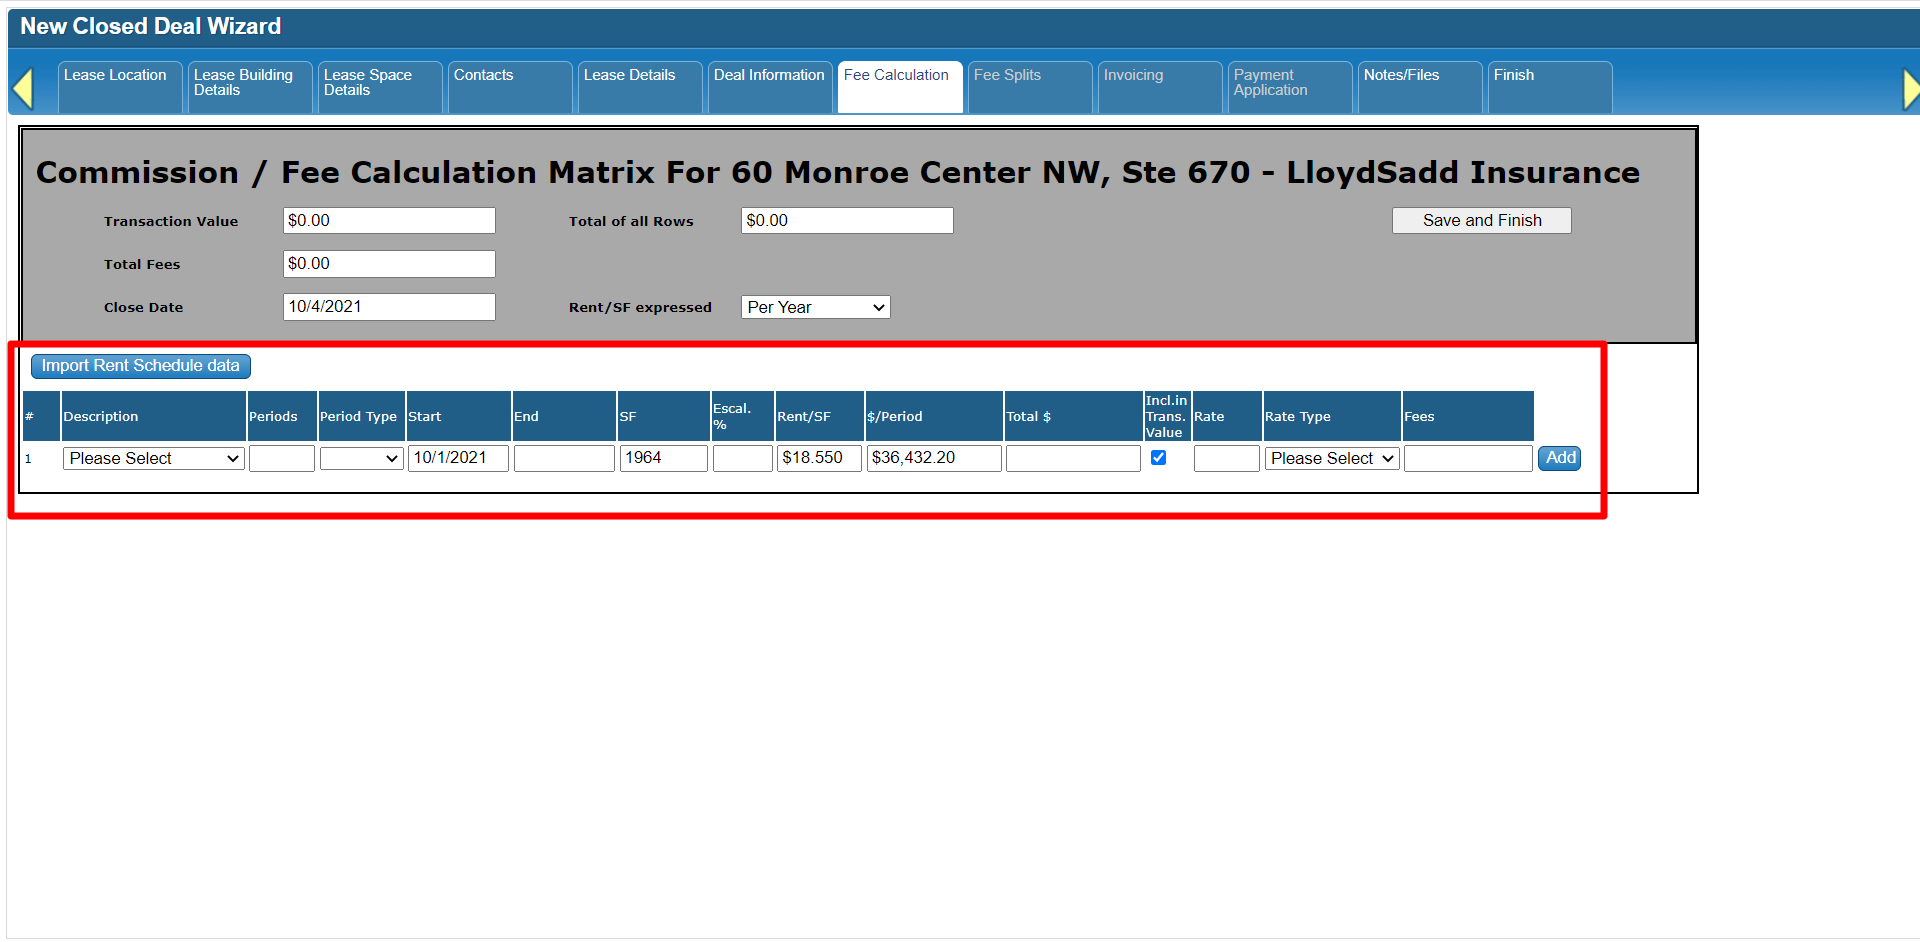
The Fee Calculation form has a summary section at the top, with a form below it for your fee schedule for this deal.
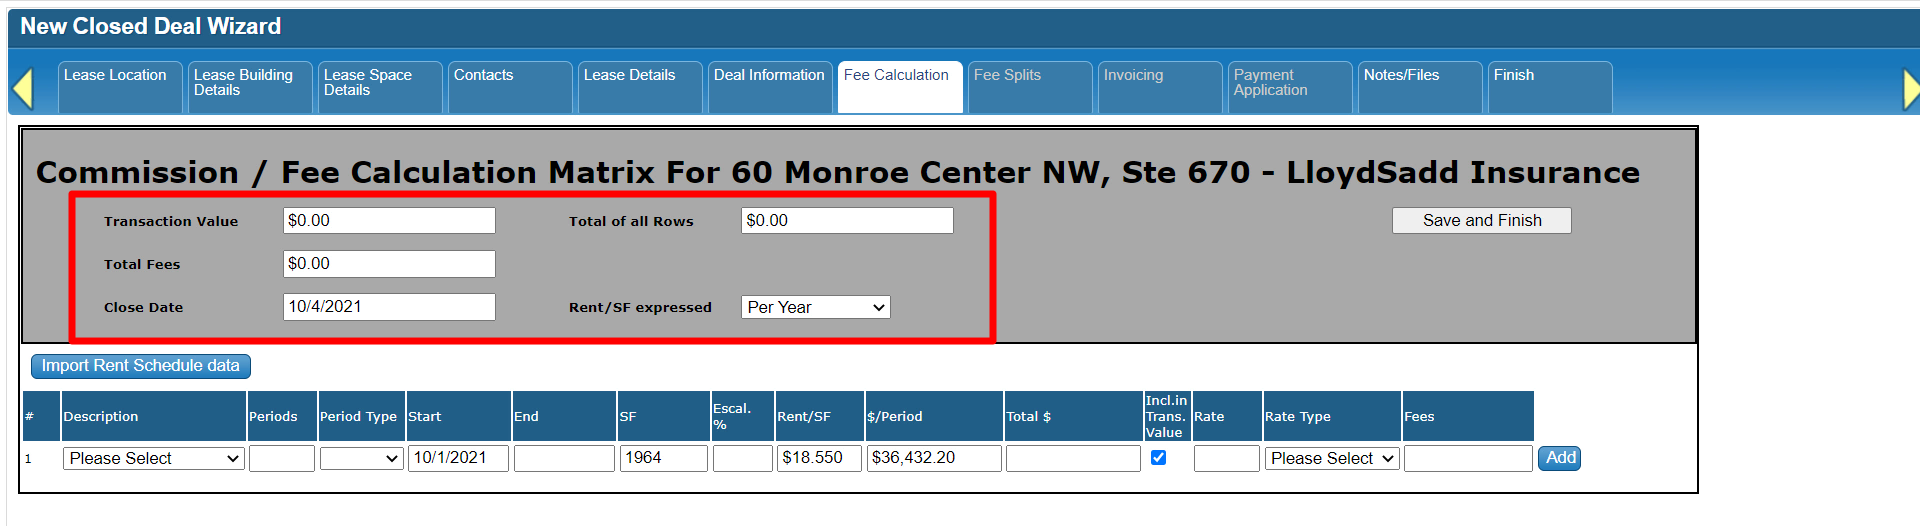
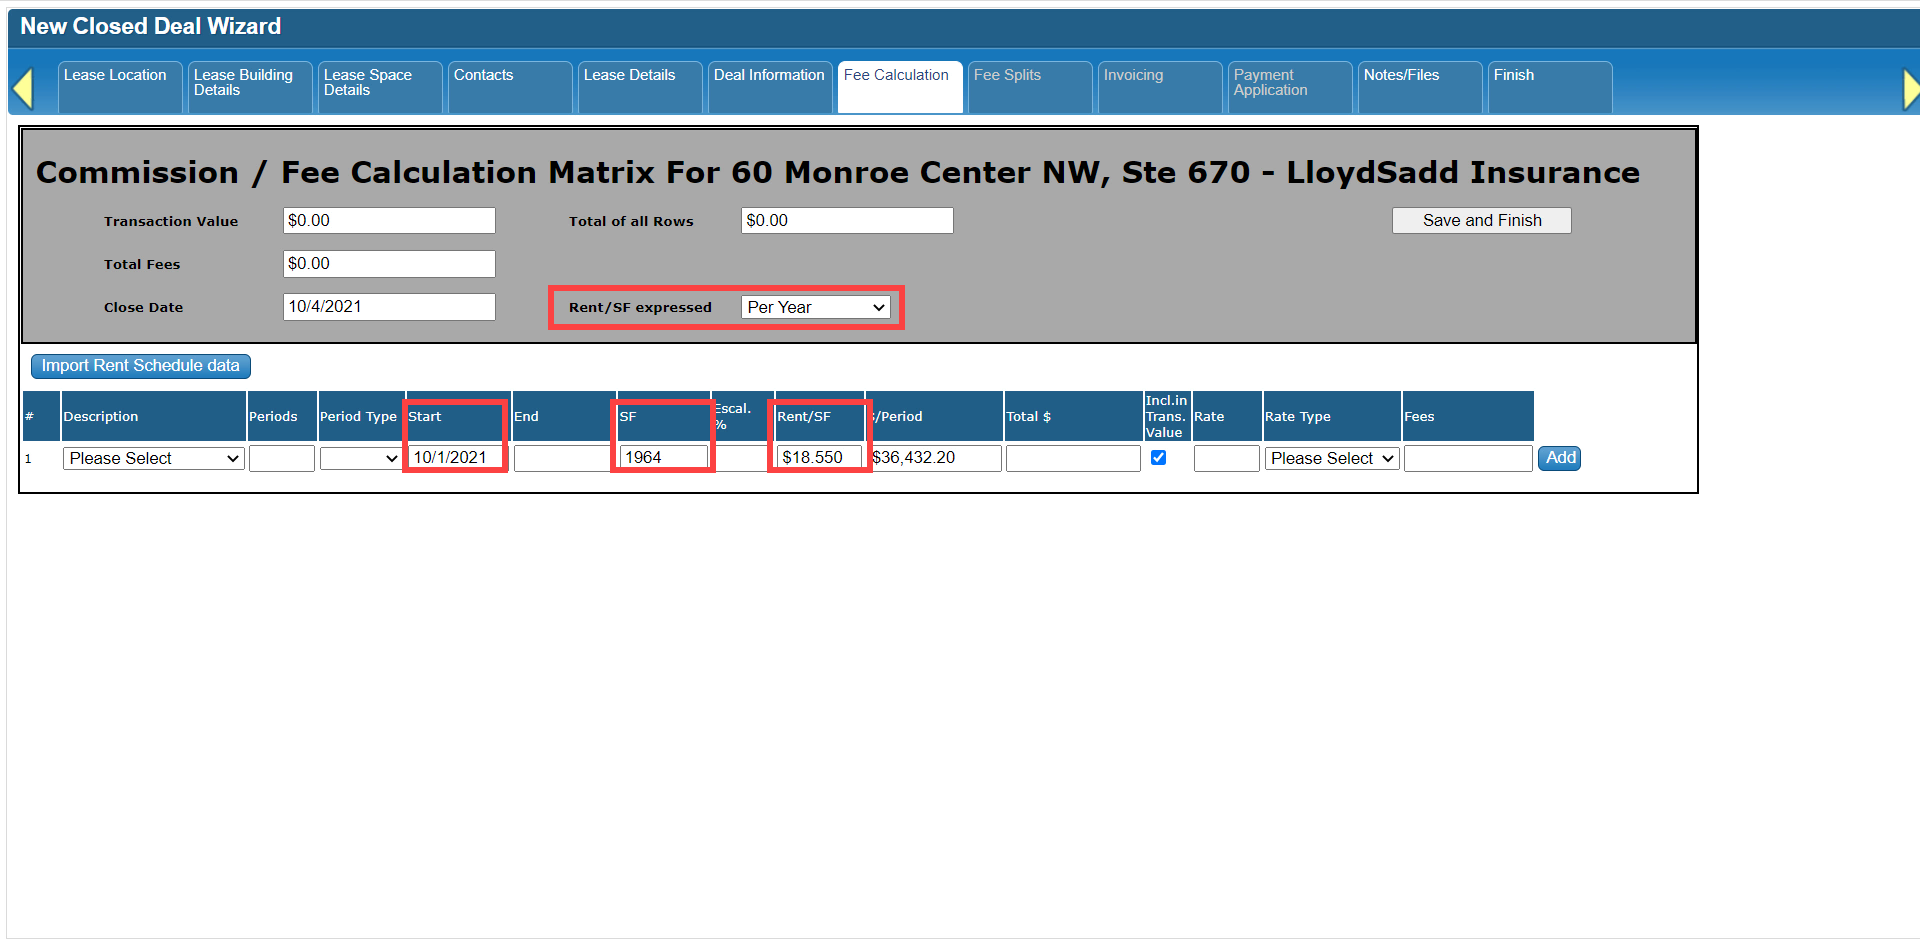
It is already pre-populated with information that was entered previously, such as how the Rent per Square Feet is expressed, the Commencement date, the Square Feet, and the Rent per Square Feet.

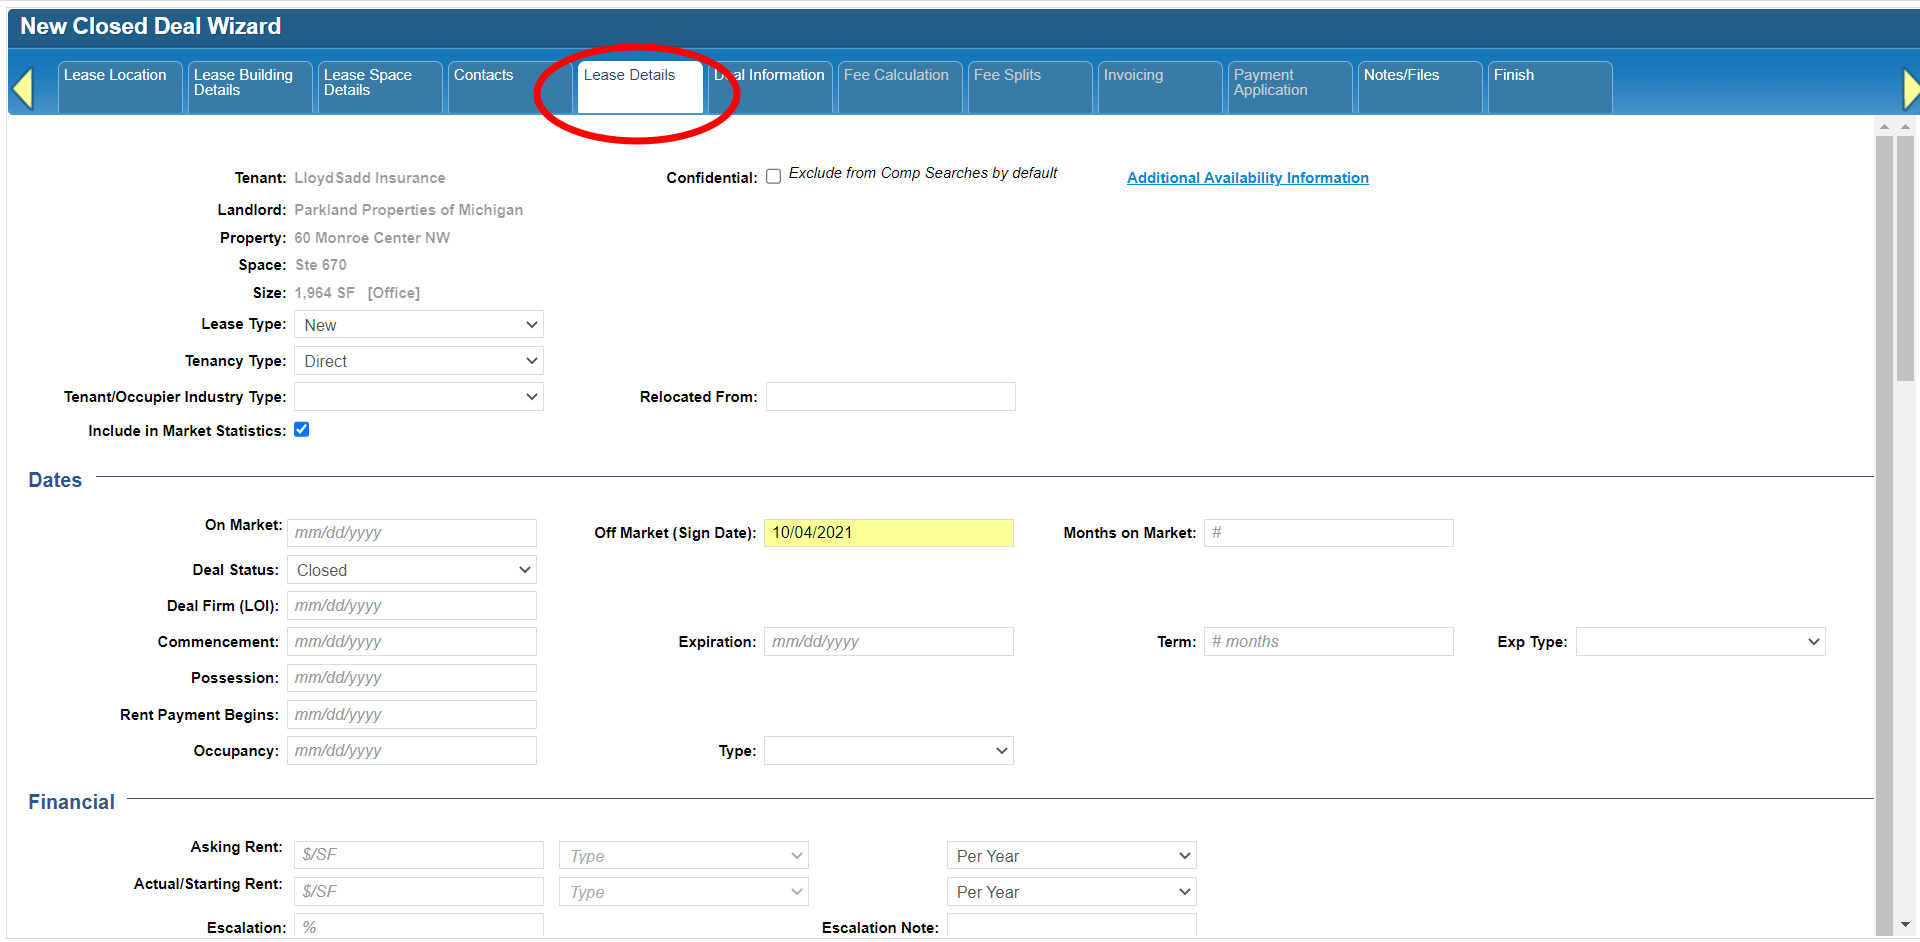
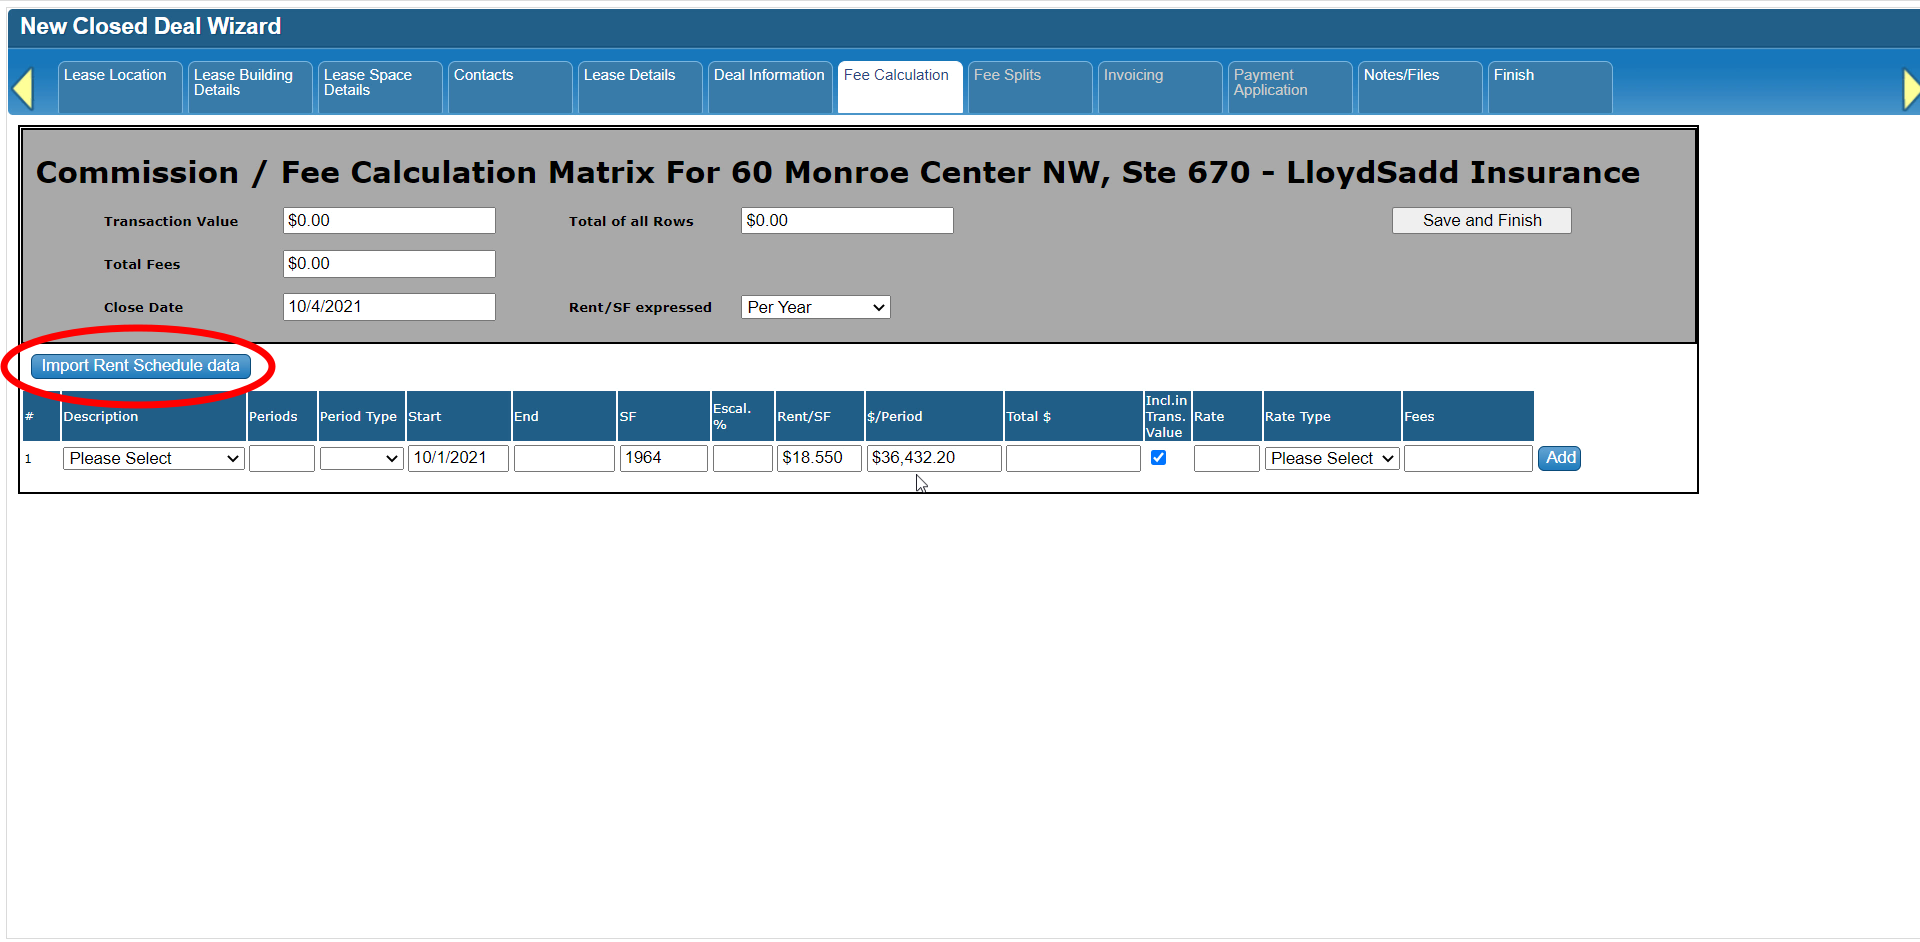
If you filled out the Rent Schedule on the Lease Details form, you can copy this information over by clicking on the “Import Rent Schedule data” button.
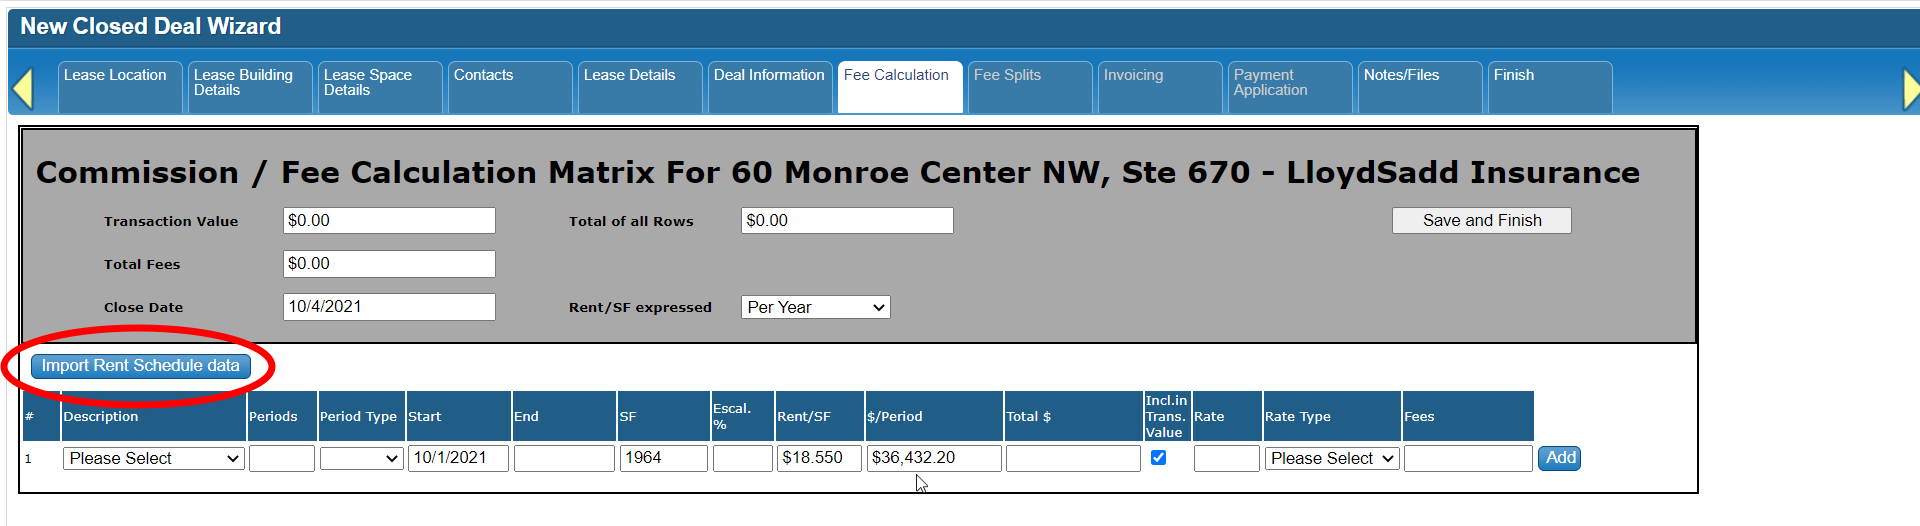
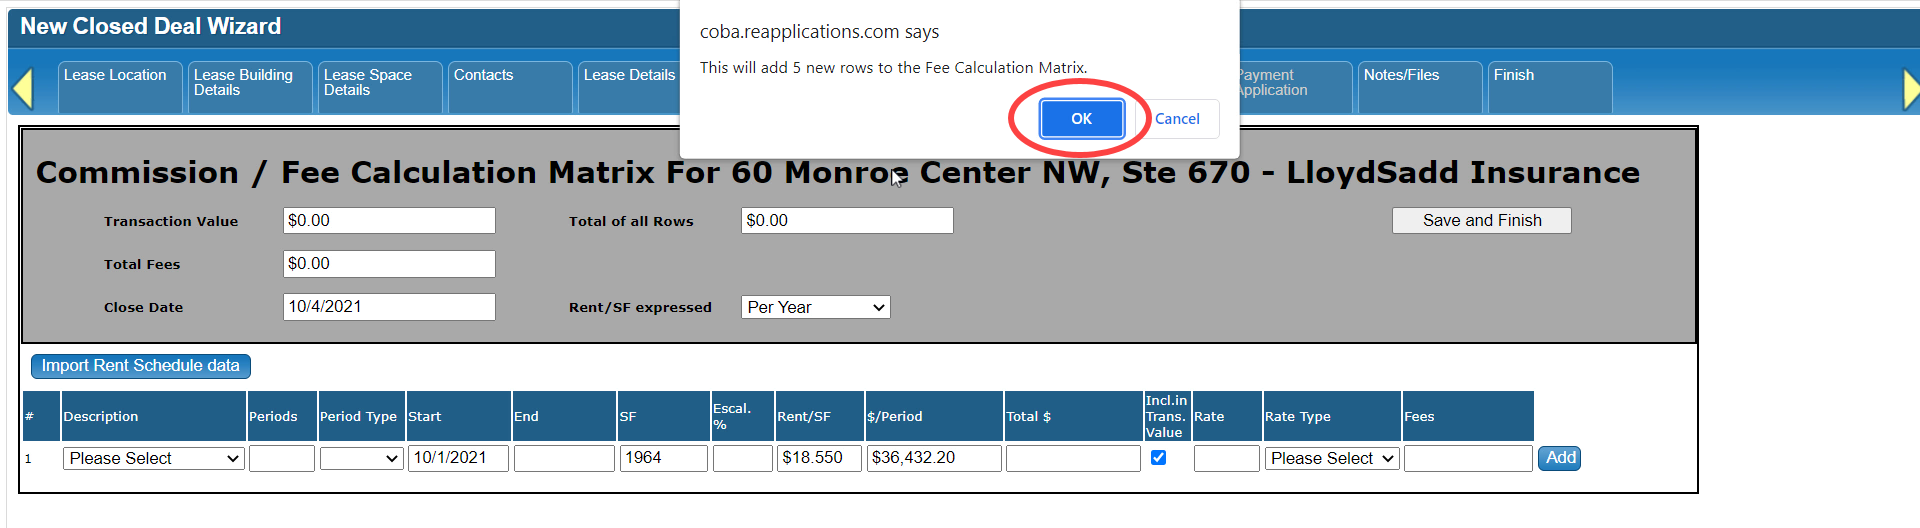
Click OK to confirm, and the system will populate this form with the relevant information for you. Please note that the data in the Rent Schedule on the Lease Details form is kept separate from the data on this Fee Calculation form, so changes to one form will not automatically update the other form. This allows for research and accounting related functions to remain separated.
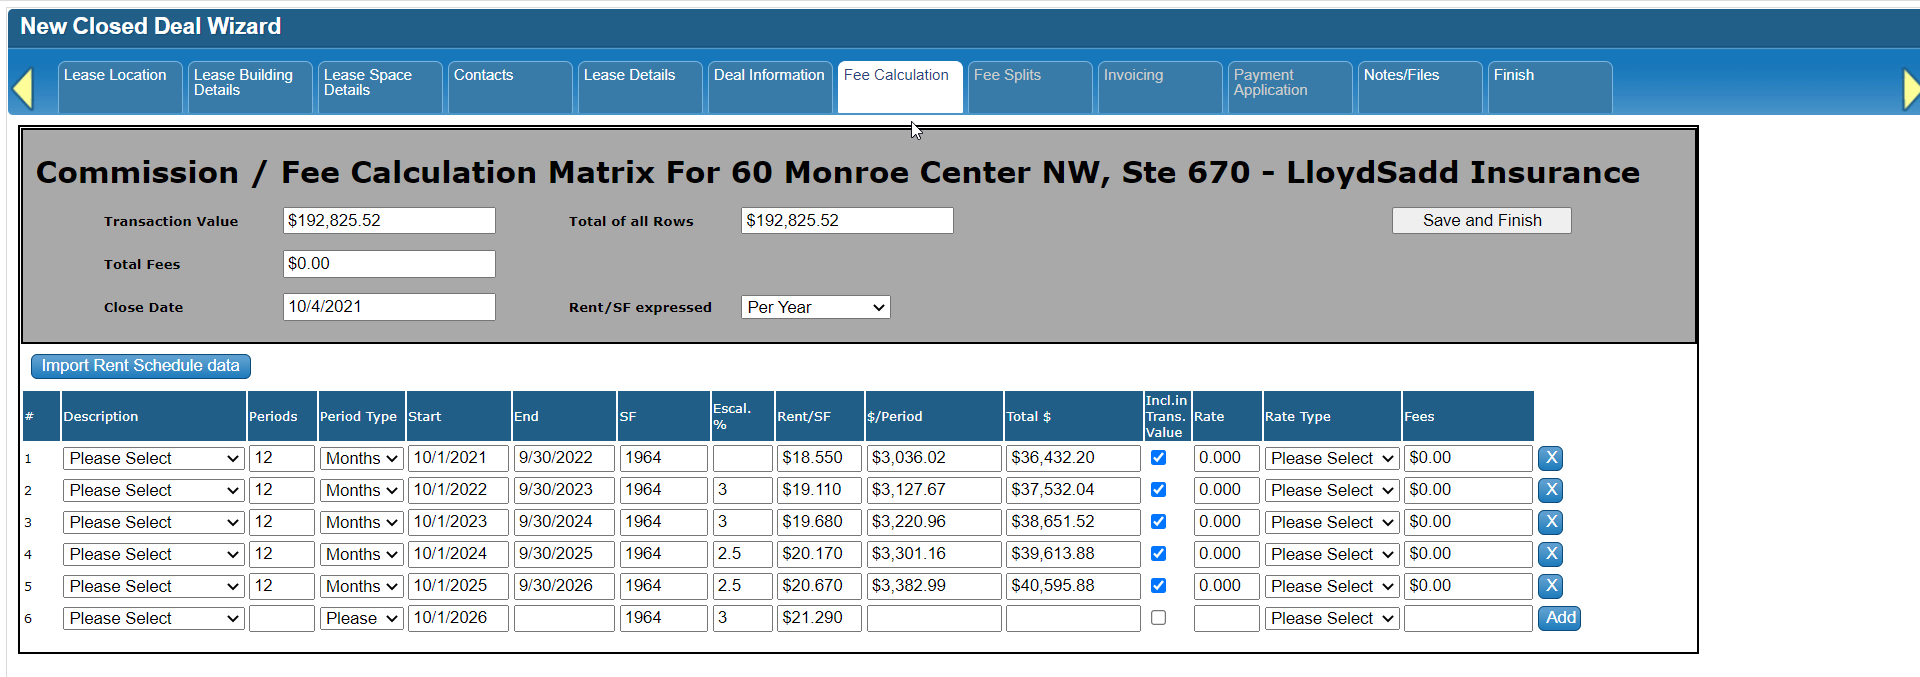
If there isn’t any information in the Rent Schedule to import, you can add the details directly to this form. Fill out the fields from left to right to allow the system to calculate as much as it can for you. Click the Add button to create a new line, or the [X] button to remove a line.

To calculate the commission amount, enter the rate and select how that rate is applied.
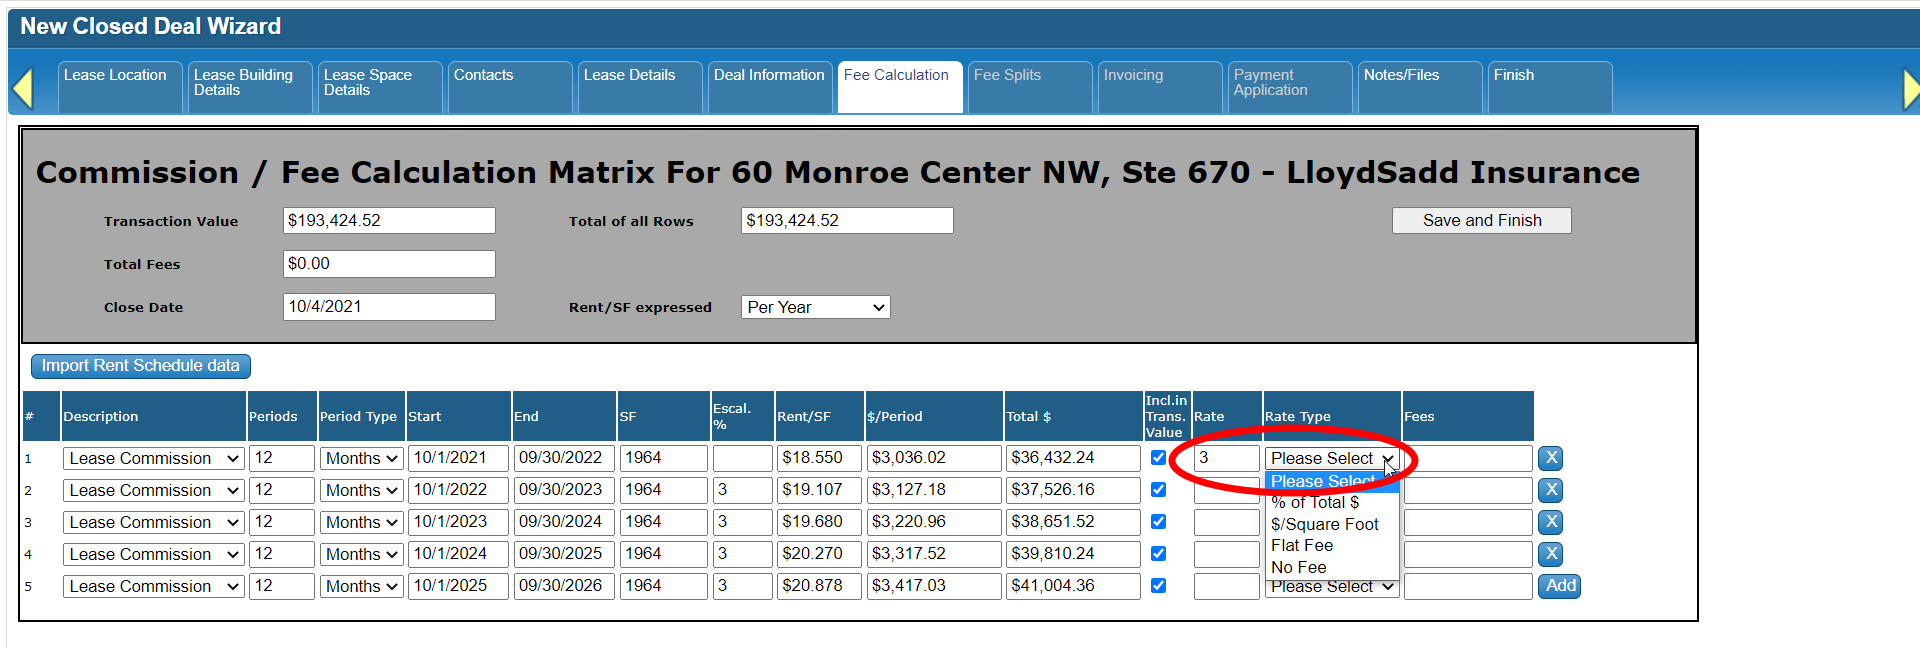
The system will calculate the Fee amount for you unless you select “Flat Fee” or “No Fee”. For “Flat Fee”, you can enter the Fee amount for that period directly.

Notice how your calculations are summarized at the top of the form as you enter or modify the information below.

You can also add non-commission fees and taxes to this form. We recommend calculating taxes after everything that is being taxed has already been entered on the form. Enter the taxable amount in the Total Amount field, then add the Tax Rate as a Percent of the Total Amount.
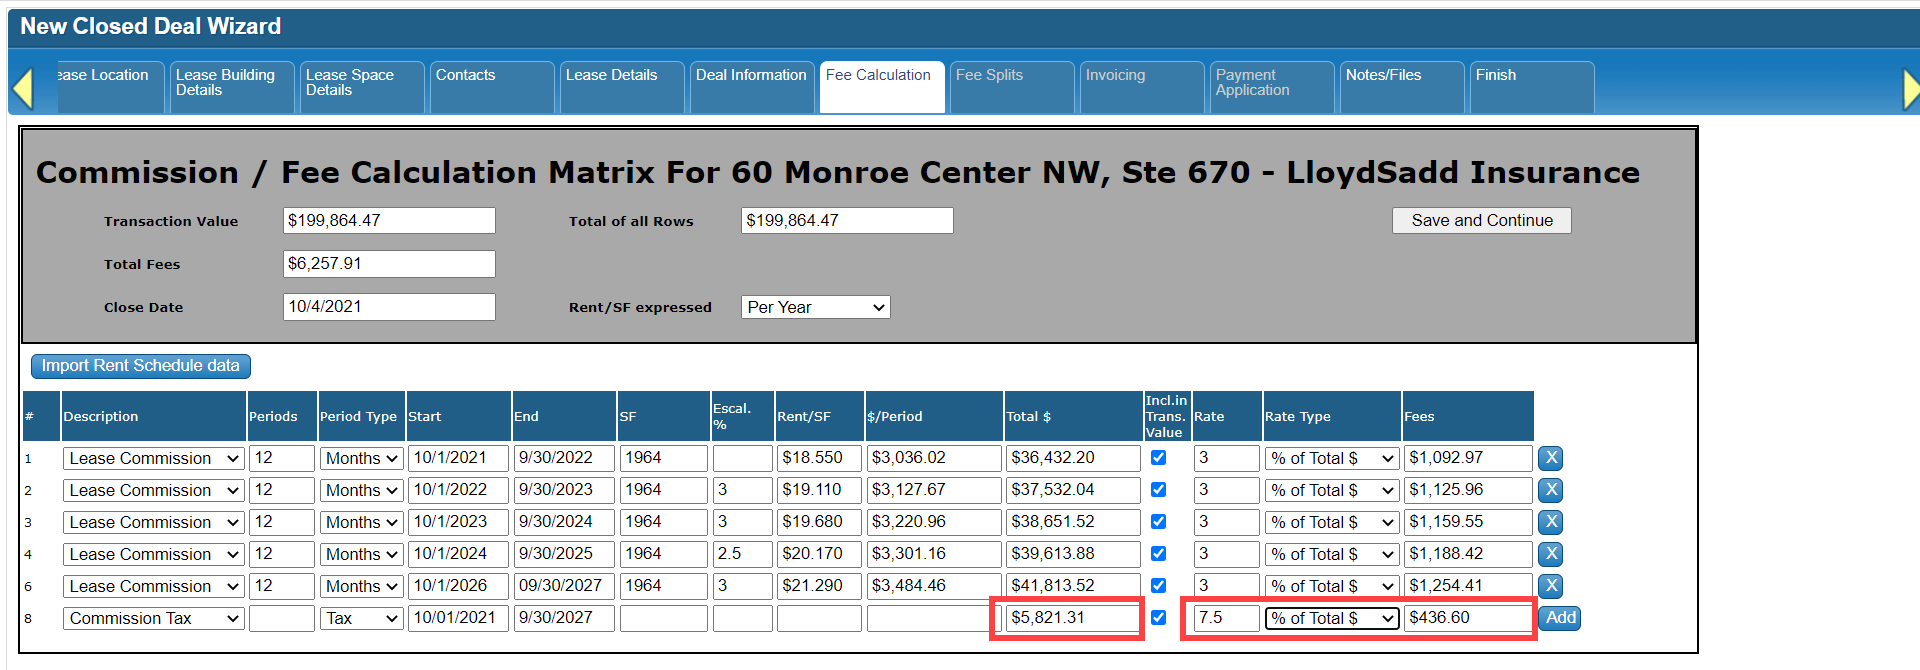
The “Include in Transaction Value” checkbox determines whether your Total amount for this line should be included in the deal’s Transaction Value. In this case, you’ll want to uncheck the box.

Make sure to enter everything that is related to this deal and is billable to your customer. For example, a premium marketing expense that can be recouped from your customer can be added by selecting the applicable Description and Period Type. You can either remove the other values that don’t apply here or update them, for example, to reflect the date the expense was incurred. Finish by updating the Rate Type and Expense or Fee Amount.

You can override any of the calculated values manually if needed. We try to make our calculations as accurate as possible, but understand that there are sometimes differences between our system and manual or spreadsheet calculations due to variations in precision.
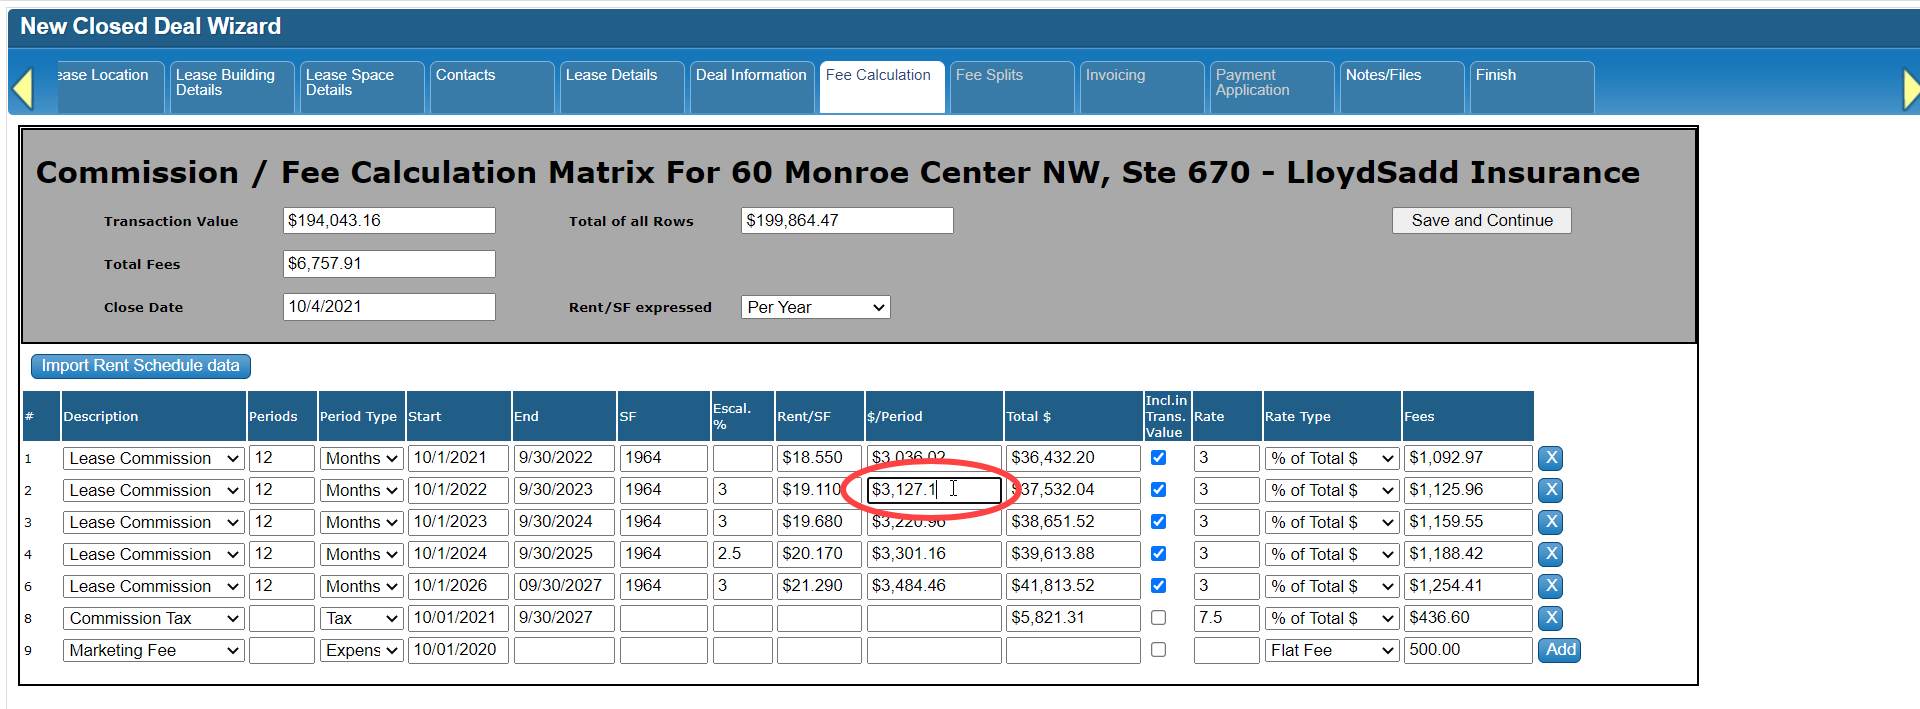
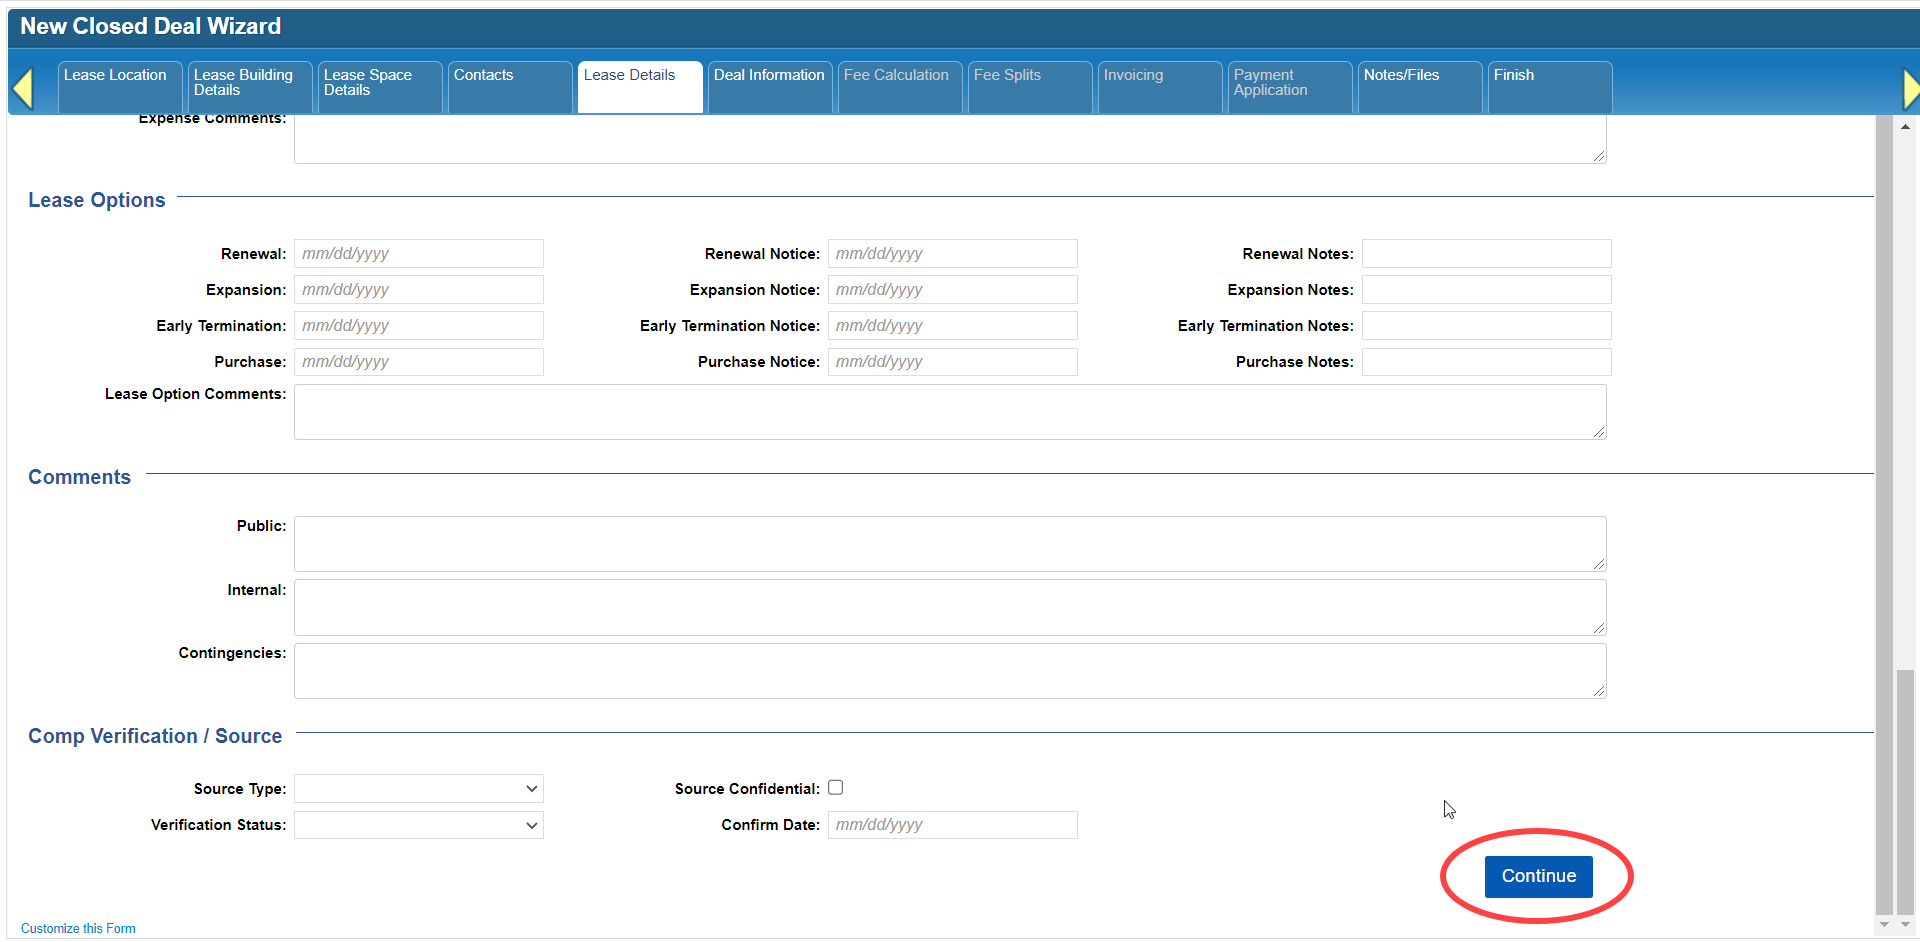
Once you have entered all of the fees, click Save and Continue.

Click here to go to the next tutorial.
Related articles
- How to create a new Closed Deal: Part 2 - New Closed Deal Modal
- How to create a new Closed Deal: Part 3 - Workflow Navigation
- How to create a new Closed Deal: Part 4 - Property
- How to create a new Closed Deal: Part 5 - Space
- How to create a new Closed Deal: Part 6 - Contacts
- How to create a new Closed Deal: Part 7 - Lease Details
- How to create a new Closed Deal: Part 8 - Deal Information
- How to create a new Closed Deal: Part 9 - Fee Calculation
- How to create a new Closed Deal: Part 10 - Fee Splits
- How to create a new Closed Deal: Part 11 - Invoicing
- How to create a new Closed Deal: Part 12 - Payments
- How to create a new Closed Deal: Part 13 - Notes/Files
- How to create a new Closed Deal: Part 14 - Link Project
- How to create a new Closed Deal: Part 15 - Deal Share
- How to create a new Closed Deal: Part 16 - Billing Schedule
- How to create a new Closed Deal: Part 17 - Net Adjustments
- How to create a new Closed Deal: Part 18 - Annuity Schedule
- How to create a new Closed Deal: Part 19 - Sale Details
- How to create a new Closed Deal: Part 20 - Other Starting Points
© 2023 CoStar Group
Attachments:
 CBA - Entering a Closed Deal - 08 Deal Information (Time 0_03_28;25).png (image/png)
 CBA - Entering a Closed Deal - 08 Deal Information (Time 0_03_14;29).png (image/png)
 CBA - Entering a Closed Deal - 08 Deal Information (Time 0_02_55;26).png (image/png)
 CBA - Entering a Closed Deal - 08 Deal Information (Time 0_02_53;10).png (image/png)
 CBA - Entering a Closed Deal - 08 Deal Information (Time 0_02_38;14).png (image/png)
 CBA - Entering a Closed Deal - 08 Deal Information (Time 0_02_19;07).png (image/png)
 CBA - Entering a Closed Deal - 08 Deal Information (Time 0_02_14;05).png (image/png)
 CBA - Entering a Closed Deal - 08 Deal Information (Time 0_01_55;00).png (image/png)
 CBA - Entering a Closed Deal - 08 Deal Information (Time 0_01_27;04).png (image/png)
 CBA - Entering a Closed Deal - 08 Deal Information (Time 0_01_00;26).png (image/png)
 CBA - Entering a Closed Deal - 08 Deal Information (Time 0_00_52;05).png (image/png)
 CBA - Entering a Closed Deal - 08 Deal Information (Time 0_00_45;08).png (image/png)
 CBA - Entering a Closed Deal - 08 Deal Information (Time 0_00_24;04).png (image/png)
 CBA - Entering a Closed Deal - 06 Contacts (Time 0_03_02;26).png (image/png)
 CBA - Entering a Closed Deal - 06 Contacts (Time 0_03_00;07).png (image/png)
 CBA - Entering a Closed Deal - 06 Contacts (Time 0_02_30;08).png (image/png)
 CBA - Entering a Closed Deal - 06 Contacts (Time 0_02_26;14).png (image/png)
 CBA - Entering a Closed Deal - 06 Contacts (Time 0_02_08;13).png (image/png)
 CBA - Entering a Closed Deal - 06 Contacts (Time 0_01_58;01).png (image/png)
 CBA - Entering a Closed Deal - 06 Contacts (Time 0_01_52;12).png (image/png)
 CBA - Entering a Closed Deal - 06 Contacts (Time 0_01_40;29).png (image/png)
 CBA - Entering a Closed Deal - 06 Contacts (Time 0_01_27;02).png (image/png)
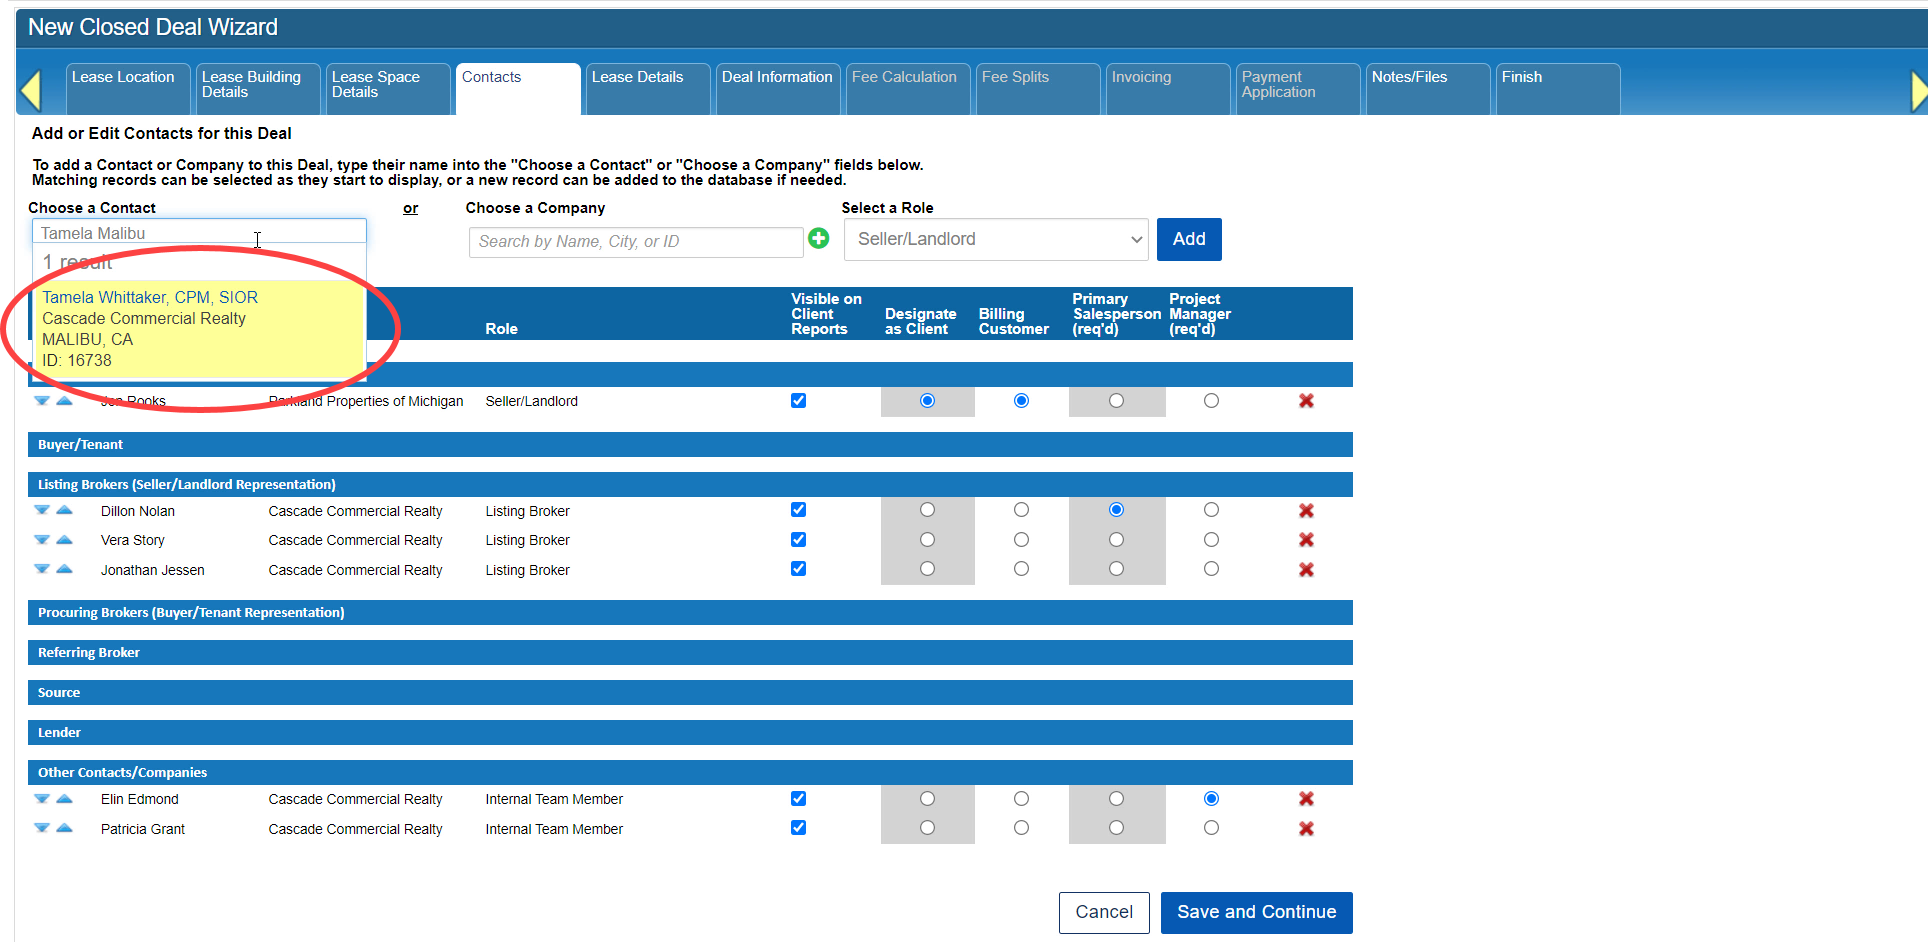 CBA - Entering a Closed Deal - 06 Contacts (Time 0_01_21;18).png (image/png)
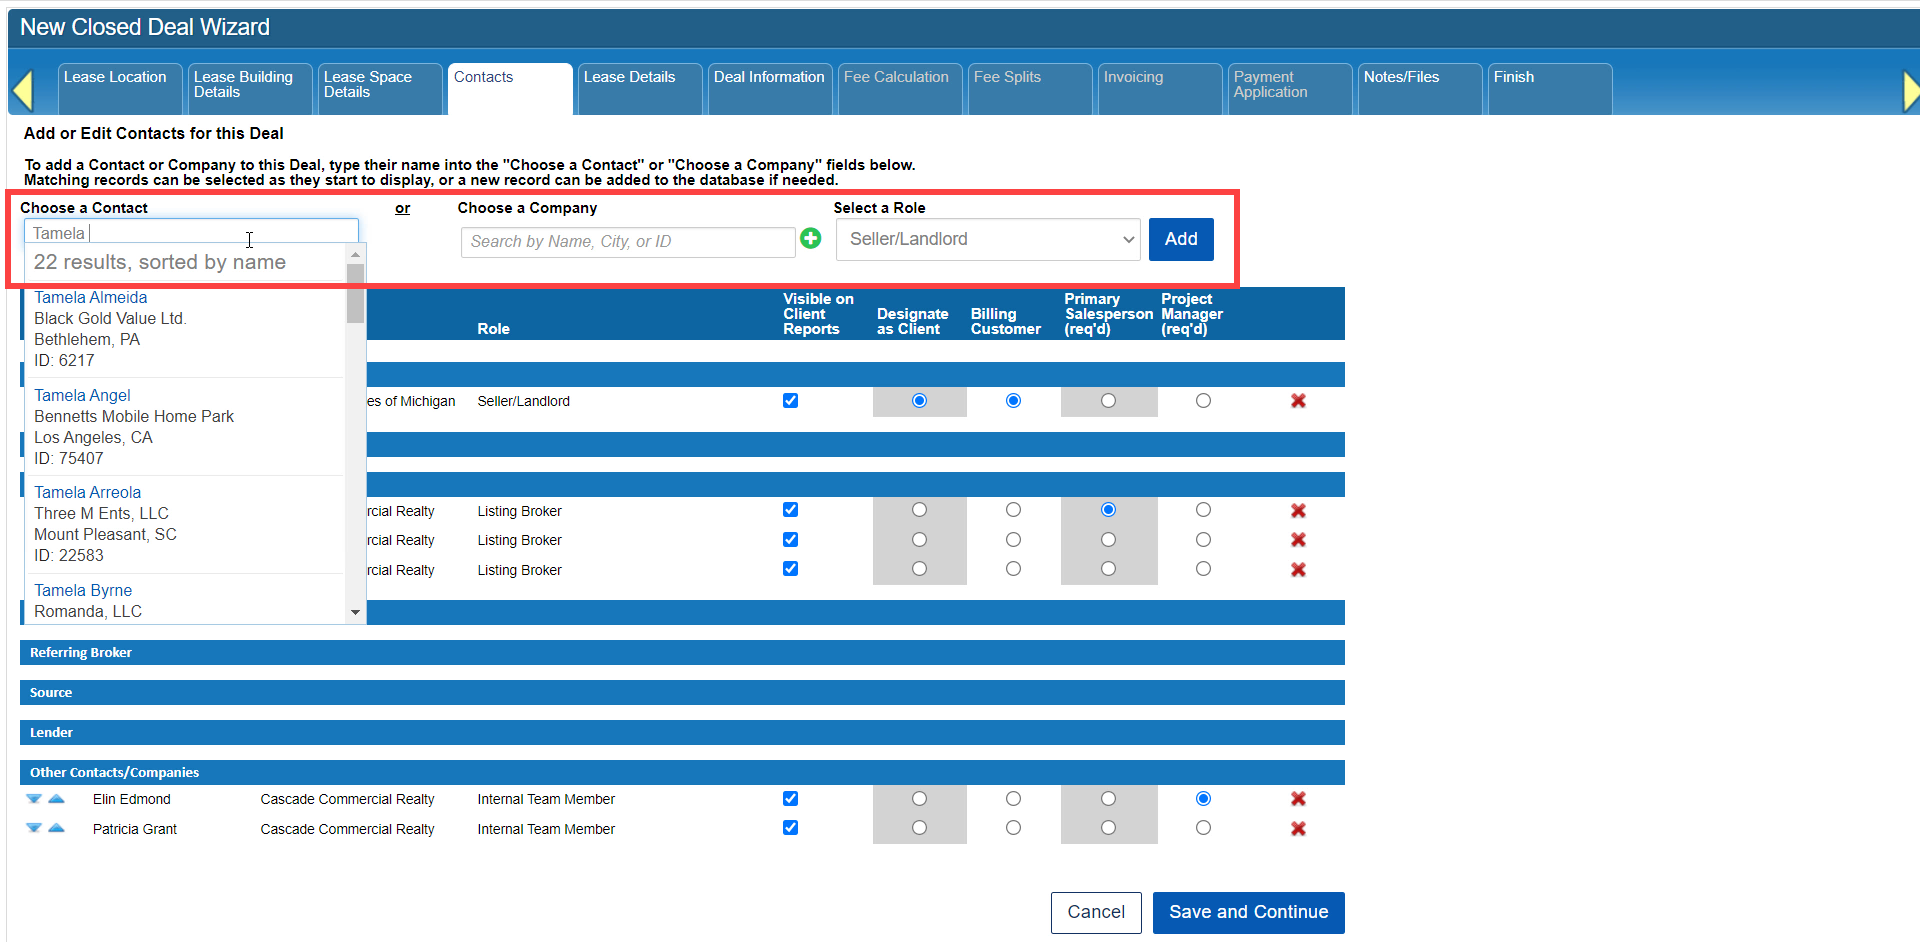 CBA - Entering a Closed Deal - 06 Contacts (Time 0_00_51;04).png (image/png)
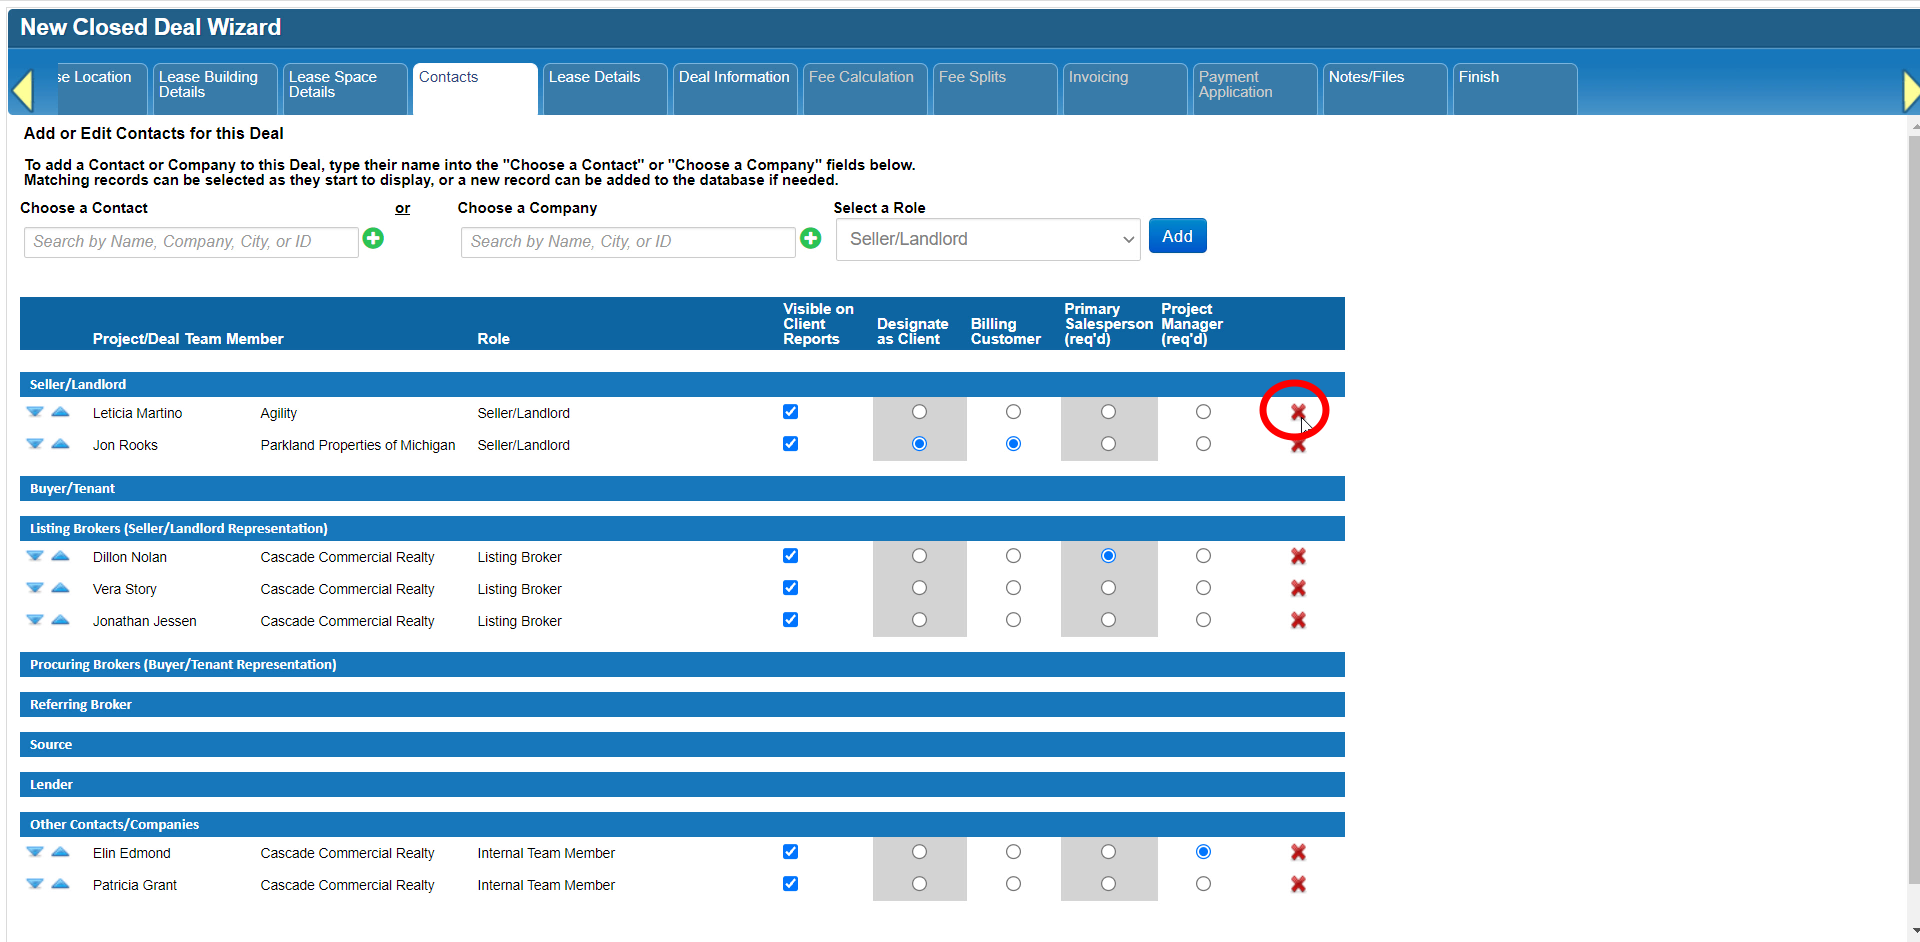 CBA - Entering a Closed Deal - 06 Contacts (Time 0_00_33;28).png (image/png)
 CBA - Entering a Closed Deal - 04 Property (Time 0_02_52;14).png (image/png)
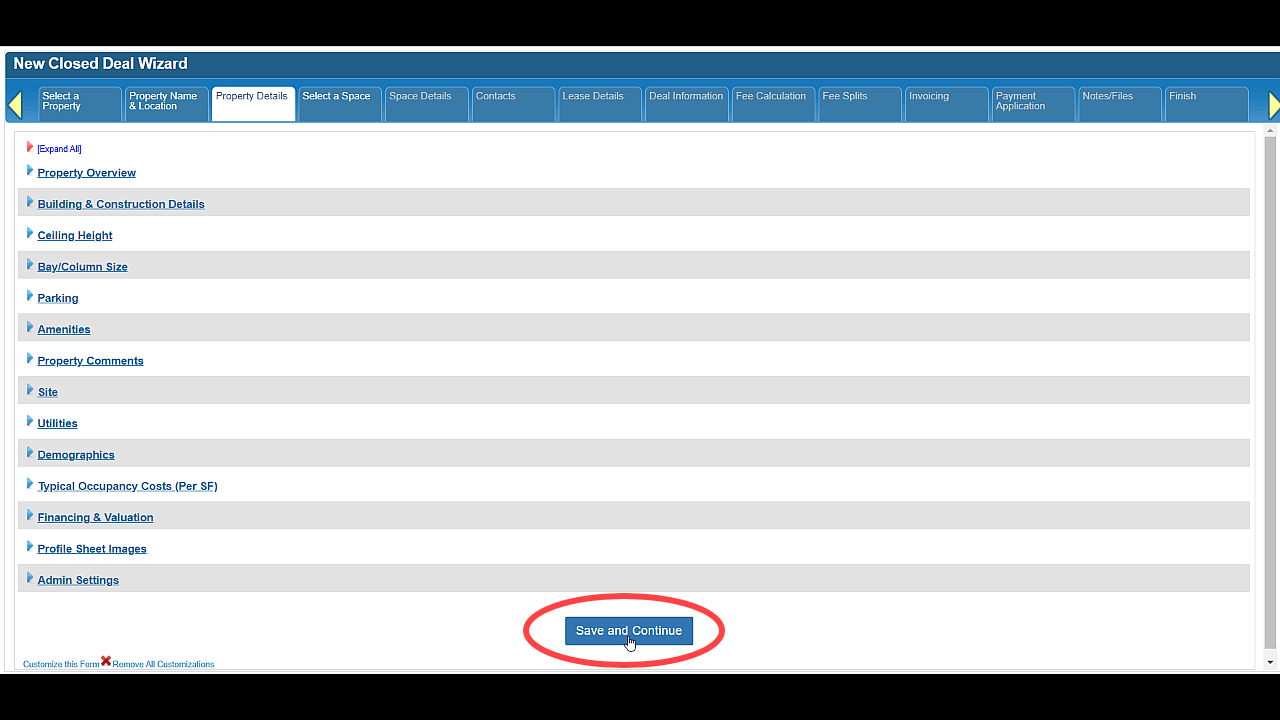 CBA - Entering a Closed Deal - 04 Property (Time 0_02_44;24).png (image/png)
 CBA - Entering a Closed Deal - 04 Property (Time 0_02_38;22).png (image/png)
 CBA - Entering a Closed Deal - 04 Property (Time 0_02_19;12).png (image/png)
 CBA - Entering a Closed Deal - 04 Property (Time 0_02_12;07).png (image/png)
 CBA - Entering a Closed Deal - 04 Property (Time 0_02_00;11).png (image/png)
 CBA - Entering a Closed Deal - 04 Property (Time 0_01_40;21).png (image/png)
 CBA - Entering a Closed Deal - 04 Property (Time 0_01_37;08).png (image/png)
 CBA - Entering a Closed Deal - 04 Property (Time 0_01_32;17).png (image/png)
 CBA - Entering a Closed Deal - 04 Property (Time 0_01_25;02).png (image/png)
 CBA - Entering a Closed Deal - 04 Property (Time 0_01_14;23).png (image/png)
 CBA - Entering a Closed Deal - 04 Property (Time 0_00_59;14).png (image/png)
 CBA - Entering a Closed Deal - 04 Property (Time 0_00_29;24).png (image/png)
 CBA - Entering a Closed Deal - 04 Property (Time 0_00_19;25).png (image/png)
 CBA - Entering a Closed Deal - 02 New Closed Deal Modal all (Time 0_04_23;06).png (image/png)
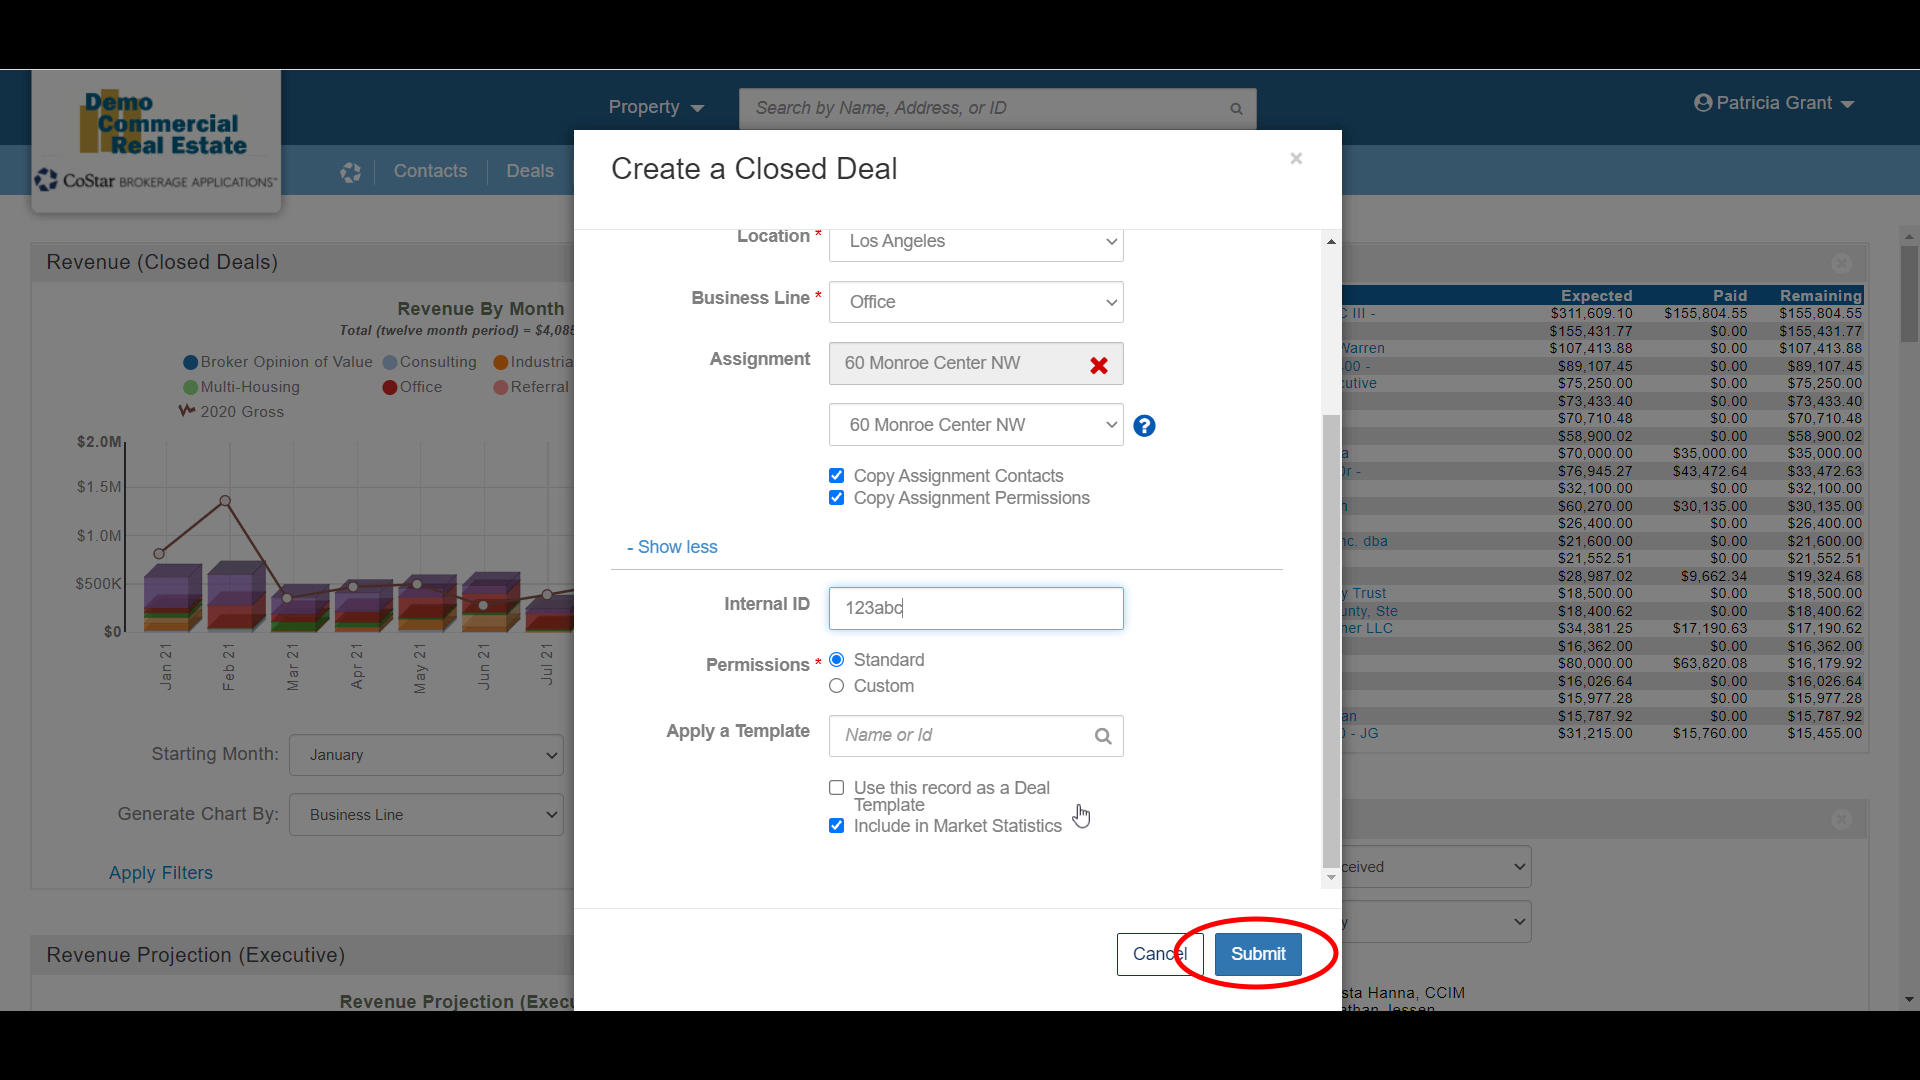 CBA - Entering a Closed Deal - 02 New Closed Deal Modal all (Time 0_04_18;08).png (image/png)
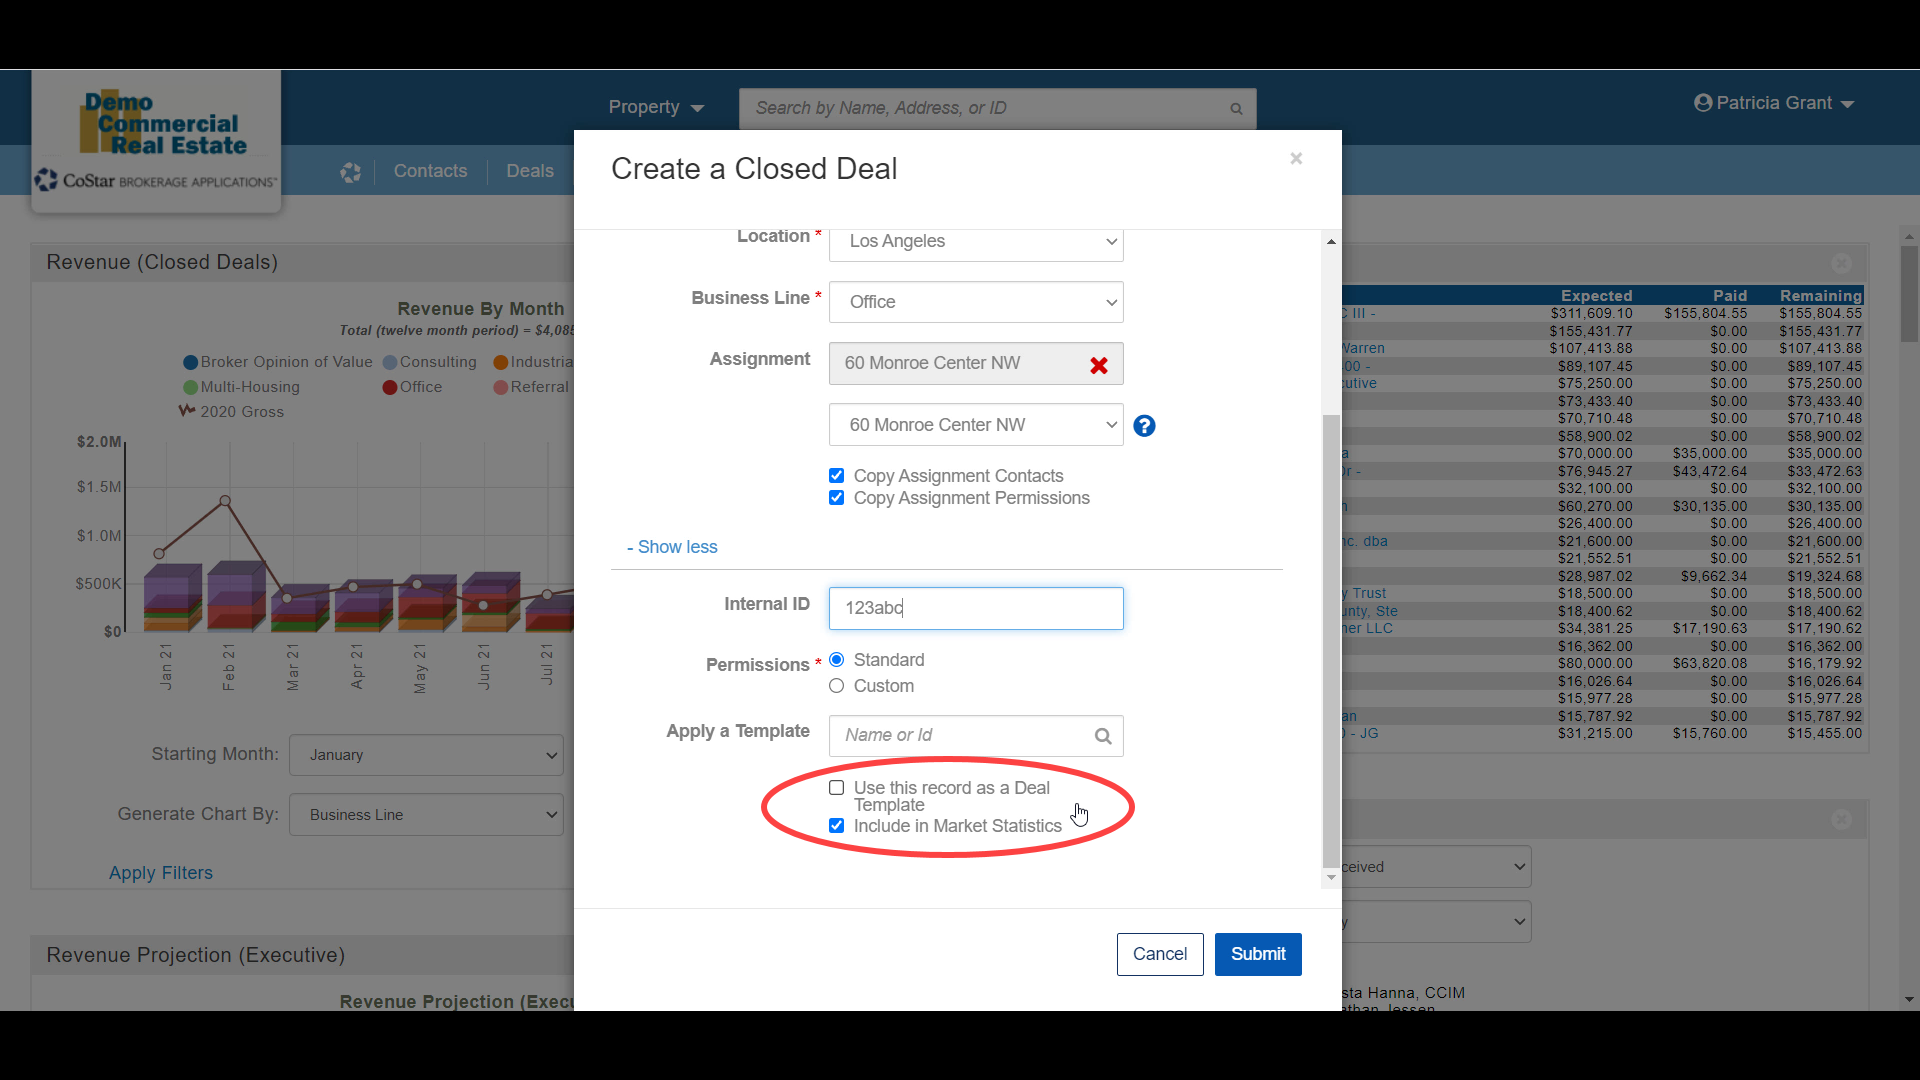 CBA - Entering a Closed Deal - 02 New Closed Deal Modal all (Time 0_03_50;03).png (image/png)
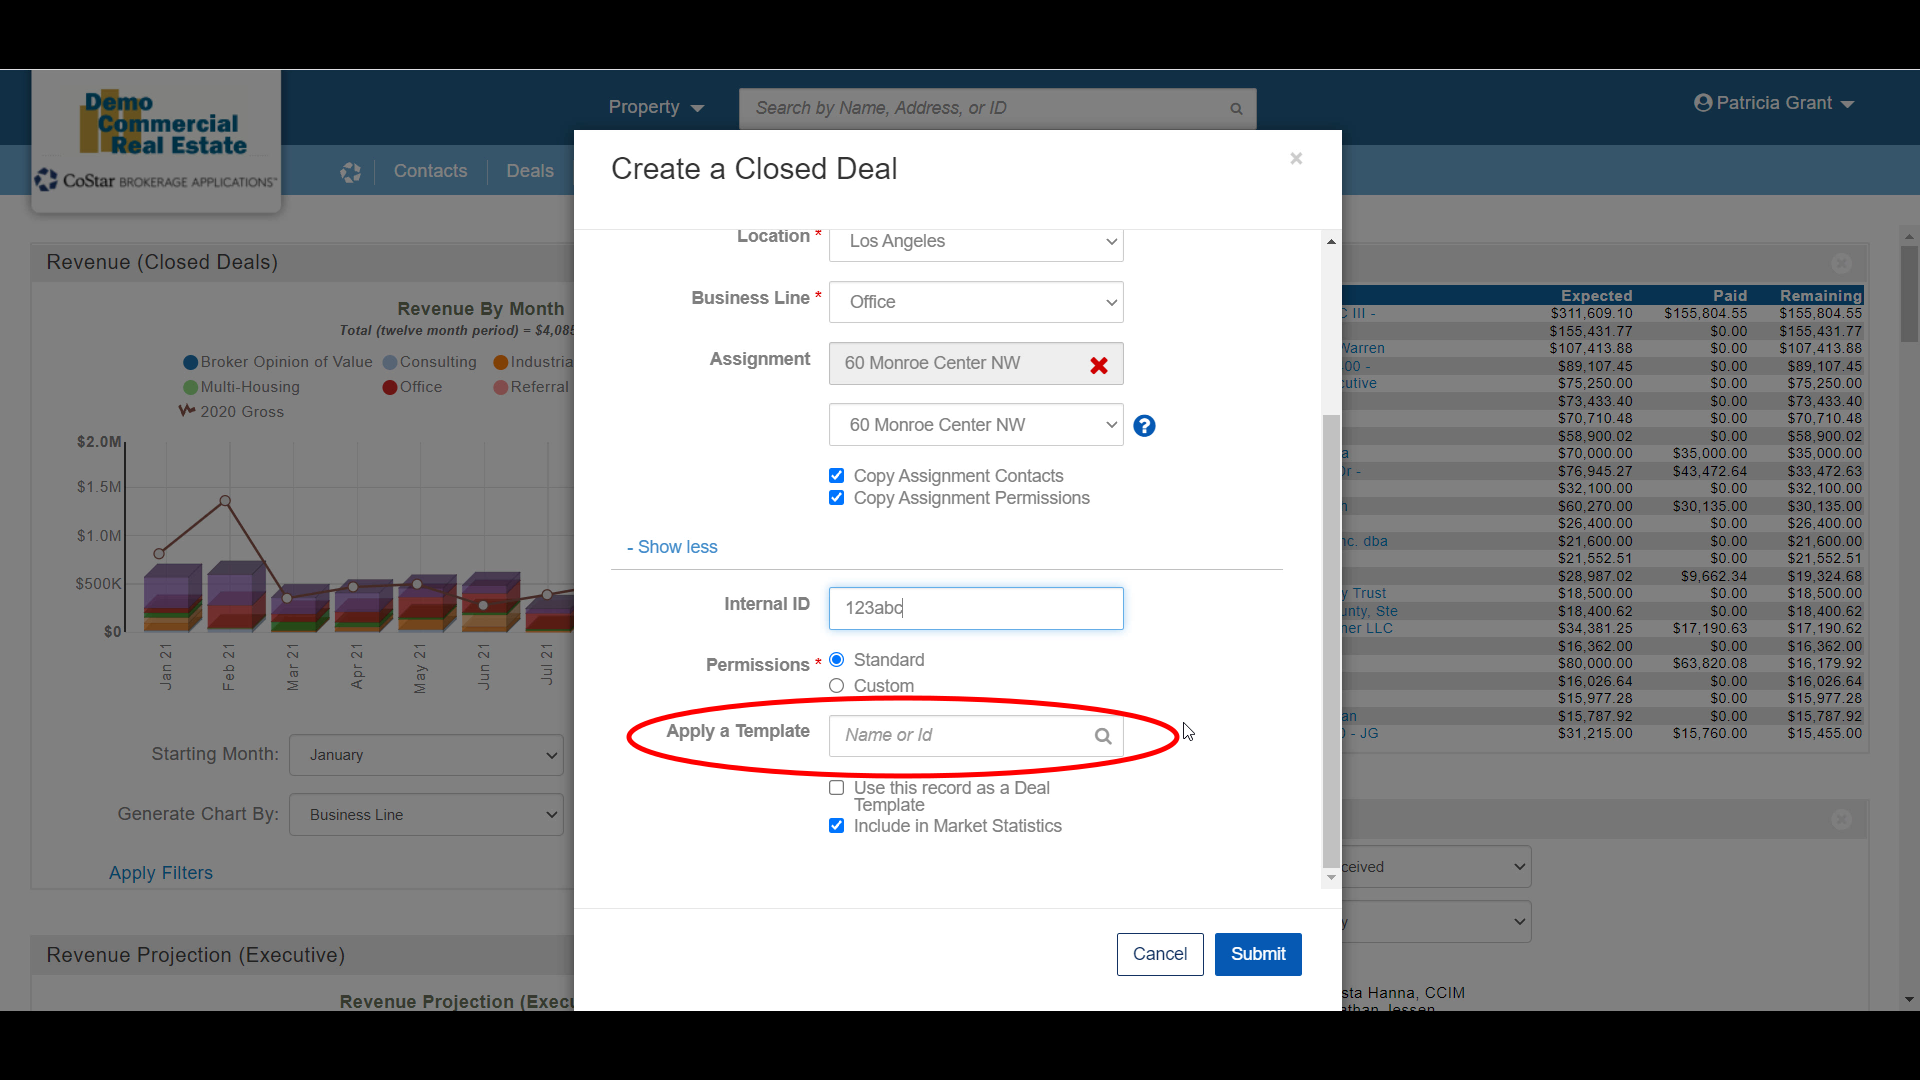 CBA - Entering a Closed Deal - 02 New Closed Deal Modal all (Time 0_03_28;13).png (image/png)
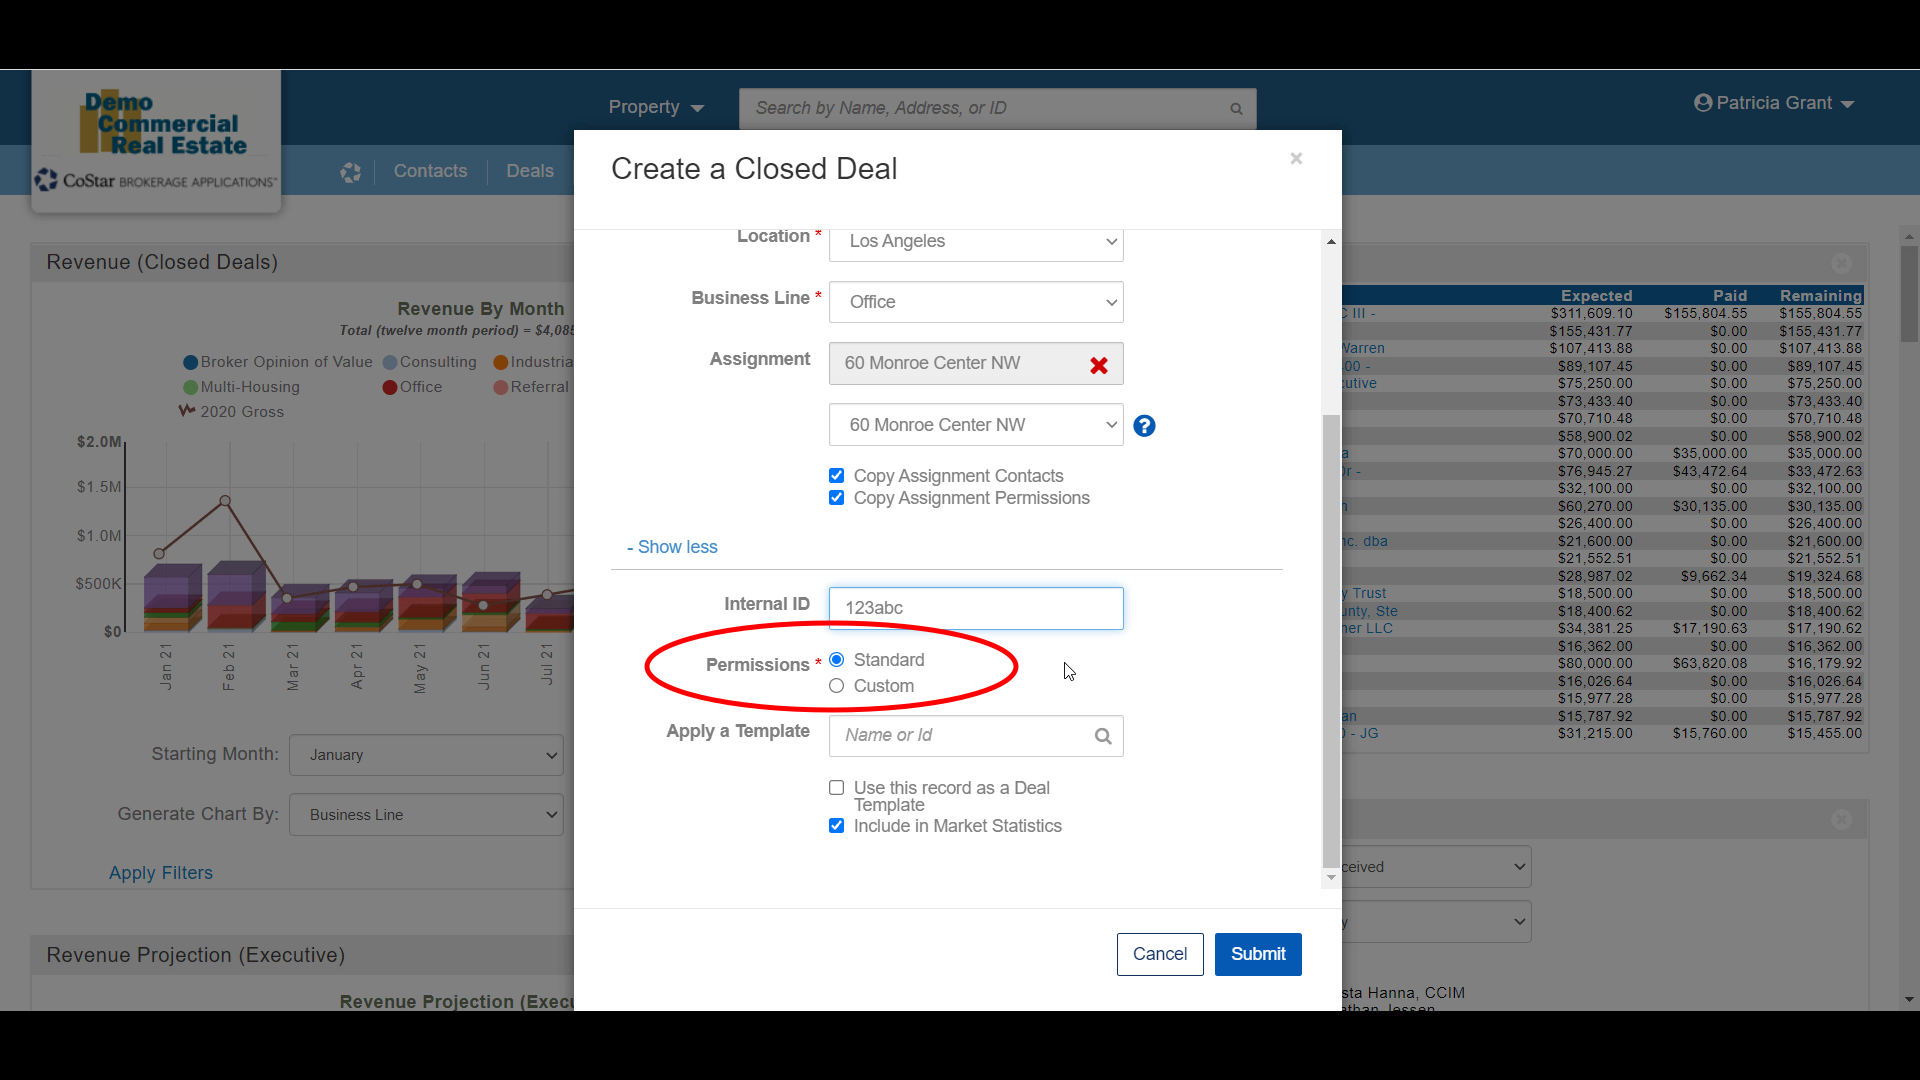 CBA - Entering a Closed Deal - 02 New Closed Deal Modal all (Time 0_03_25;09).png (image/png)
 CBA - Entering a Closed Deal - 02 New Closed Deal Modal all (Time 0_02_59;26).png (image/png)
 CBA - Entering a Closed Deal - 02 New Closed Deal Modal all (Time 0_01_27;23).png (image/png)
 CBA - Entering a Closed Deal - 02 New Closed Deal Modal all (Time 0_02_30;26).png (image/png)
 CBA - Entering a Closed Deal - 02 New Closed Deal Modal all (Time 0_02_47;26).png (image/png)
 CBA - Entering a Closed Deal - 02 New Closed Deal Modal all (Time 0_02_43;16).png (image/png)
 CBA - Entering a Closed Deal - 02 New Closed Deal Modal all (Time 0_02_35;01).png (image/png)
 CBA - Entering a Closed Deal - 02 New Closed Deal Modal all (Time 0_02_02;26).png (image/png)
 CBA - Entering a Closed Deal - 02 New Closed Deal Modal all (Time 0_01_54;08).png (image/png)
 CBA - Entering a Closed Deal - 02 New Closed Deal Modal all (Time 0_01_44;04).png (image/png)
 CBA - Entering a Closed Deal - 02 New Closed Deal Modal all (Time 0_01_09;13).png (image/png)
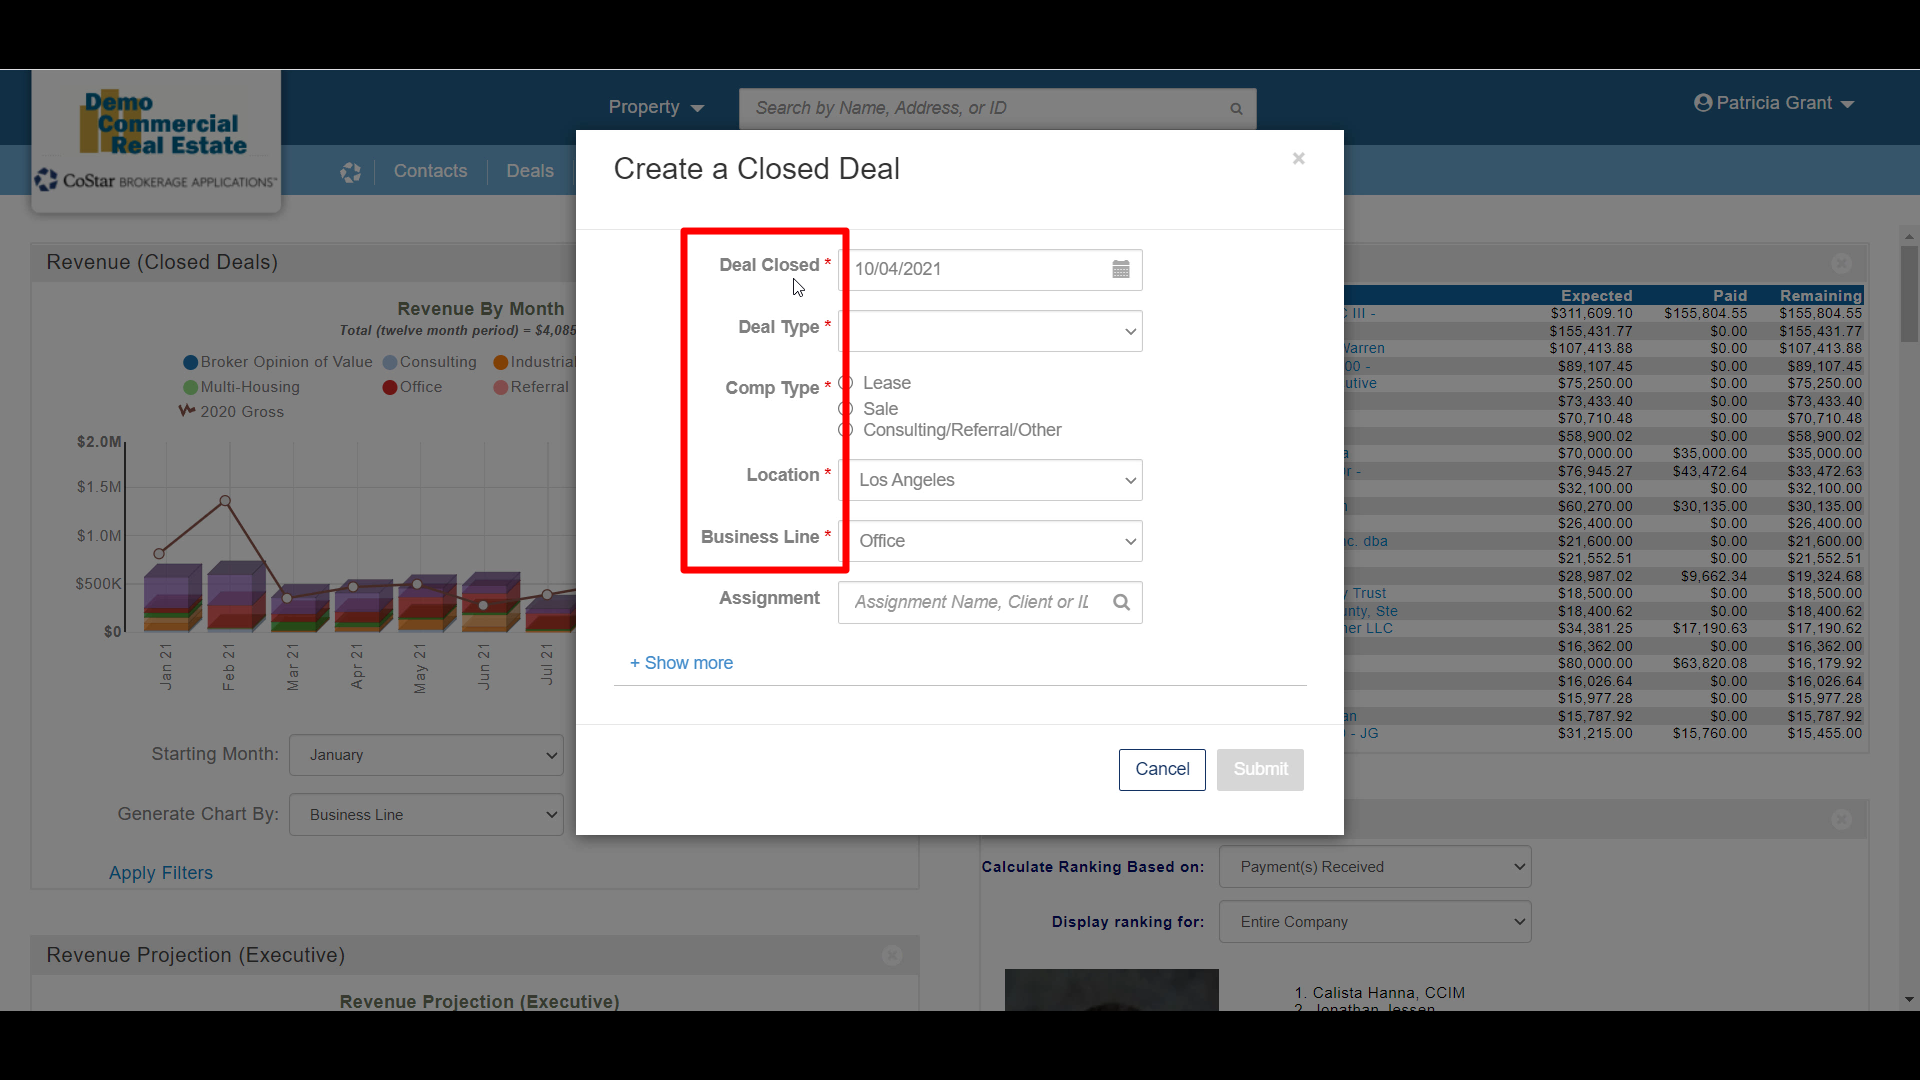 CBA - Entering a Closed Deal - 02 New Closed Deal Modal all (Time 0_00_31;29).png (image/png)
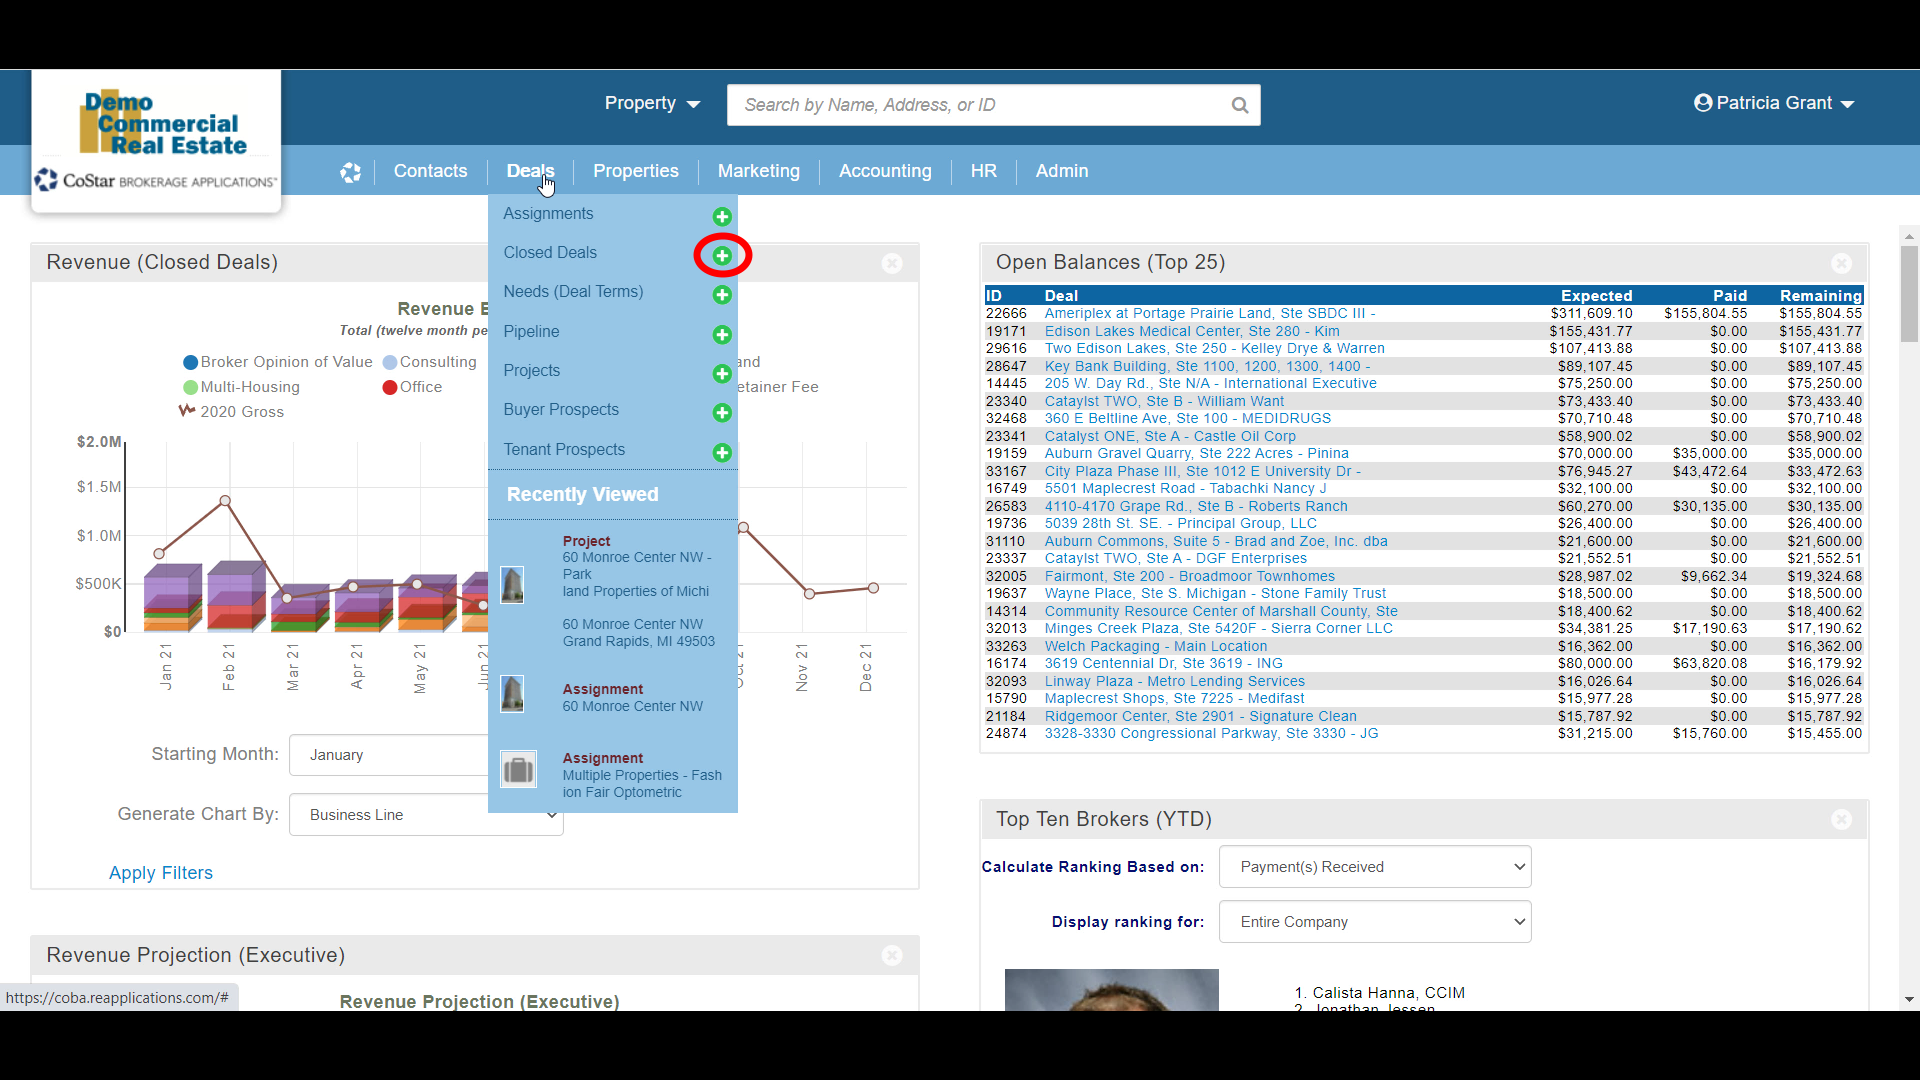 CBA - Entering a Closed Deal - 03 Workflow Navigation (Time 0_00_23;29).png (image/png)
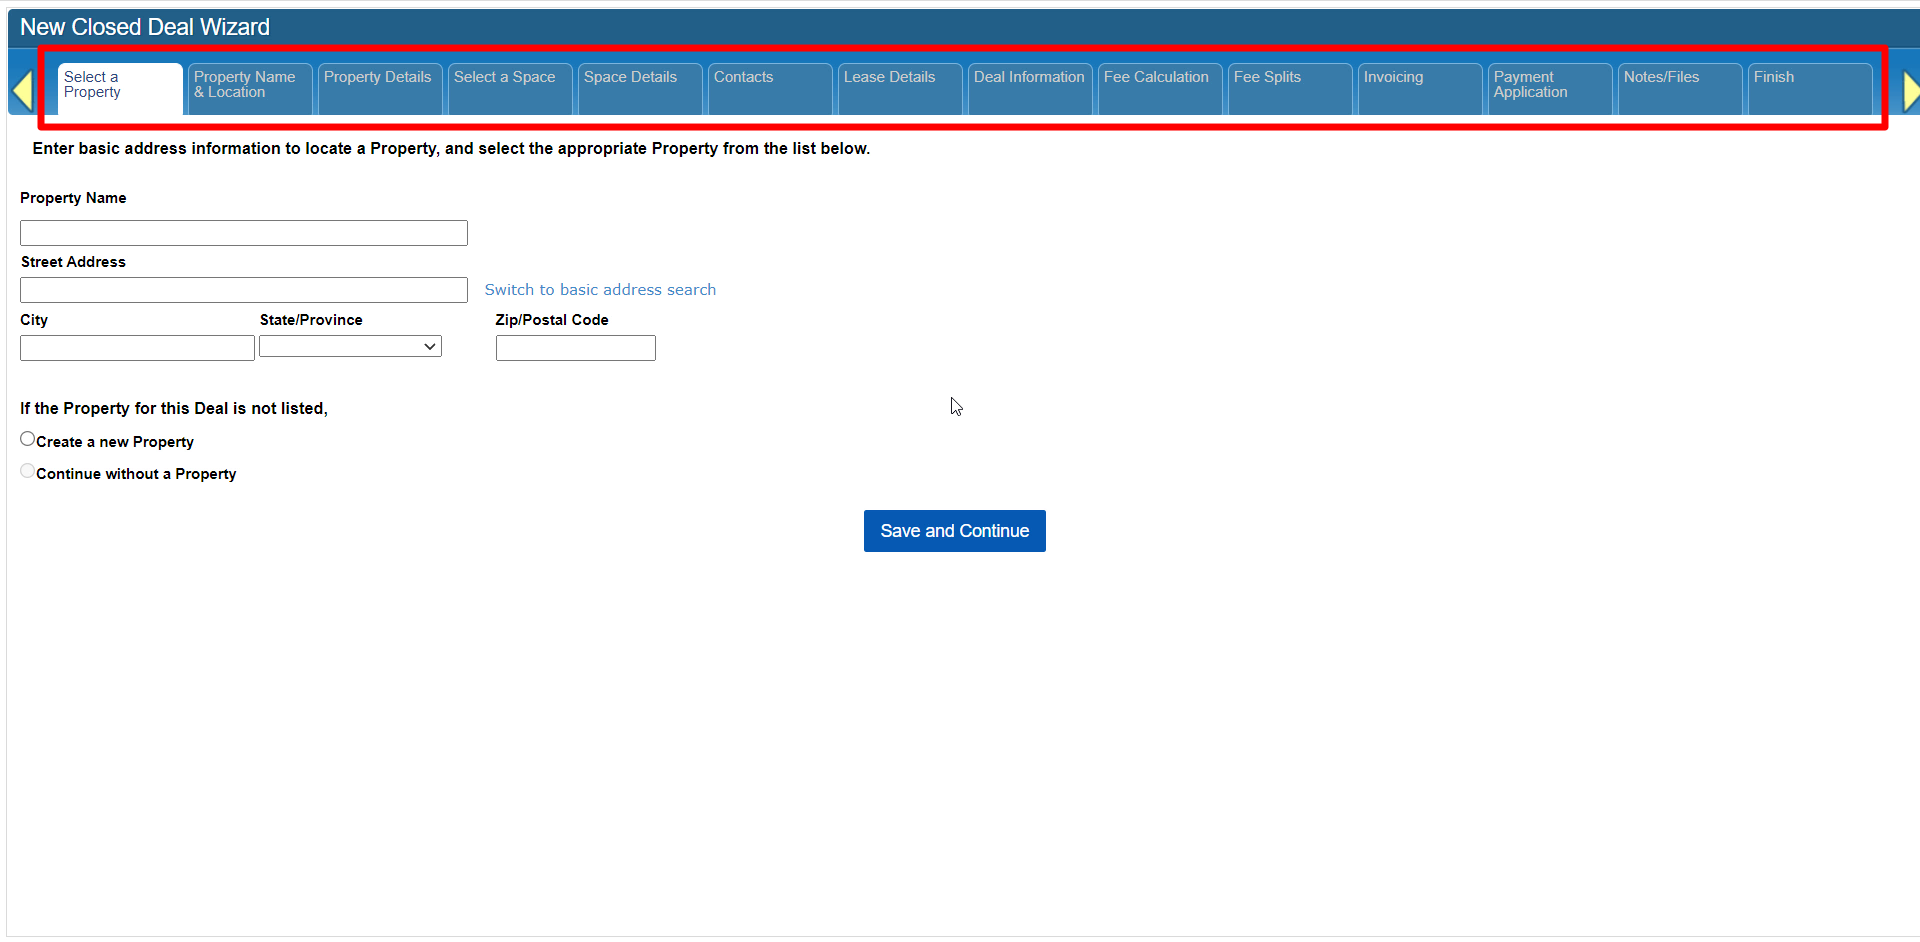 CBA - Entering a Closed Deal - 03 Workflow Navigation (Time 0_00_37;04).png (image/png)
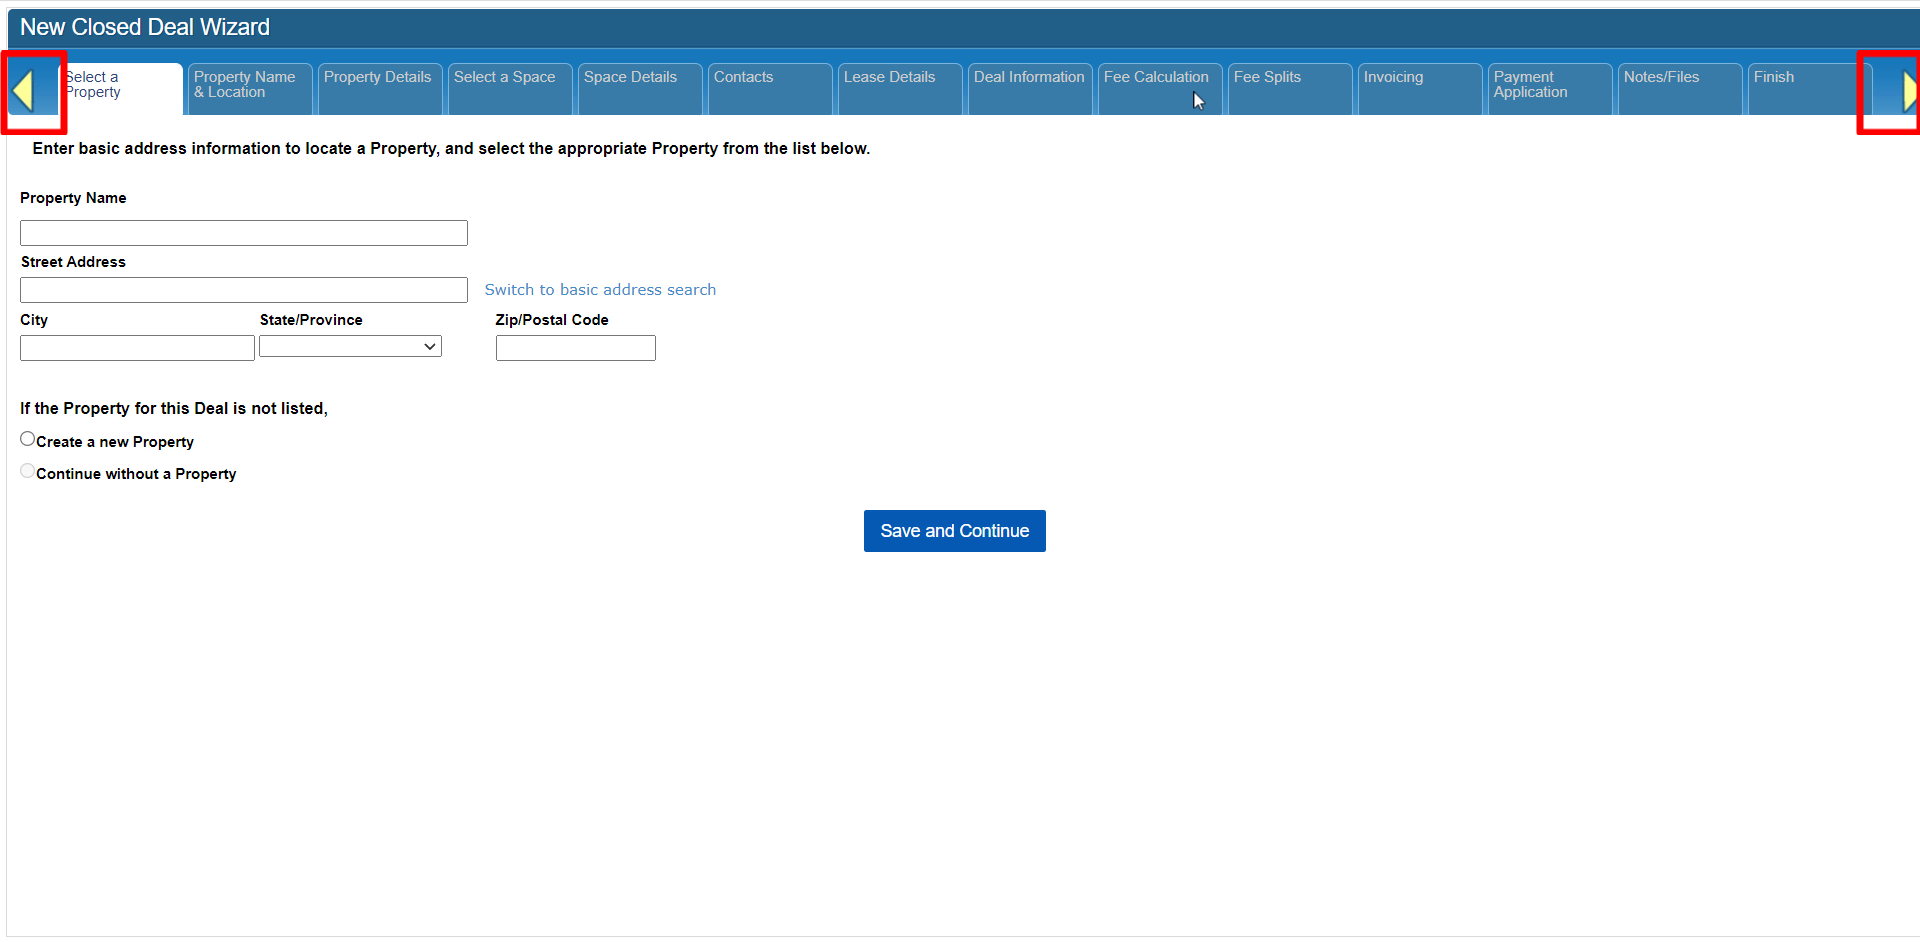 CBA - Entering a Closed Deal - 03 Workflow Navigation (Time 0_00_48;01).png (image/png)
 CBA - Entering a Closed Deal - 03 Workflow Navigation (Time 0_01_01;06).png (image/png)
 CBA - Entering a Closed Deal - 03 Workflow Navigation (Time 0_01_27;28).png (image/png)
 CBA - Entering a Closed Deal - 05 Space (Time 0_00_21;08).png (image/png)
 CBA - Entering a Closed Deal - 05 Space (Time 0_00_26;10).png (image/png)
 CBA - Entering a Closed Deal - 05 Space (Time 0_00_30;17).png (image/png)
 CBA - Entering a Closed Deal - 05 Space (Time 0_00_42;06).png (image/png)
 CBA - Entering a Closed Deal - 05 Space (Time 0_01_00;08).png (image/png)
 CBA - Entering a Closed Deal - 05 Space (Time 0_01_04;25).png (image/png)
 CBA - Entering a Closed Deal - 05 Space (Time 0_01_11;23).png (image/png)
 CBA - Entering a Closed Deal - 05 Space (Time 0_01_24;18).png (image/png)
 CBA - Entering a Closed Deal - 05 Space (Time 0_02_43;08).png (image/png)
 CBA - Entering a Closed Deal - 05 Space (Time 0_02_48;10).png (image/png)
 CBA - Entering a Closed Deal - 07 Lease Details (Time 0_00_19;09).png (image/png)
 CBA - Entering a Closed Deal - 07 Lease Details (Time 0_01_03;21).png (image/png)
 CBA - Entering a Closed Deal - 07 Lease Details (Time 0_01_26;00).png (image/png)
 CBA - Entering a Closed Deal - 07 Lease Details (Time 0_01_30;17).png (image/png)
 CBA - Entering a Closed Deal - 07 Lease Details (Time 0_01_52;03).png (image/png)
 CBA - Entering a Closed Deal - 07 Lease Details (Time 0_02_08;29).png (image/png)
 CBA - Entering a Closed Deal - 07 Lease Details (Time 0_02_33;17).png (image/png)
 CBA - Entering a Closed Deal - 07 Lease Details (Time 0_02_40;00).png (image/png)
 CBA - Entering a Closed Deal - 07 Lease Details (Time 0_02_59;26).png (image/png)
 CBA - Entering a Closed Deal - 07 Lease Details (Time 0_03_10;18).png (image/png)
 CBA - Entering a Closed Deal - 07 Lease Details (Time 0_03_23;17).png (image/png)
 CBA - Entering a Closed Deal - 07 Lease Details (Time 0_03_28;24).png (image/png)
 CBA - Entering a Closed Deal - 07 Lease Details (Time 0_03_50;07).png (image/png)
 CBA - Entering a Closed Deal - 07 Lease Details (Time 0_03_58;14).png (image/png)
 CBA - Entering a Closed Deal - 07 Lease Details (Time 0_04_05;00).png (image/png)
 CBA - Entering a Closed Deal - 09 Fee Calculation (Time 0_00_19;20).png (image/png)
 CBA - Entering a Closed Deal - 09 Fee Calculation (Time 0_00_21;20).png (image/png)
 CBA - Entering a Closed Deal - 09 Fee Calculation (Time 0_00_28;17).png (image/png)
 CBA - Entering a Closed Deal - 09 Fee Calculation (Time 0_00_46;04).png (image/png)
 CBA - Entering a Closed Deal - 09 Fee Calculation (Time 0_00_50;07).png (image/png)
 CBA - Entering a Closed Deal - 09 Fee Calculation (Time 0_00_50;07).png (image/png)
CBA - Entering a Closed Deal - 09 Fee Calculation (Time 0_00_46;04).png (image/png)
CBA - Entering a Closed Deal - 09 Fee Calculation (Time 0_00_28;17).png (image/png)
CBA - Entering a Closed Deal - 09 Fee Calculation (Time 0_00_21;20).png (image/png)
CBA - Entering a Closed Deal - 09 Fee Calculation (Time 0_00_50;07).png (image/png)
CBA - Entering a Closed Deal - 09 Fee Calculation (Time 0_00_46;04).png (image/png)
CBA - Entering a Closed Deal - 09 Fee Calculation (Time 0_00_28;17).png (image/png)
CBA - Entering a Closed Deal - 09 Fee Calculation (Time 0_00_21;20).png (image/png)
 CBA - Entering a Closed Deal - 09 Fee Calculation (Time 0_00_19;20).png (image/png)
CBA - Entering a Closed Deal - 09 Fee Calculation (Time 0_01_01;20).png (image/png)
CBA - Entering a Closed Deal - 09 Fee Calculation (Time 0_01_31;07).png (image/png)
CBA - Entering a Closed Deal - 09 Fee Calculation (Time 0_01_41;29).png (image/png)
CBA - Entering a Closed Deal - 09 Fee Calculation (Time 0_01_45;20).png (image/png)
CBA - Entering a Closed Deal - 09 Fee Calculation (Time 0_01_59;03).png (image/png)
CBA - Entering a Closed Deal - 09 Fee Calculation (Time 0_02_26;19).png (image/png)
CBA - Entering a Closed Deal - 09 Fee Calculation (Time 0_02_41;15).png (image/png)
CBA - Entering a Closed Deal - 09 Fee Calculation (Time 0_03_19;09).png (image/png)
CBA - Entering a Closed Deal - 09 Fee Calculation (Time 0_03_25;21).png (image/png)
CBA - Entering a Closed Deal - 09 Fee Calculation (Time 0_03_40;27).png (image/png)
CBA - Entering a Closed Deal - 09 Fee Calculation (Time 0_00_19;20).png (image/png)
CBA - Entering a Closed Deal - 09 Fee Calculation (Time 0_01_01;20).png (image/png)
CBA - Entering a Closed Deal - 09 Fee Calculation (Time 0_01_31;07).png (image/png)
CBA - Entering a Closed Deal - 09 Fee Calculation (Time 0_01_41;29).png (image/png)
CBA - Entering a Closed Deal - 09 Fee Calculation (Time 0_01_45;20).png (image/png)
CBA - Entering a Closed Deal - 09 Fee Calculation (Time 0_01_59;03).png (image/png)
CBA - Entering a Closed Deal - 09 Fee Calculation (Time 0_02_26;19).png (image/png)
CBA - Entering a Closed Deal - 09 Fee Calculation (Time 0_02_41;15).png (image/png)
CBA - Entering a Closed Deal - 09 Fee Calculation (Time 0_03_19;09).png (image/png)
CBA - Entering a Closed Deal - 09 Fee Calculation (Time 0_03_25;21).png (image/png)
CBA - Entering a Closed Deal - 09 Fee Calculation (Time 0_03_40;27).png (image/png)