Released: October, 2020
Summary
If you are tasked with creating or importing Comps, your system is now equipped with a new Comp Import tool to make this job easier. Using the Import Widget, you can quickly create new Comp records, as well as create/link associated property and contact records with a single file.
This process is not designed to update existing Comp records, only create new ones.
Import limit is 300 records, but there is no limit to the number of imports you can do.
It is recommended to use this tool in off-peak hours, i.e. during the hours of 5pm to 8am.
Browser Cache: Some browsers don't automatically recognize that there is new code on our servers, which may cause our pages to behave strangely. If you encounter any issues, please first try hitting the CTRL+F5 keys on your keyboard to refresh the page.
Table of Contents
Creating a new import file
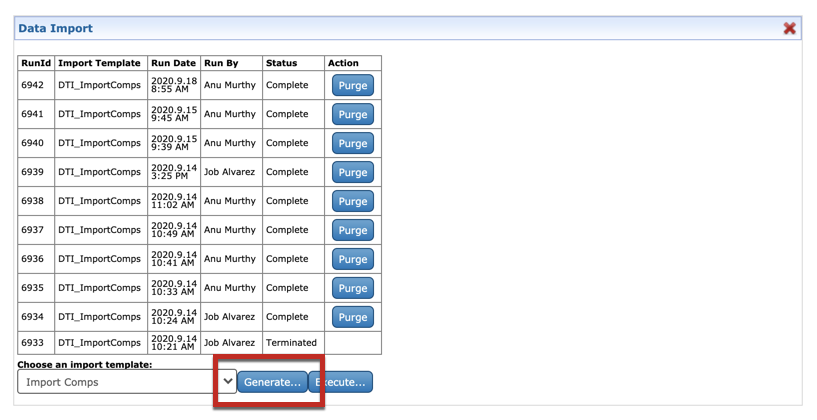
Utilizing the ‘Data Import’ widget, select ‘Import Comps’ as your import template selection.

2. Select the ‘Generate’ button to download an empty excel template.
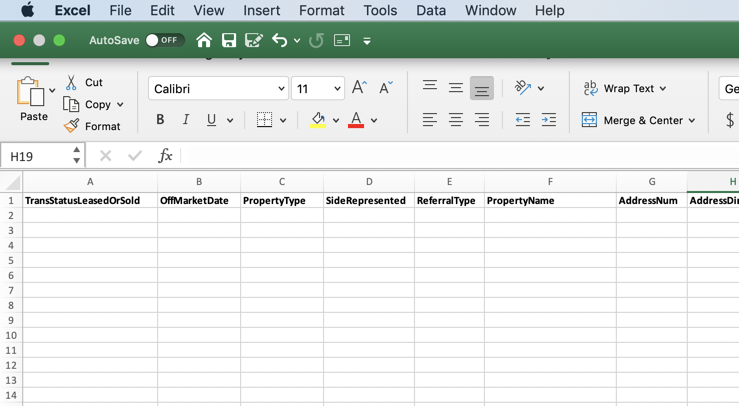
Checking the download folder on your computer, you should see the file labeled: DTI_ImportComps.xlsx

4. Open the Excel file, and either type or ‘cut and paste’ in your data from your own source.

Import Template Business Rules
Before importing the template, here is a quick checklist to make sure that the Comp import process will be successful.
Record Limit: Only the first 300 records of a file will be processed. If you have more than 300 records, simply break them up into two or more spreadsheets for processing.
Required Fields: required fields are checked population as well as format.
Required Field | Comment |
|---|---|
TransStatusLeasedorSold | This field should reflect either ‘Leased' or ‘Sold’ |
OffMarketDate | The date the comp transaction was finalized. MM/DD/YY |
Property Type | Should match one of the existing property types found in your system; Industrial, Office, Retail, Land, Multi-Family, Hospitality, Healthcare or Self-Storage. |
City | City of the property, up to 50 characters |
State | Two letter abbreviation. CA, GA, MS, etc. |
Importing the Template
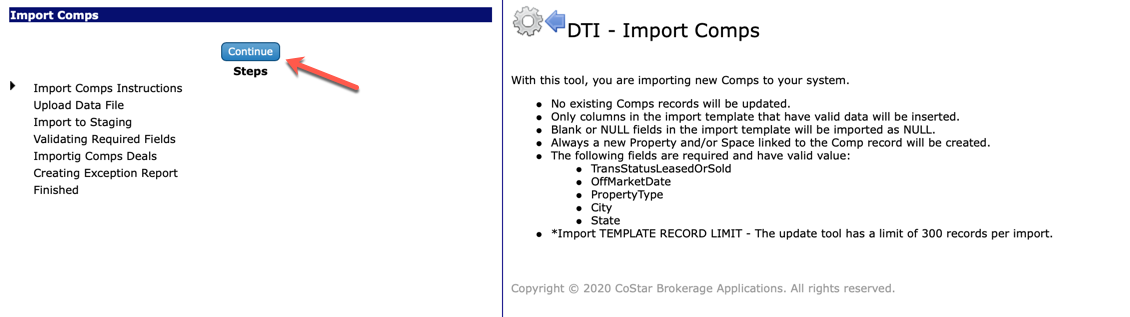
On the Data Import Widget, after selecting ‘Import Comps’, click on the ‘Execute’ button.

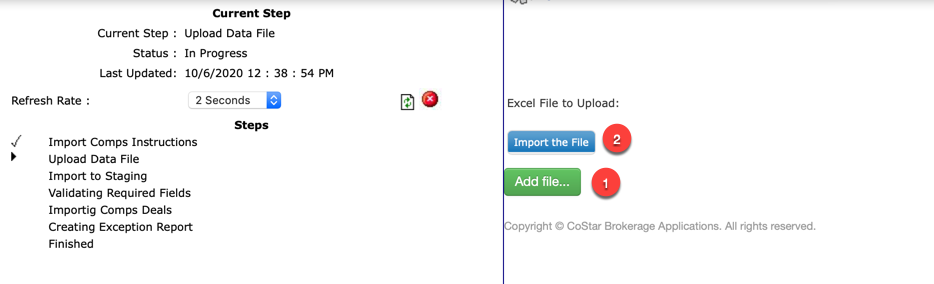
2. Once the wizard appears, simply select your file and click the import button.
3. Click on the ‘Add file…' button (1) to choose your file, and then ‘Import the File’ button (2) to start the import process.
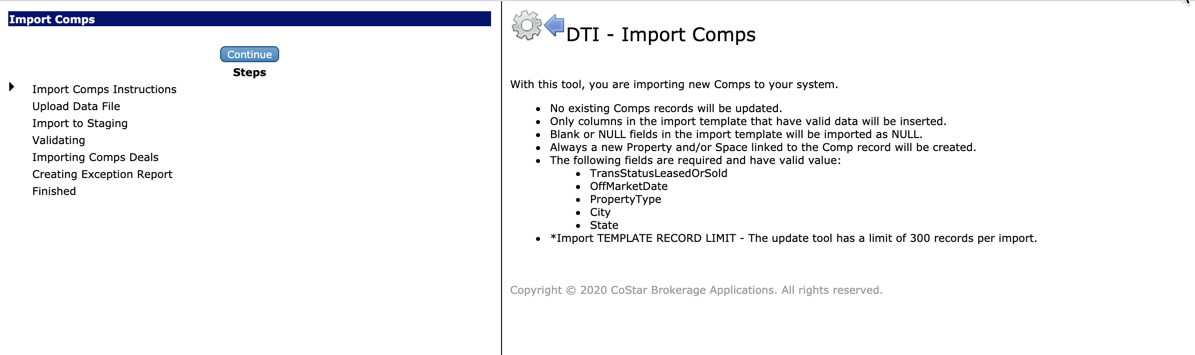
3. The import wizard will be displayed, and guide you through the import process. It’s a good opportunity to re-read the required fields, and double check that the file you have created will meet the requirements. Again, there are 5 required fields, with a maximum of 300 records.
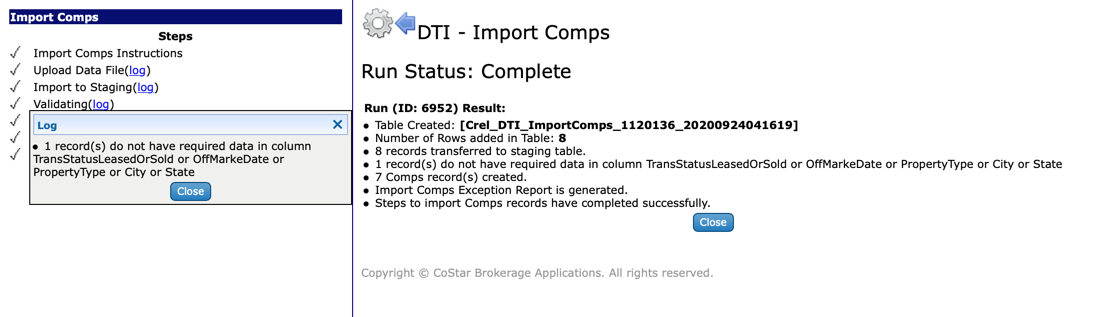
4. After the process has finished, there are several logs to help you review the health of the process. If you have any records that did not get processed, you will automatically see the exception report downloaded.
If an exception report was created, it will only contain those records that did not process. Use the exception report to update the data and re-run the process.
Tip: Since this process only creates new property records for each comp created, it may be beneficial to run the ‘Property Deduplication’ process after you have finished your imports. If this process created duplicate properties that already existed in your system, the deduplication process will remove the newly created properties, and the existing property record link to your new Comp.
Using the Purge Feature
On the Data Import Widget, you can see a row for each of the imports processed. For some of the records it is possible to use the ‘Purge’ button to remove the newly created Comp records. This process is not reversible and is only recommended in cases where the data used in the import was incorrect. In addition, any updates made to that record since the import will also be removed.

If you have any questions or would like to schedule a detailed training on this feature, please contact [email protected].
© 2023 CoStar Group