This tutorial will cover how to navigate the Closed Deal workflow.
Instructions
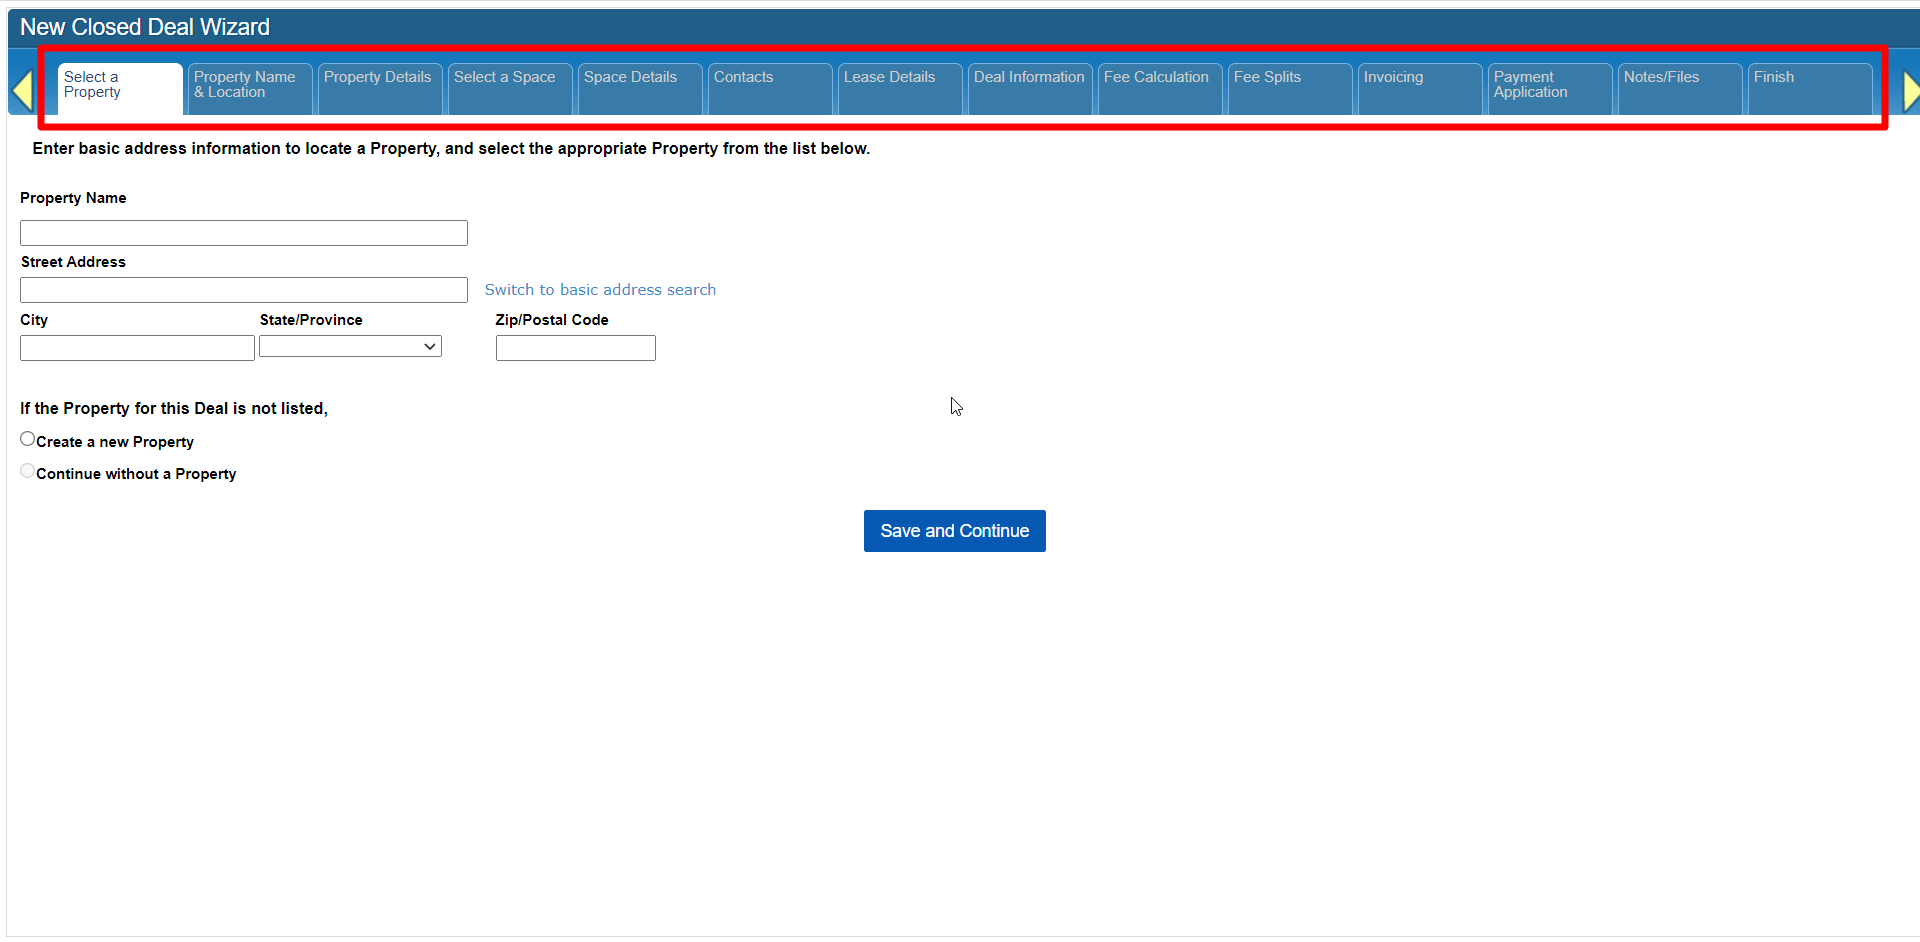
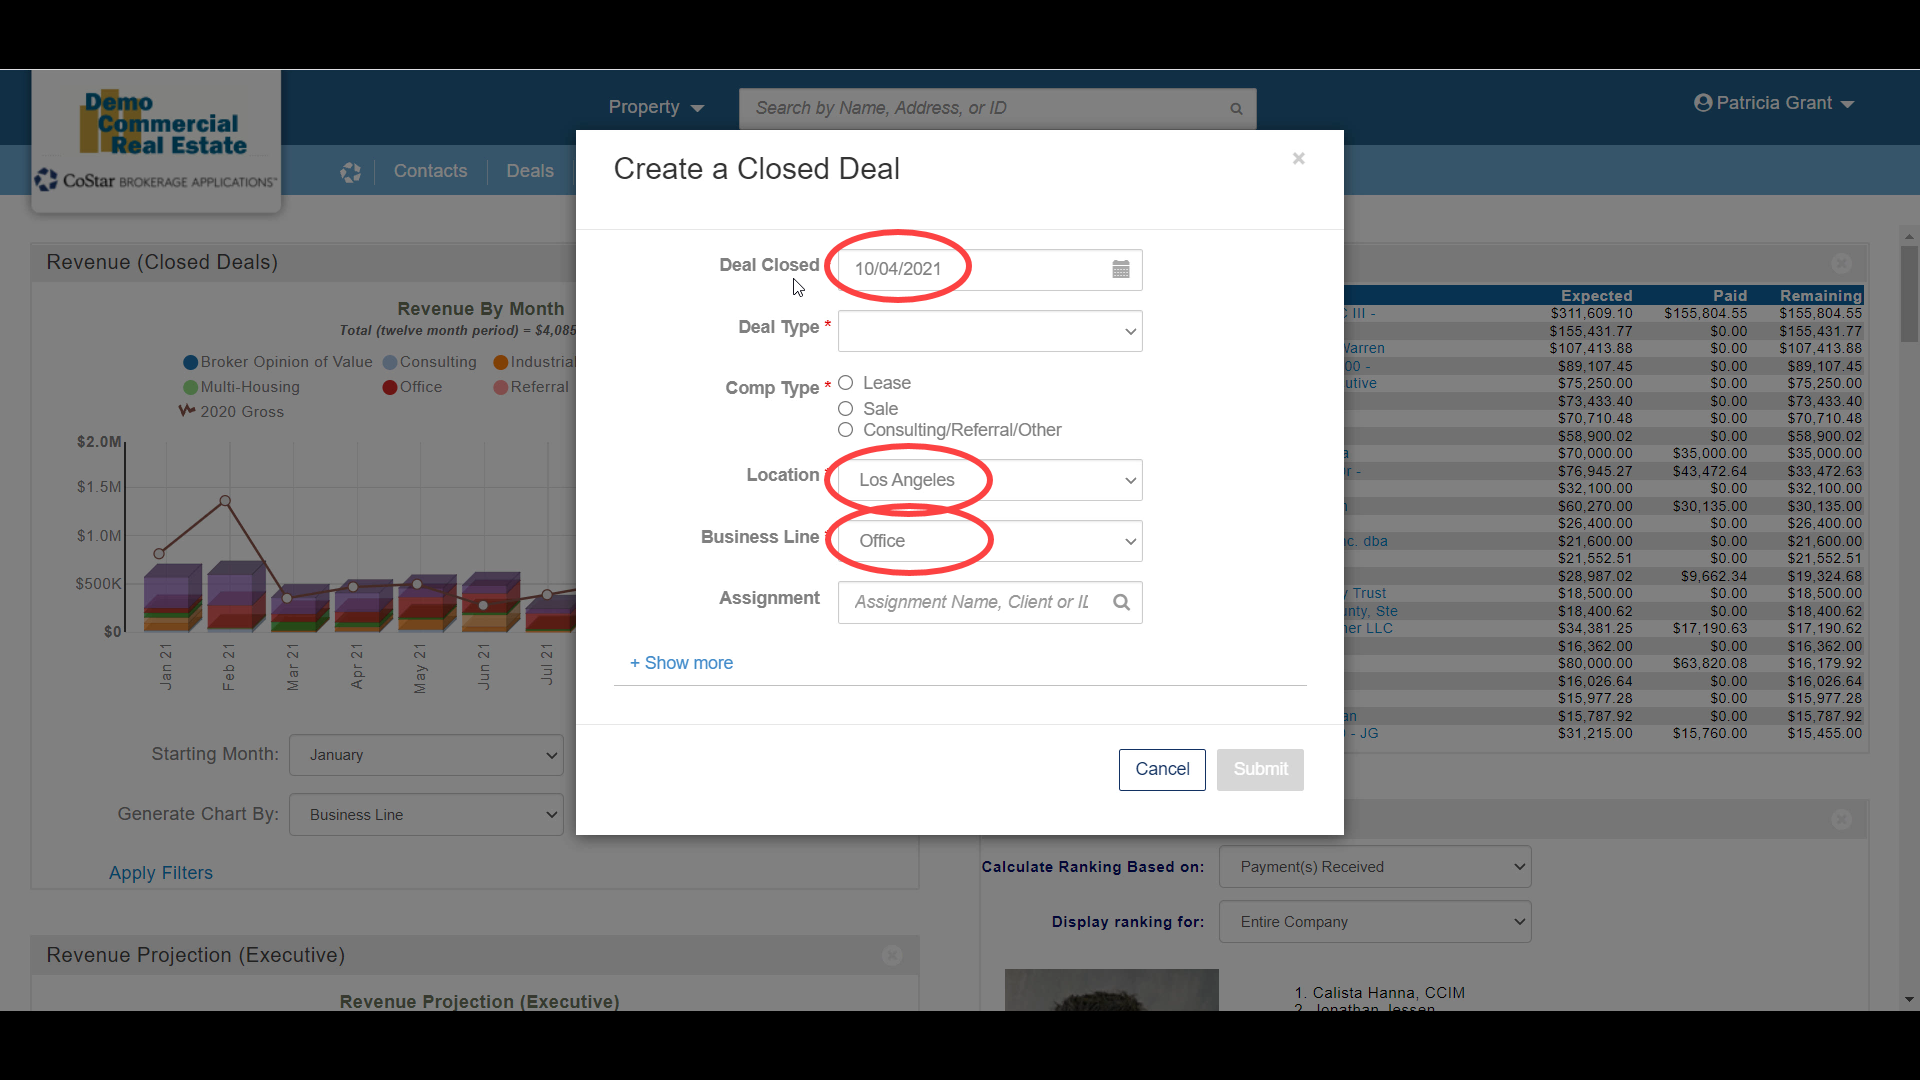
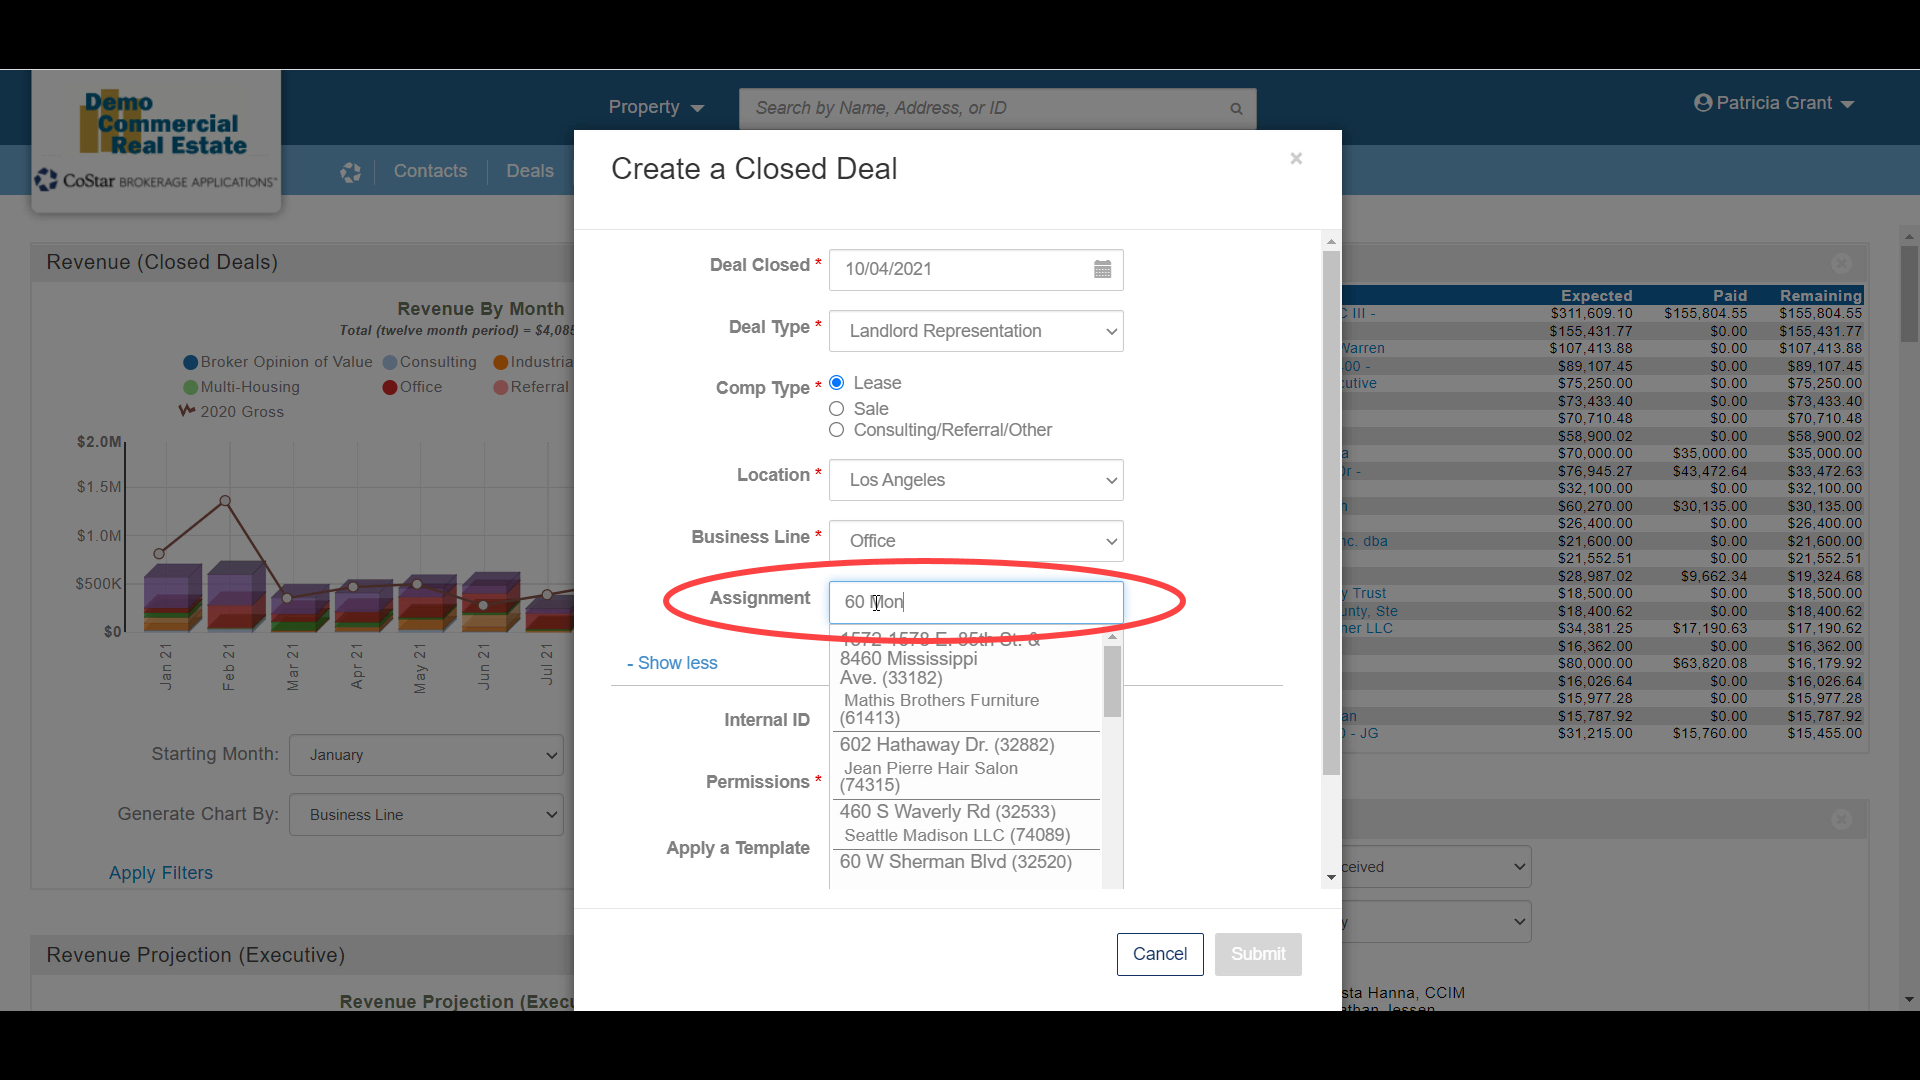
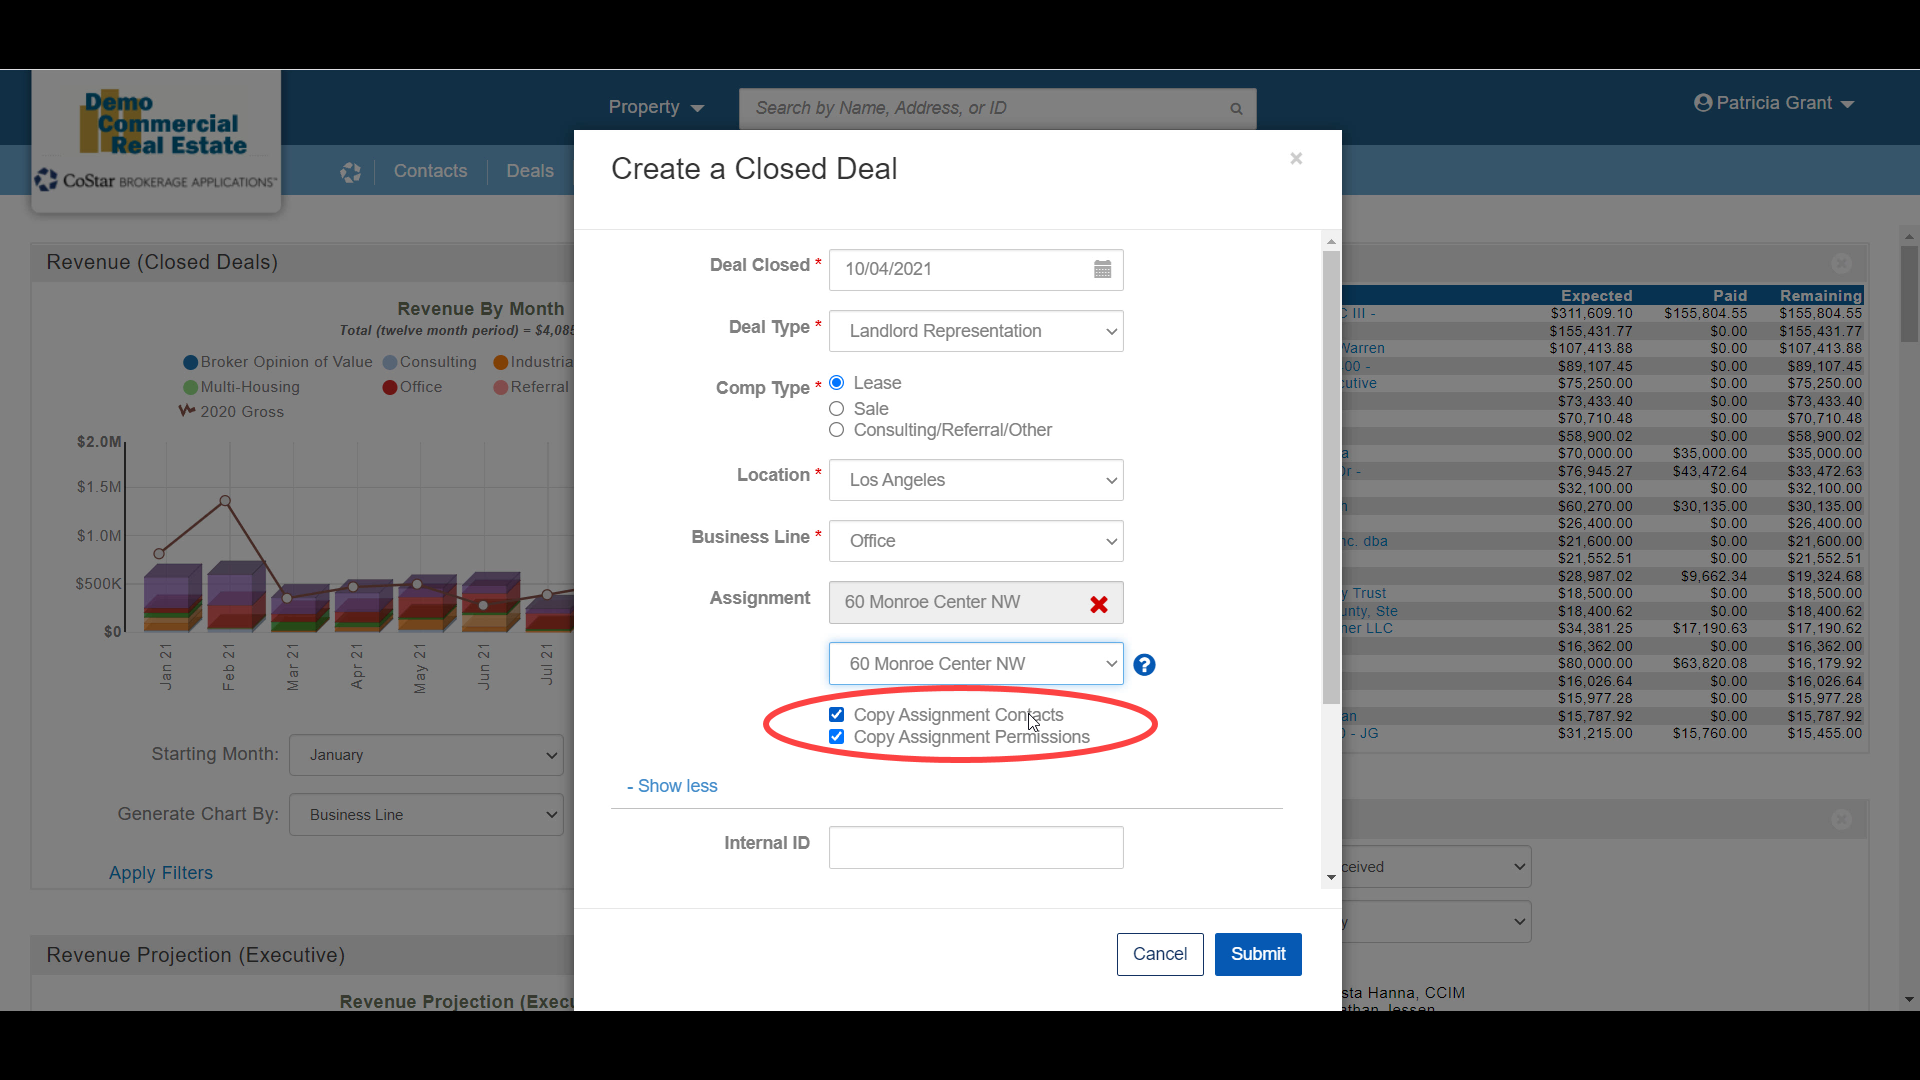
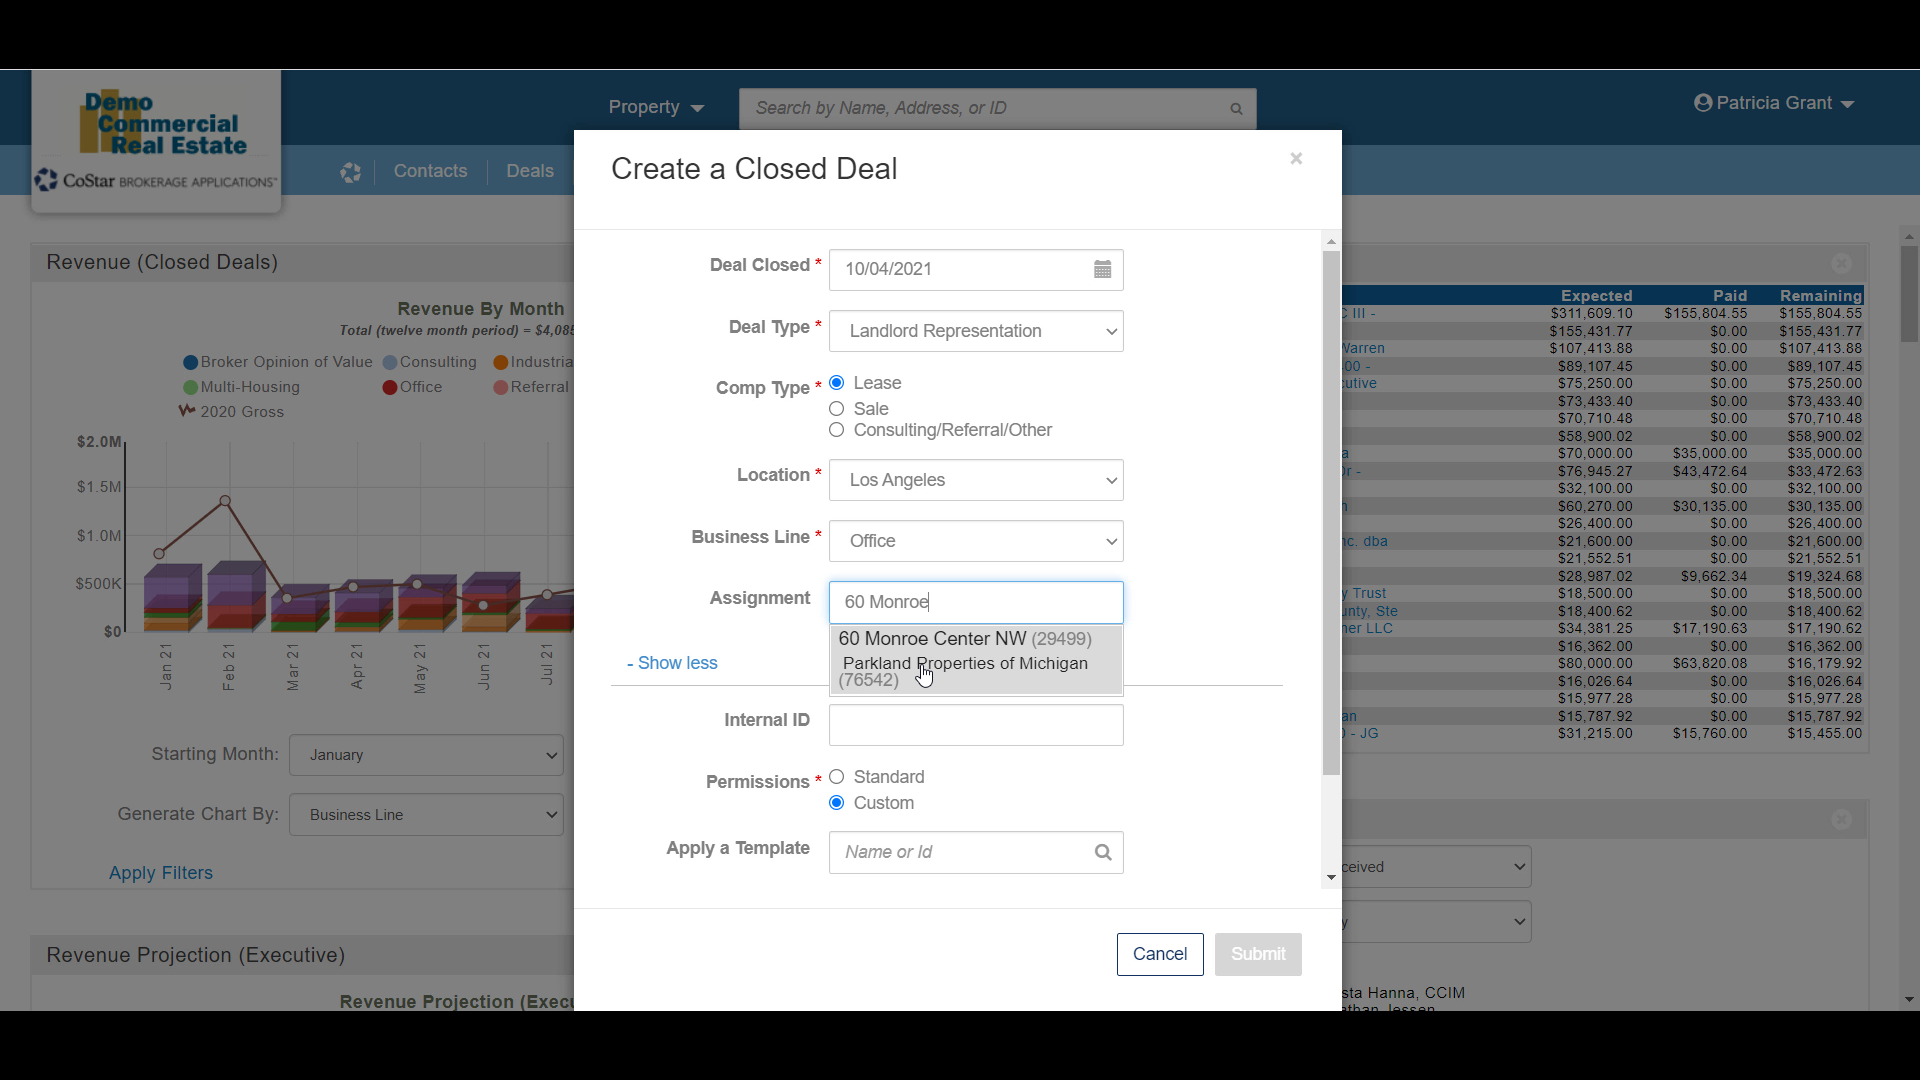
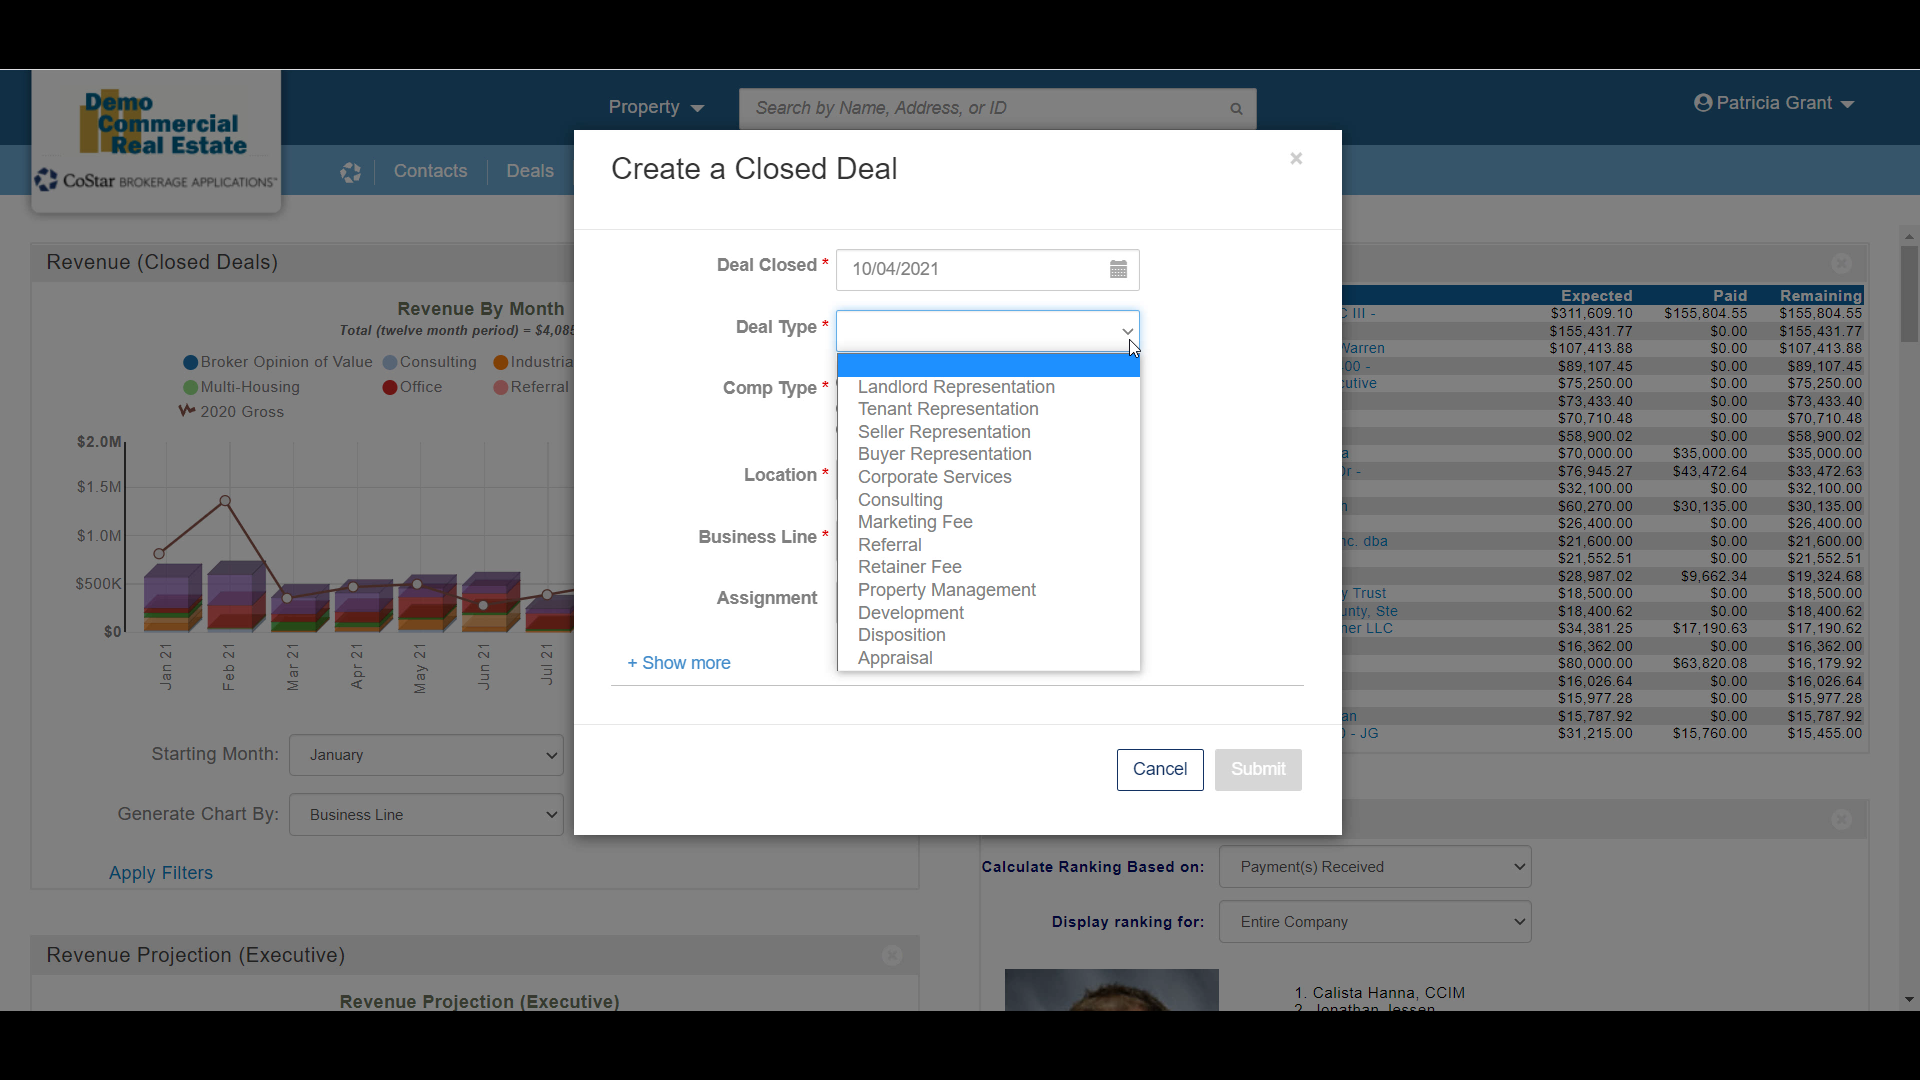
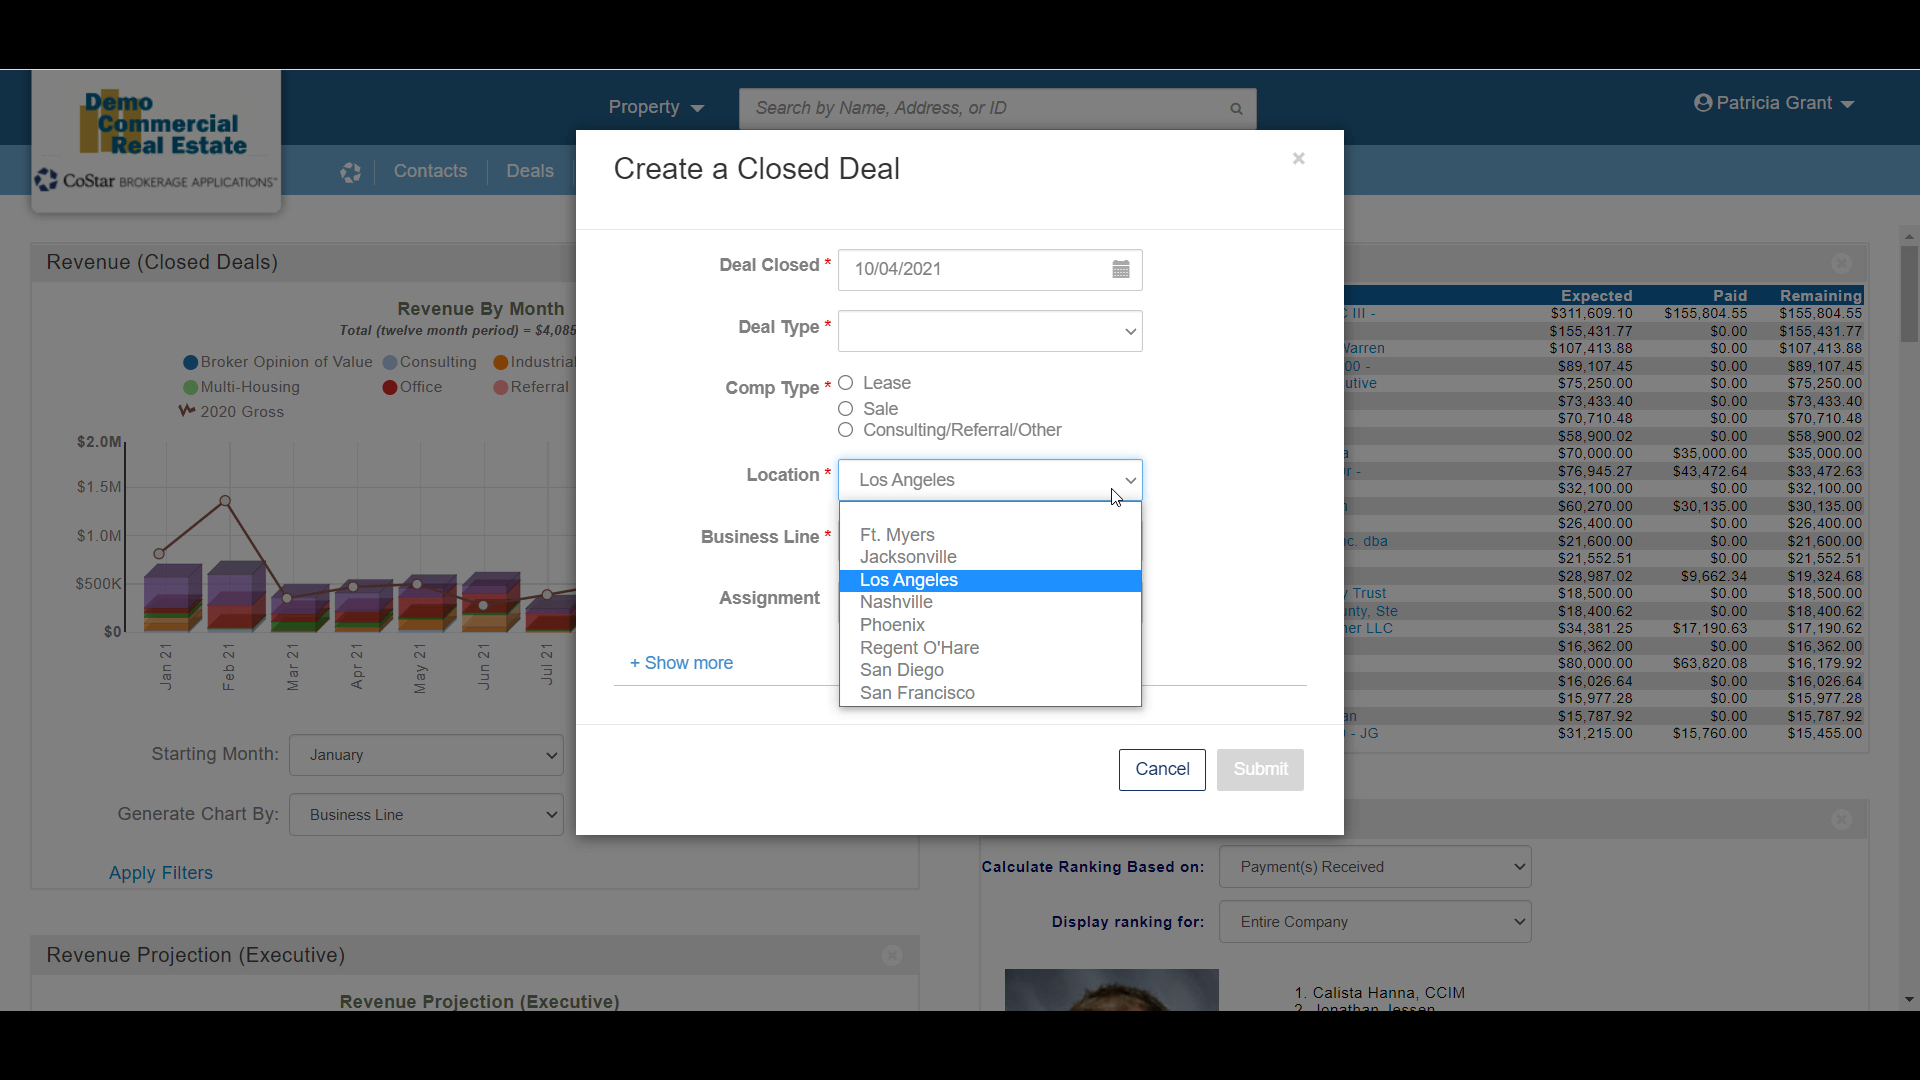
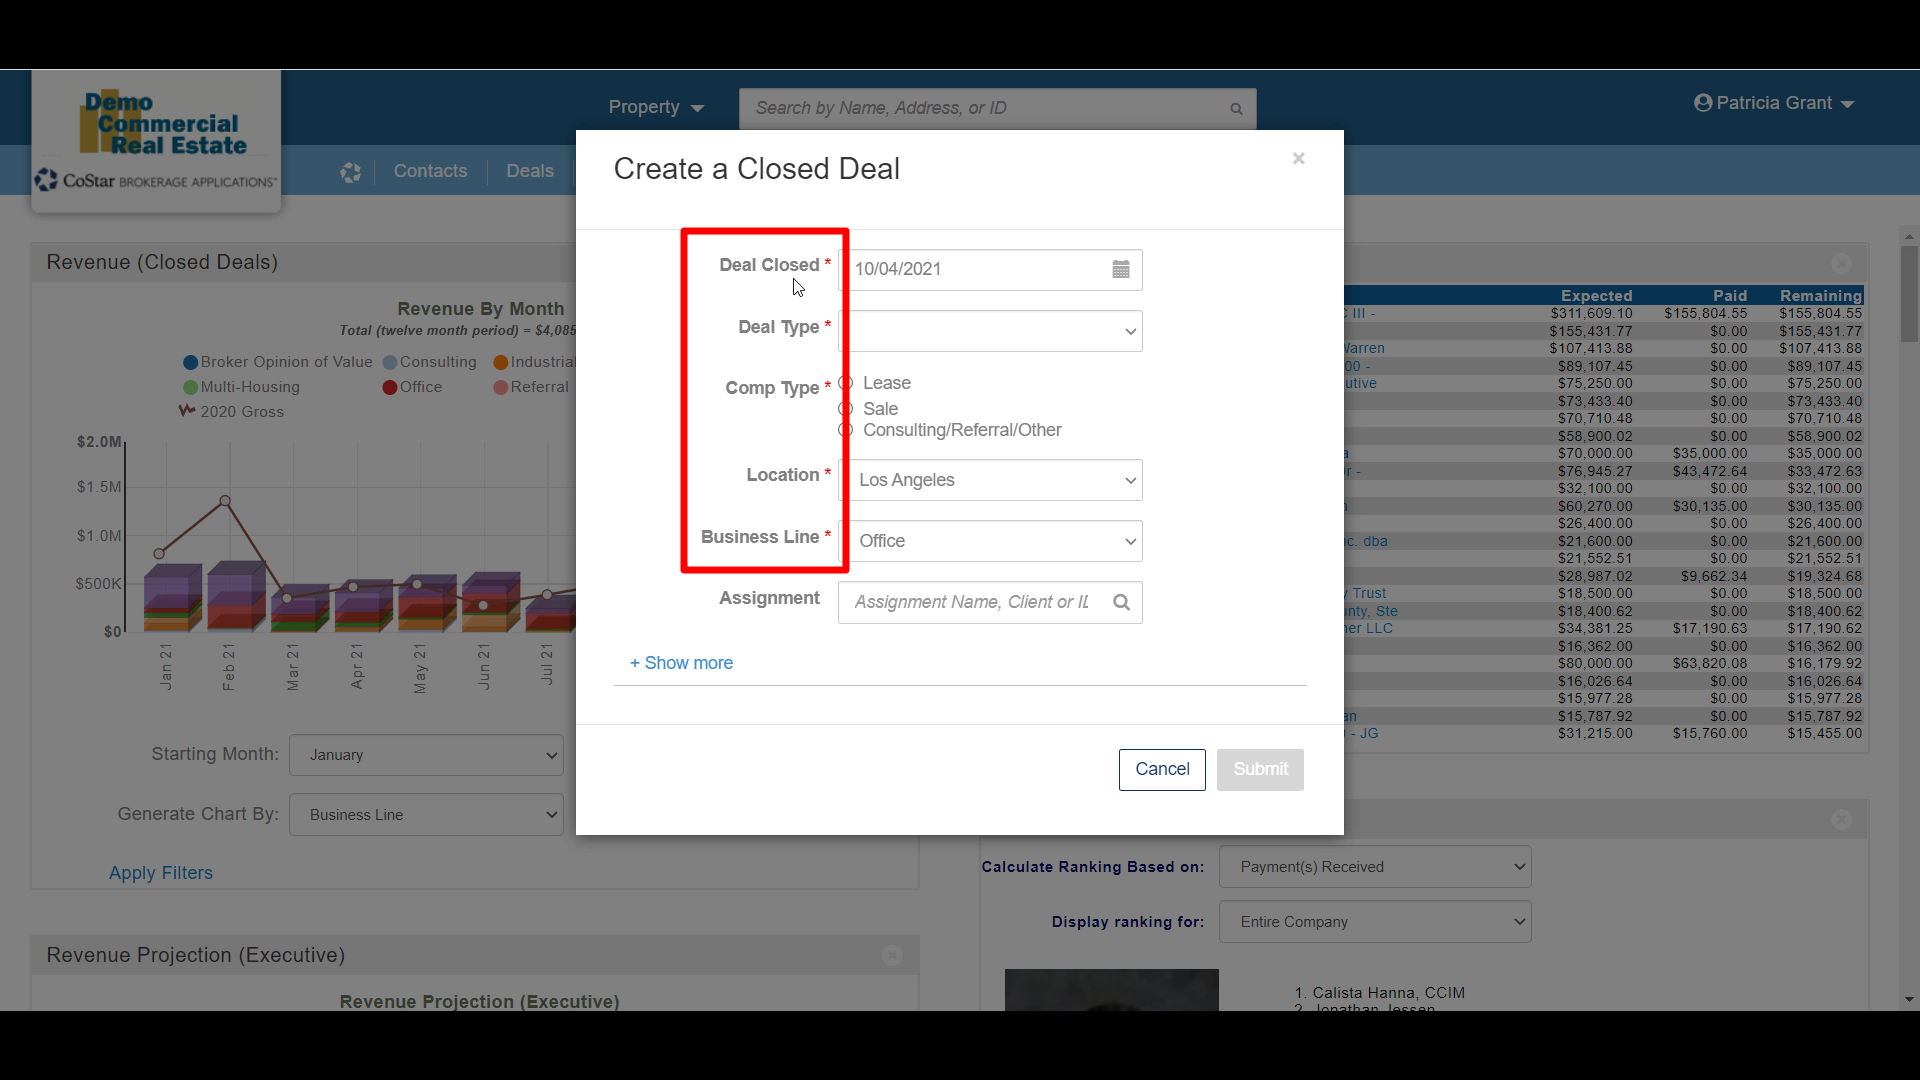
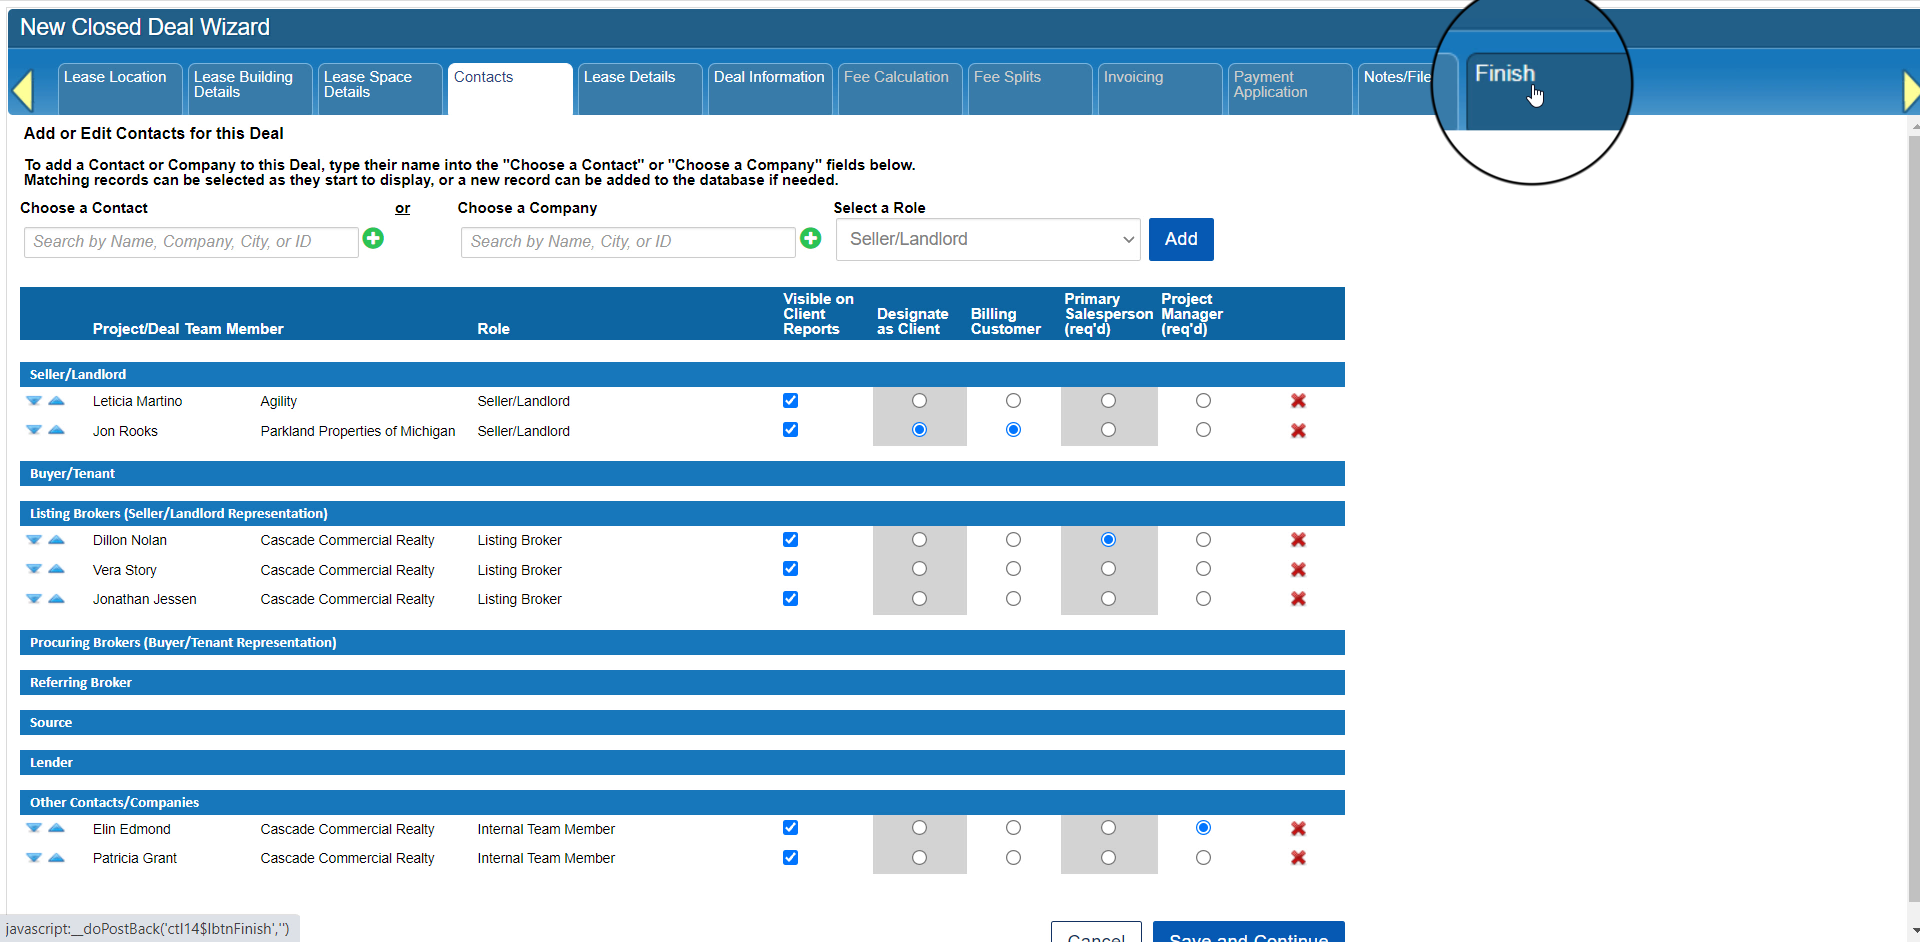
After submitting the previous form, a new page will open up with the New Closed Deal Wizard or workflow. Each of the tabs along the top indicate a step in the process of creating a Closed Deal. Different tabs will display based on your user settings and the Deal and Comp Types you have already selected.
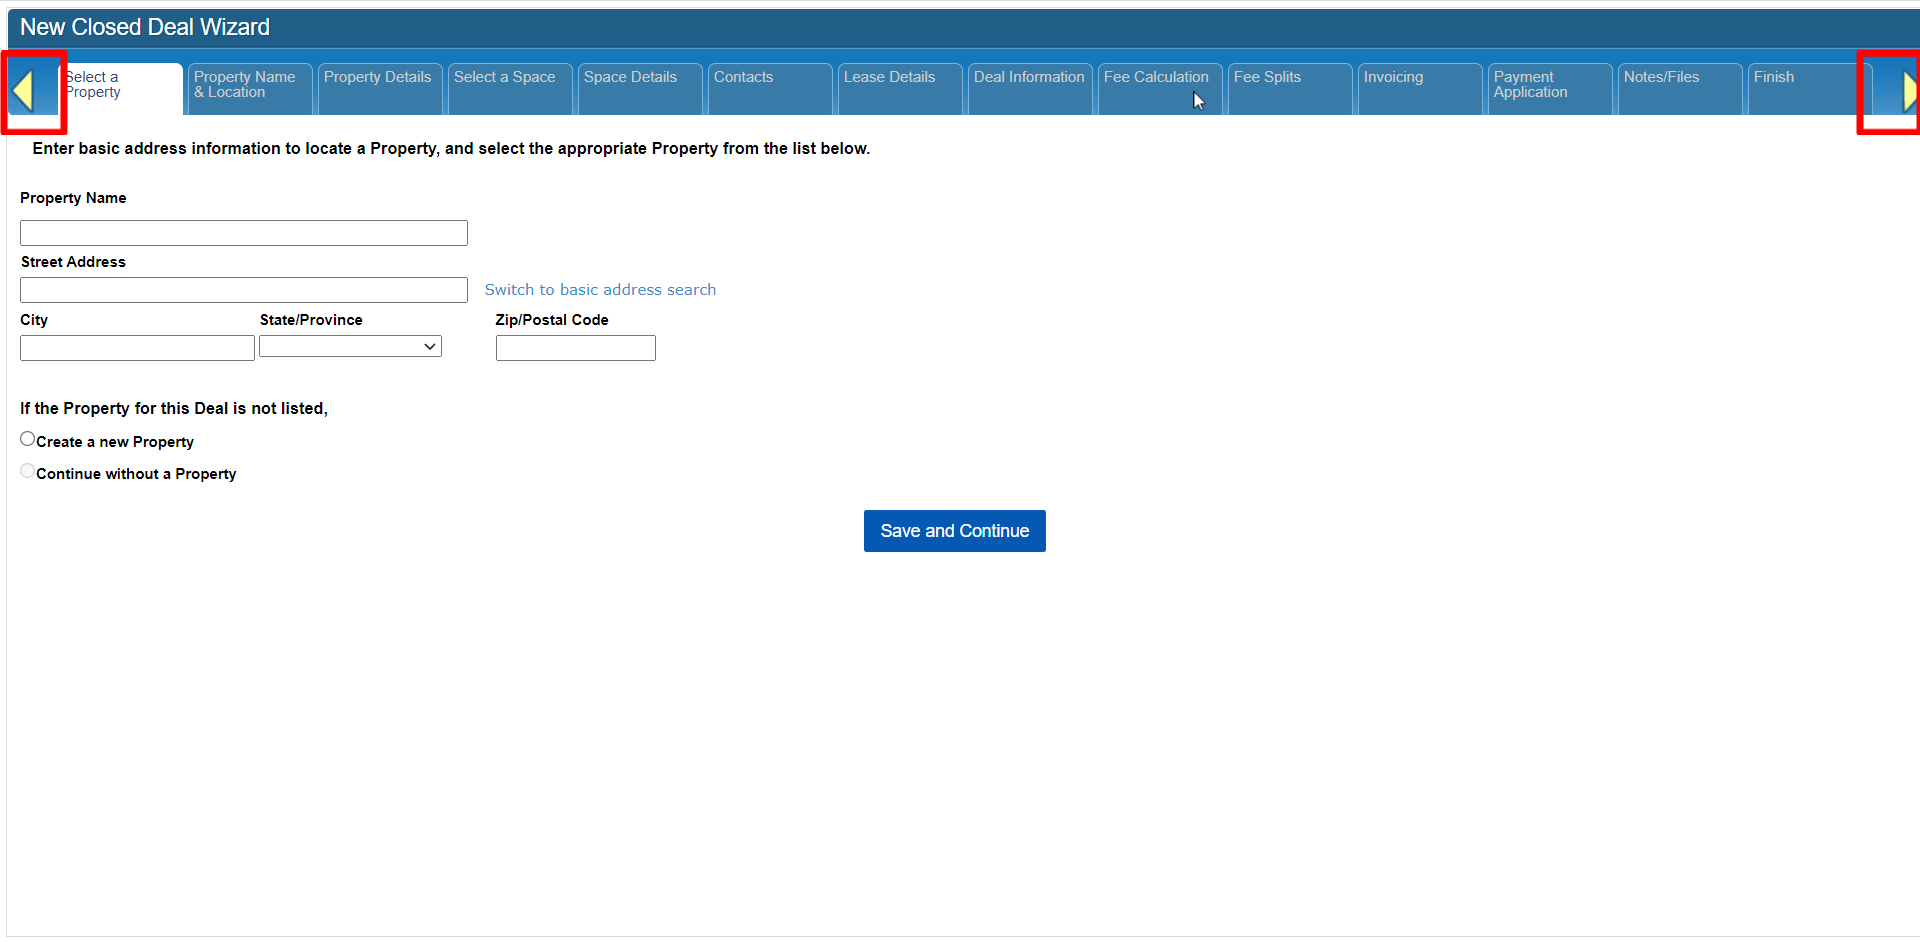
The arrows on both sides of the tab bar allow you to scroll the tabs to the left or the right. You only have to hold your cursor over the arrow for the screen to start scrolling.
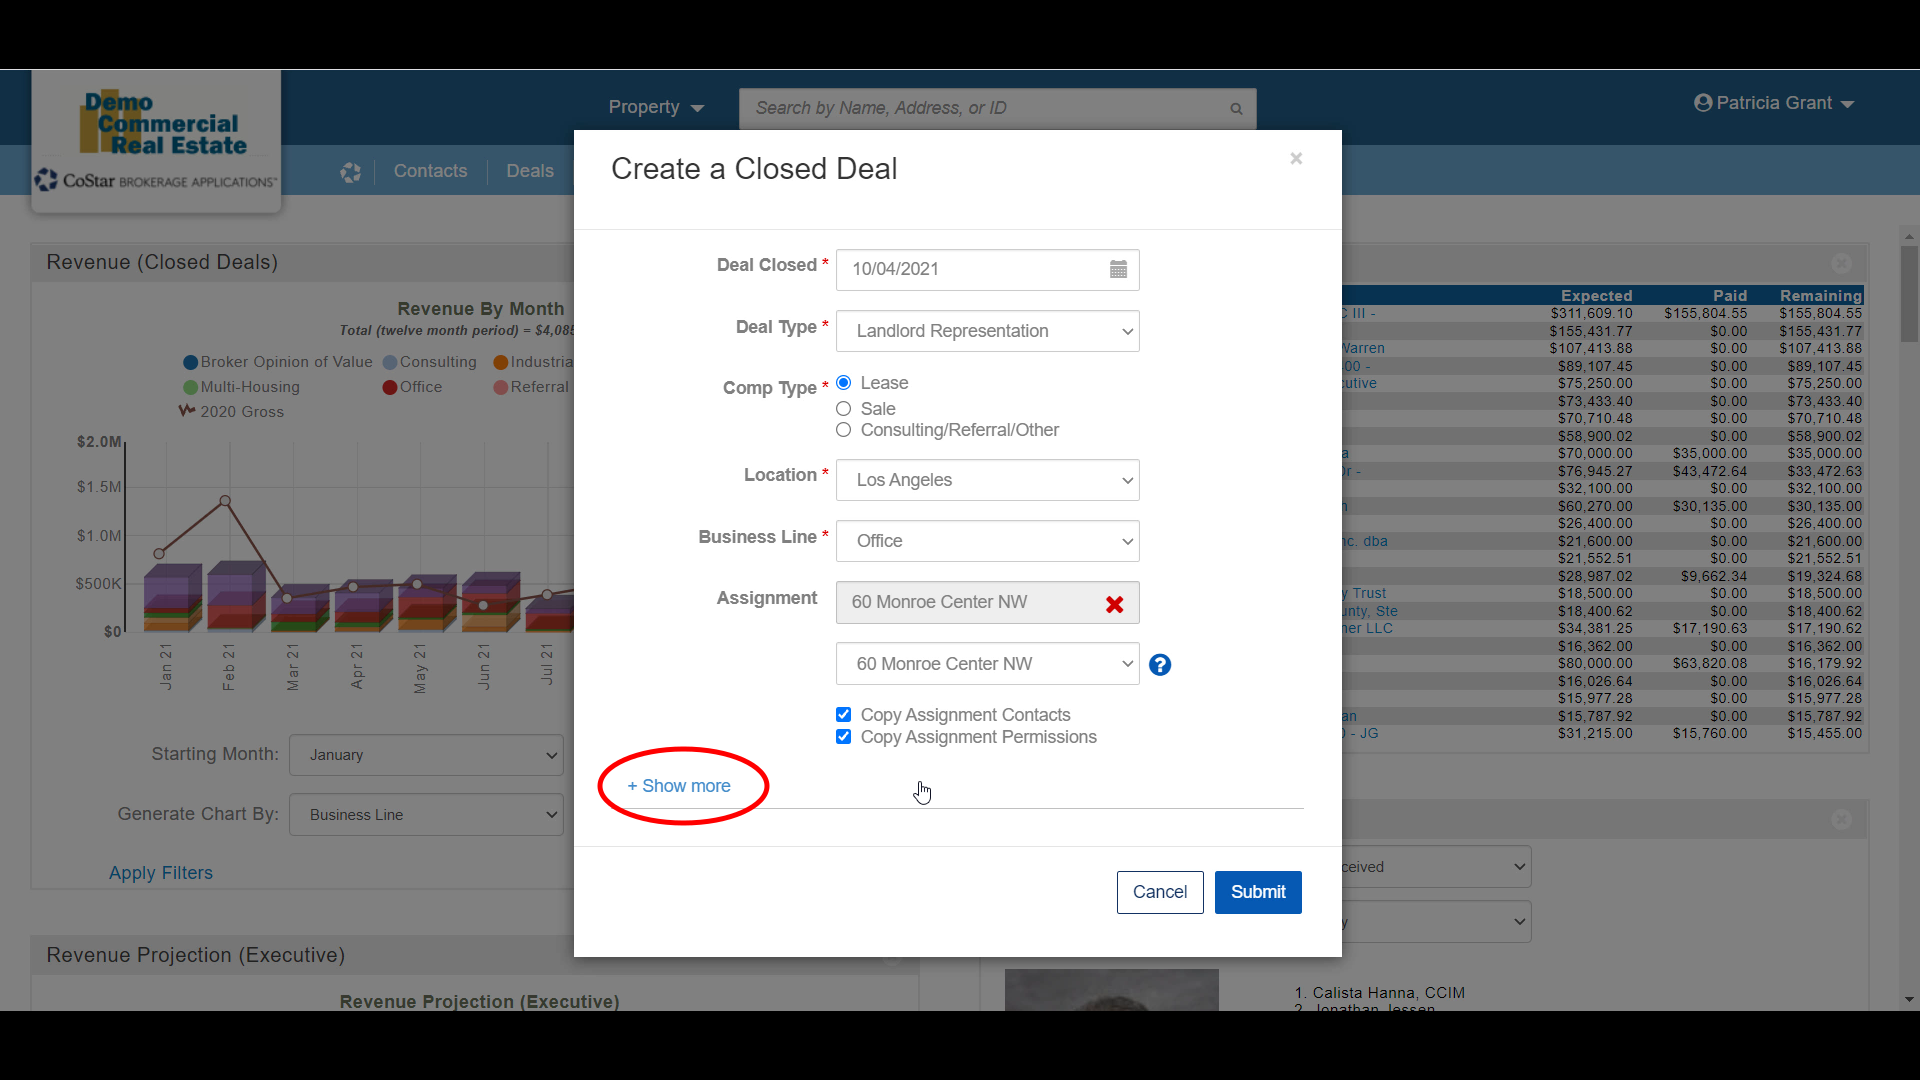
Some tabs will display but can’t be clicked on yet – that’s because you need to complete at least one other step before you can jump to that tab. Once you start completing steps, more tabs will become unlocked.
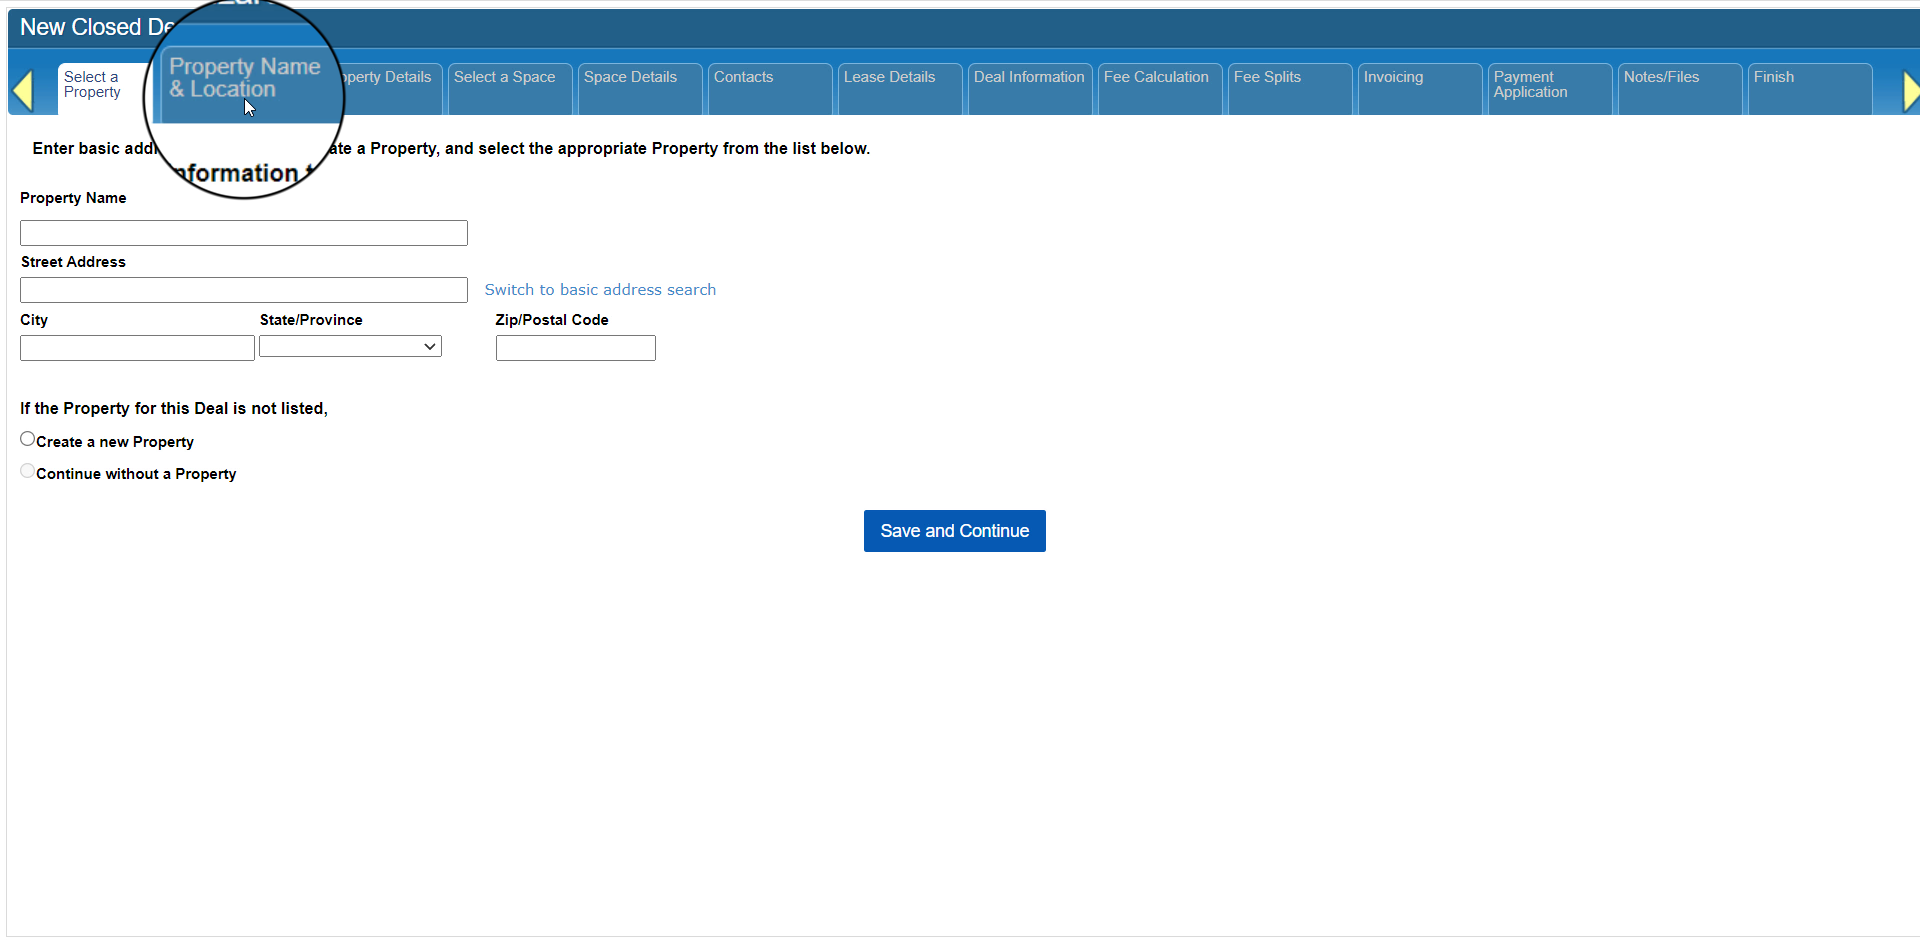
For example, the Finish tab at the far right will become unlocked once you have completed the minimum steps for this type of Closed Deal. In the case of Lease or Sale deals, you must at least complete the steps for defining Property and Space information.

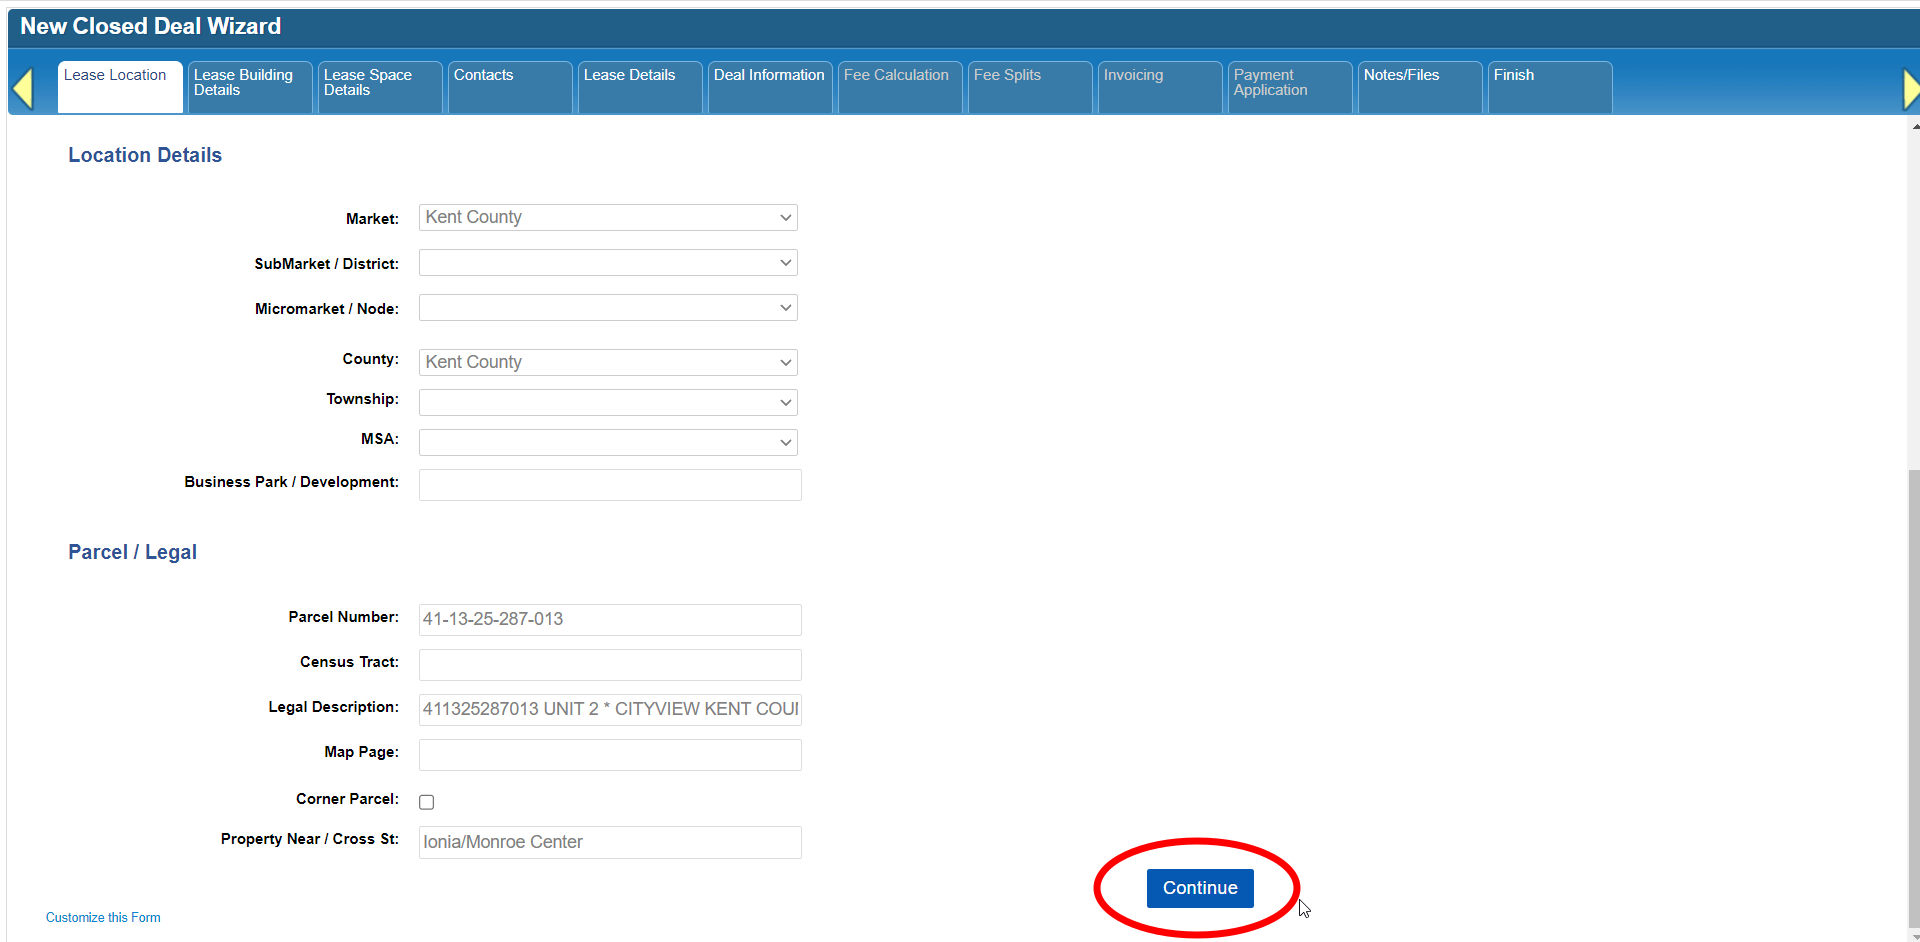
In most cases (and especially when entering a new Closed Deal), you’ll move to each next step by clicking on the option to Continue, which is on the form below the tabs.
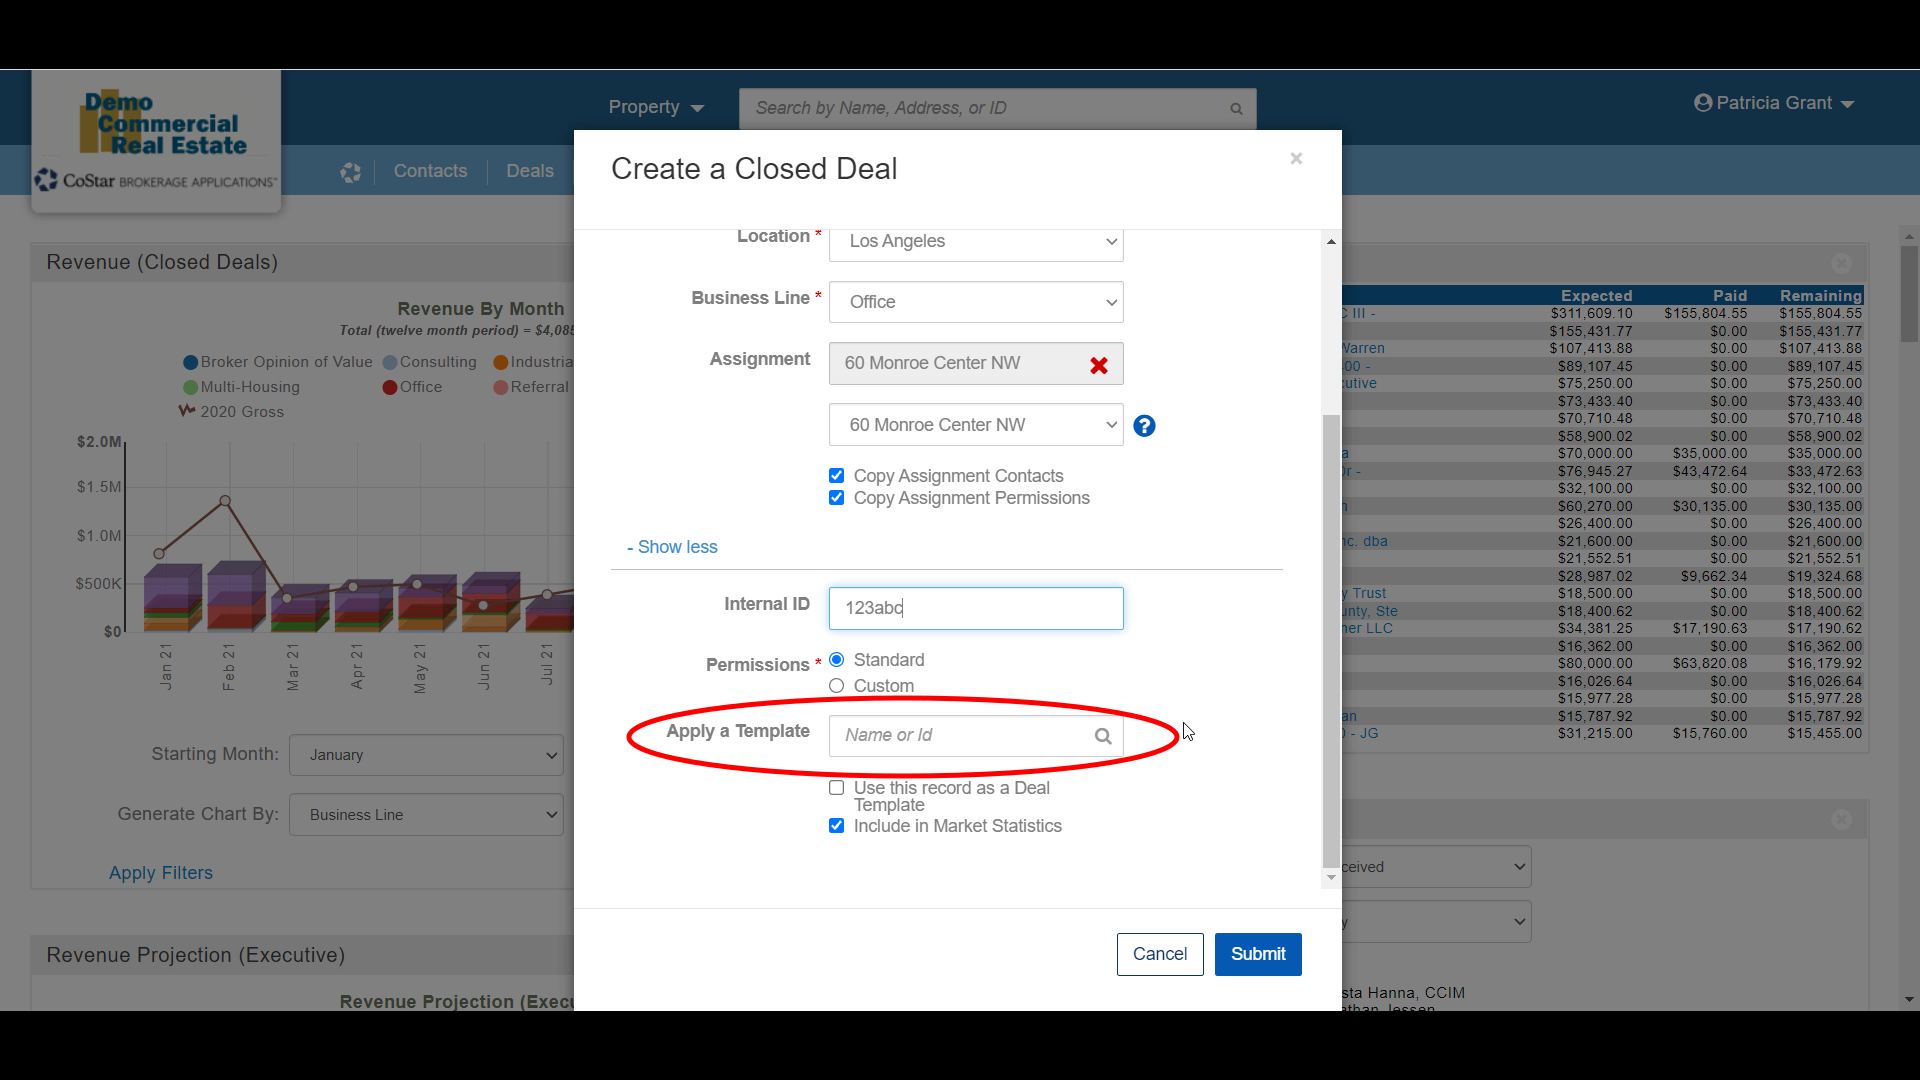
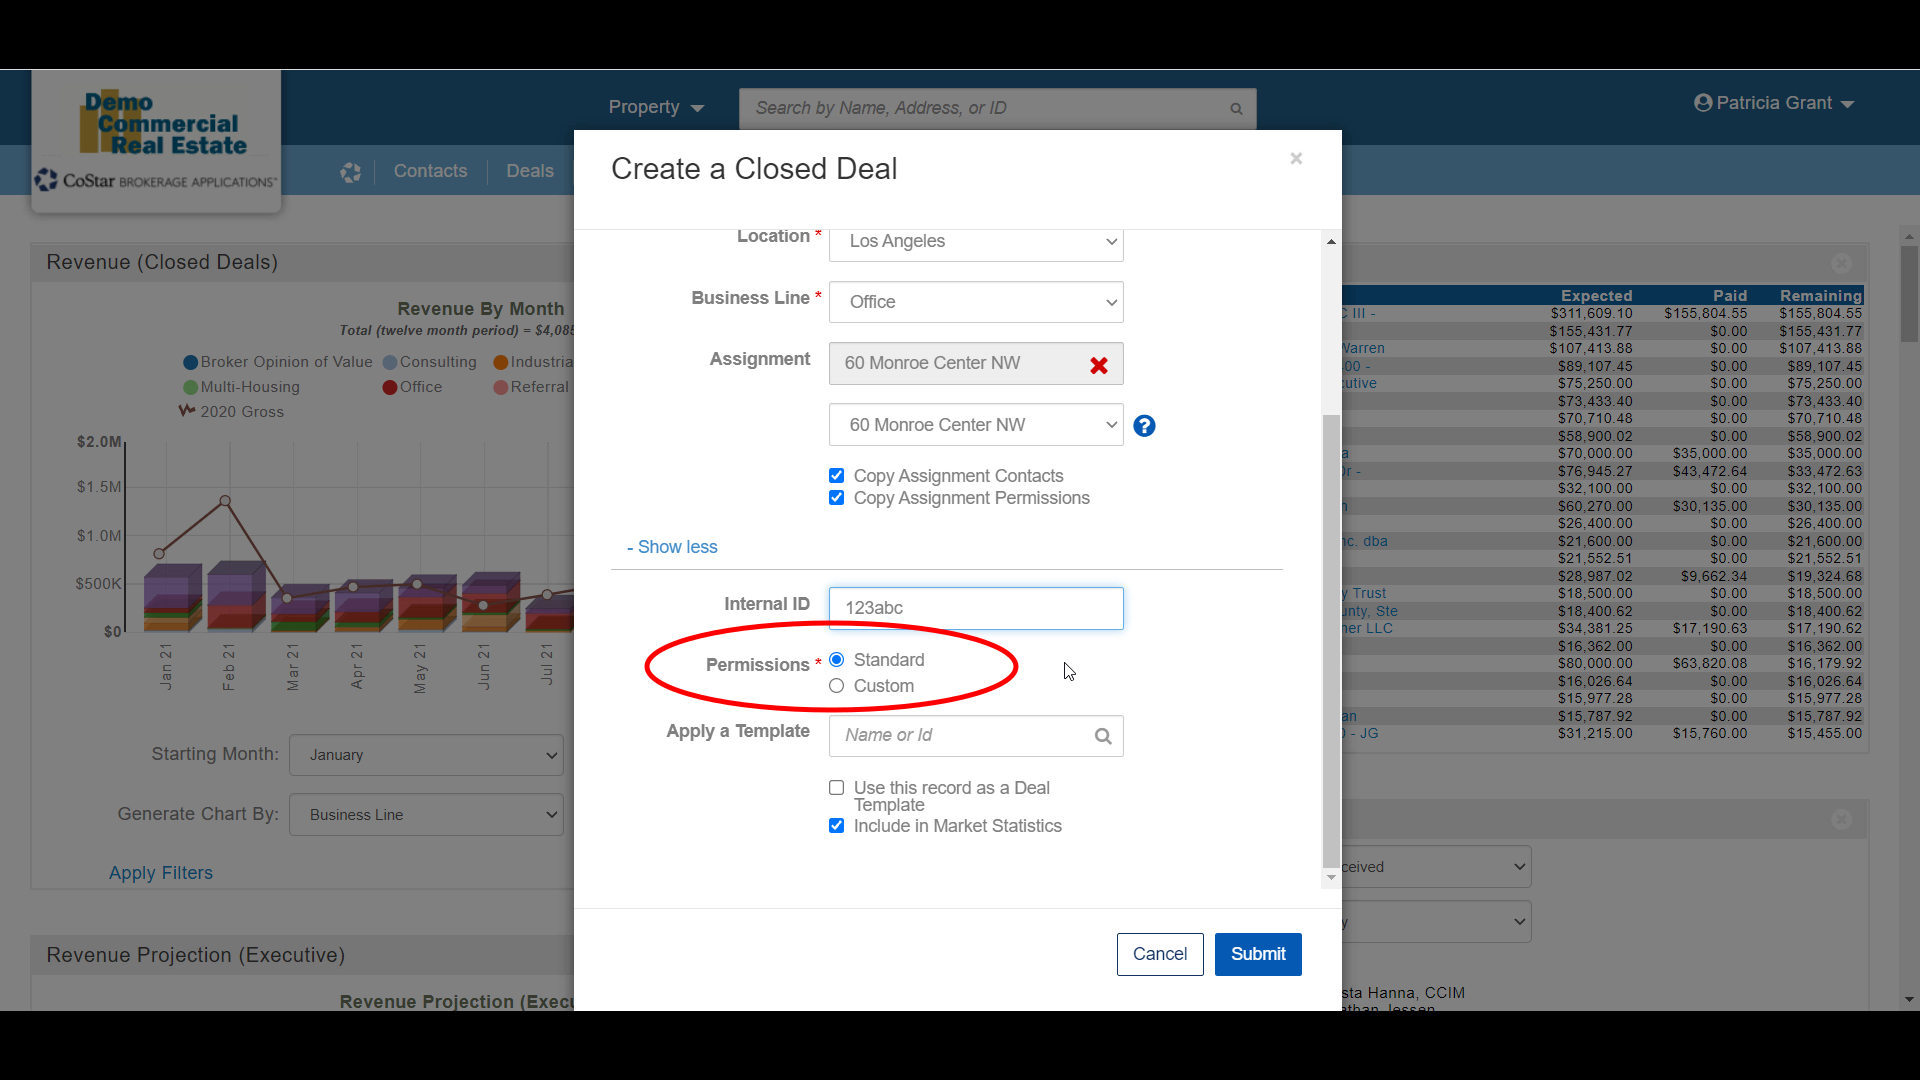
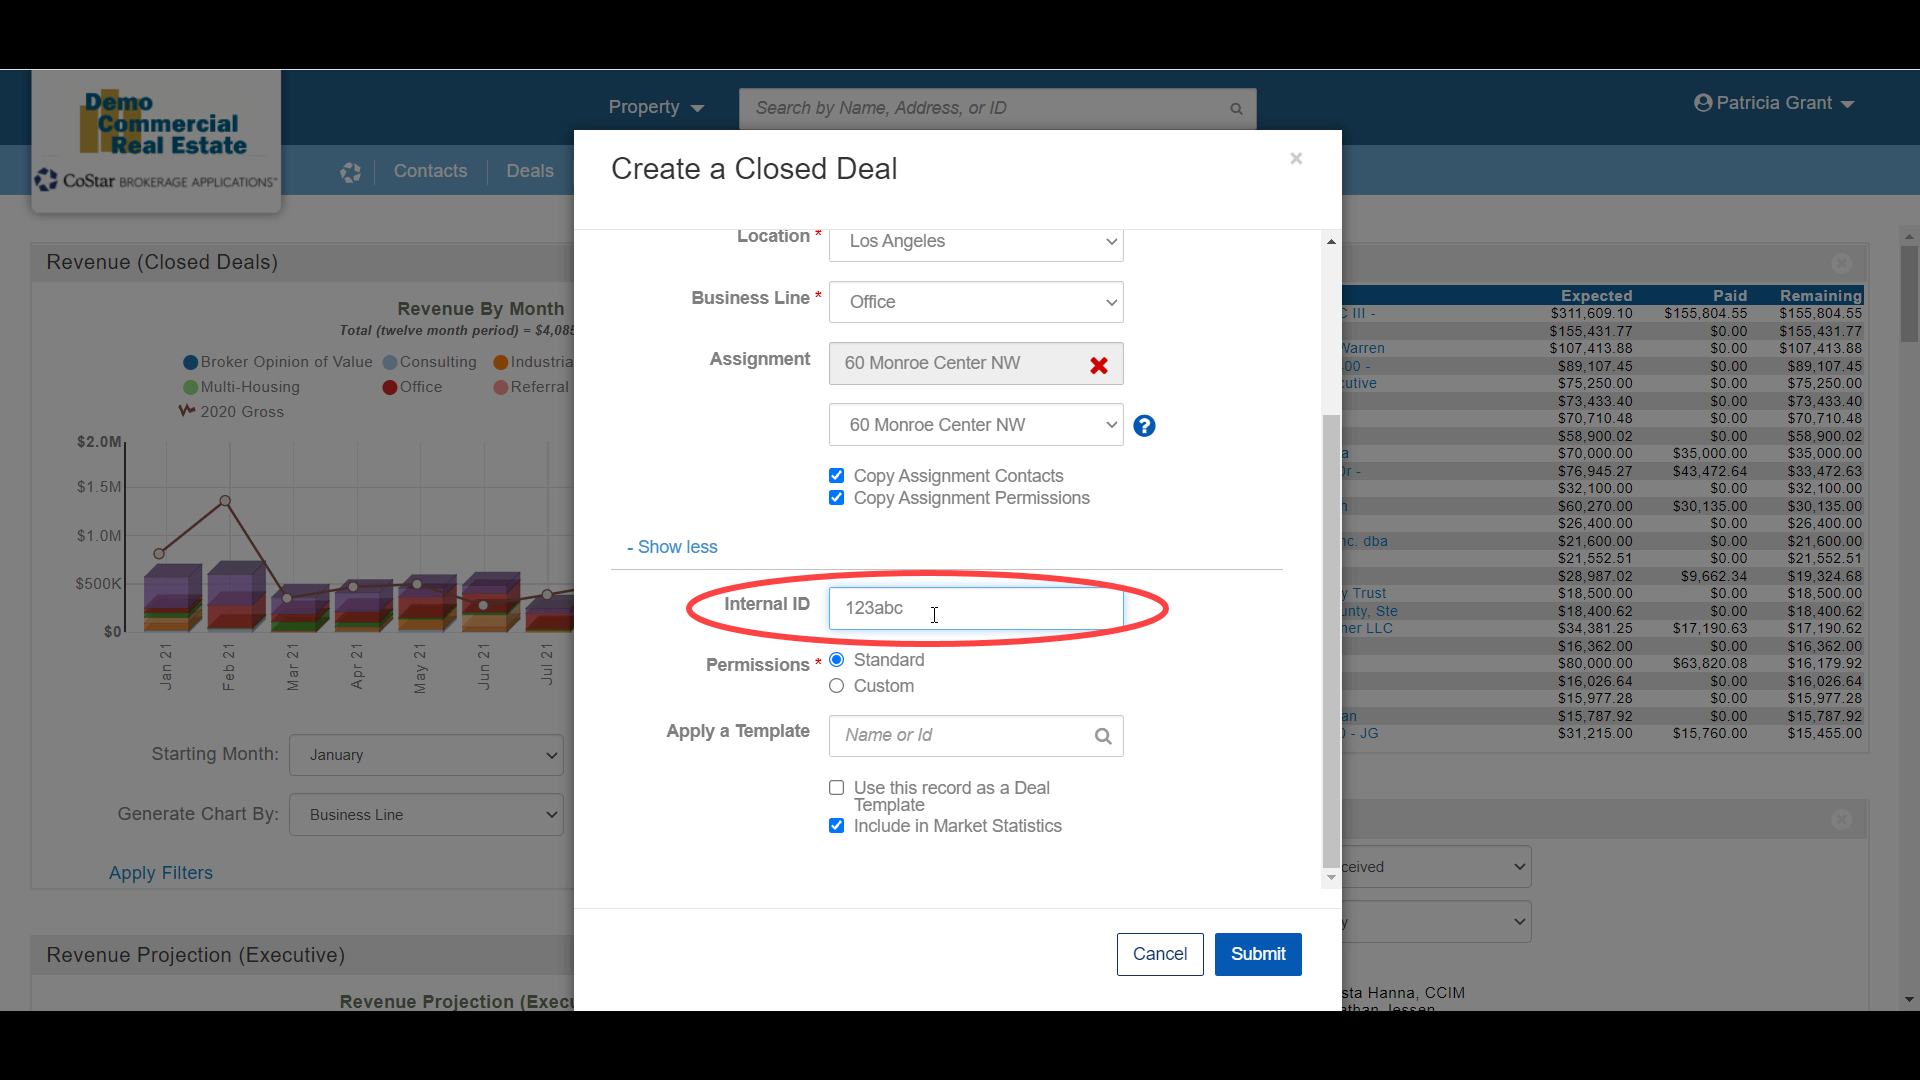
As mentioned in a previous tutorial in this series, some of your forms may not look exactly like what you see here. In most cases, that’s because your system administrator has the option to customize those forms by changing the color of the fields or their labels, or by hiding fields or even by hiding entire sections.
Click here to go to the next tutorial.
Related articles
- How to create a new Closed Deal: Part 2 - New Closed Deal Modal
- How to create a new Closed Deal: Part 3 - Workflow Navigation
- How to create a new Closed Deal: Part 4 - Property
- How to create a new Closed Deal: Part 5 - Space
- How to create a new Closed Deal: Part 6 - Contacts
- How to create a new Closed Deal: Part 7 - Lease Details
- How to create a new Closed Deal: Part 8 - Deal Information
- How to create a new Closed Deal: Part 9 - Fee Calculation
- How to create a new Closed Deal: Part 10 - Fee Splits
- How to create a new Closed Deal: Part 11 - Invoicing
- How to create a new Closed Deal: Part 12 - Payments
- How to create a new Closed Deal: Part 13 - Notes/Files
- How to create a new Closed Deal: Part 14 - Link Project
- How to create a new Closed Deal: Part 15 - Deal Share
- How to create a new Closed Deal: Part 16 - Billing Schedule
- How to create a new Closed Deal: Part 17 - Net Adjustments
- How to create a new Closed Deal: Part 18 - Annuity Schedule
- How to create a new Closed Deal: Part 19 - Sale Details
- How to create a new Closed Deal: Part 20 - Other Starting Points
© 2023 CoStar Group