This tutorial will include the Billing Schedule’s intended purpose and how it provides details for accurate commission billing without affecting critical accounting data.
This is an optional step and may not be relevant for your firm’s internal process. If that’s the case, you can ask your System Administrator to hide this tab from the workflow in your user settings.
Instructions
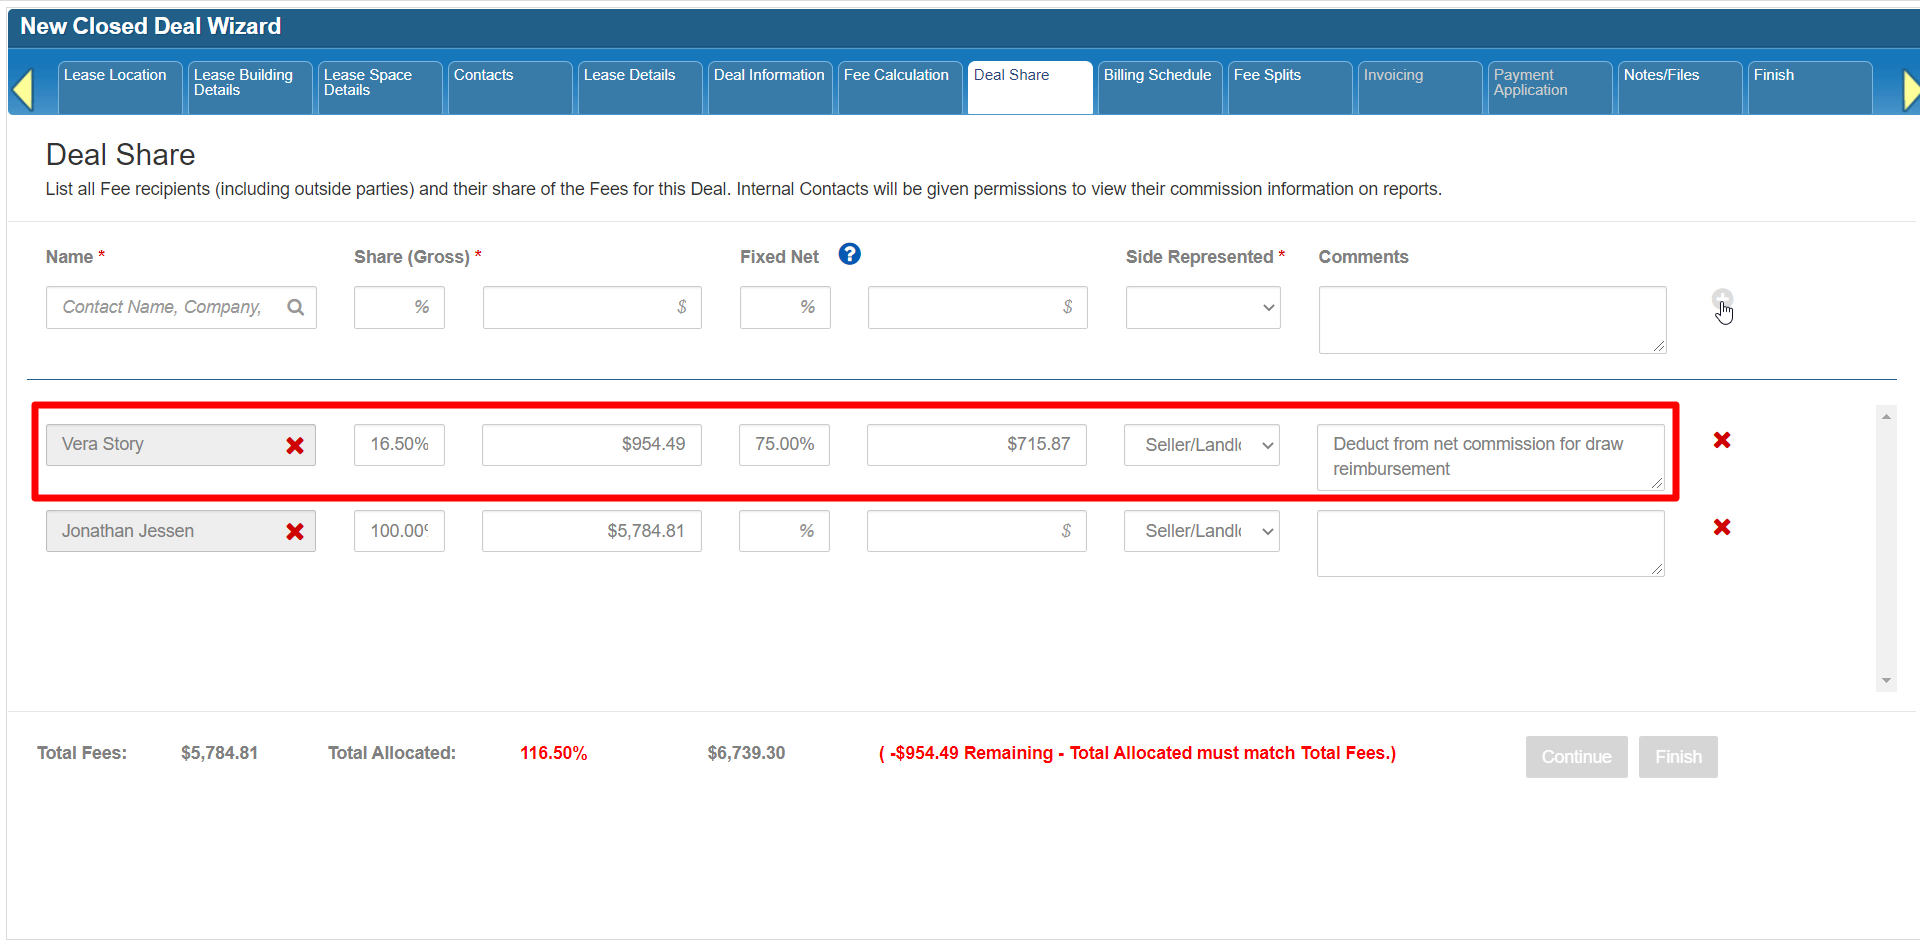
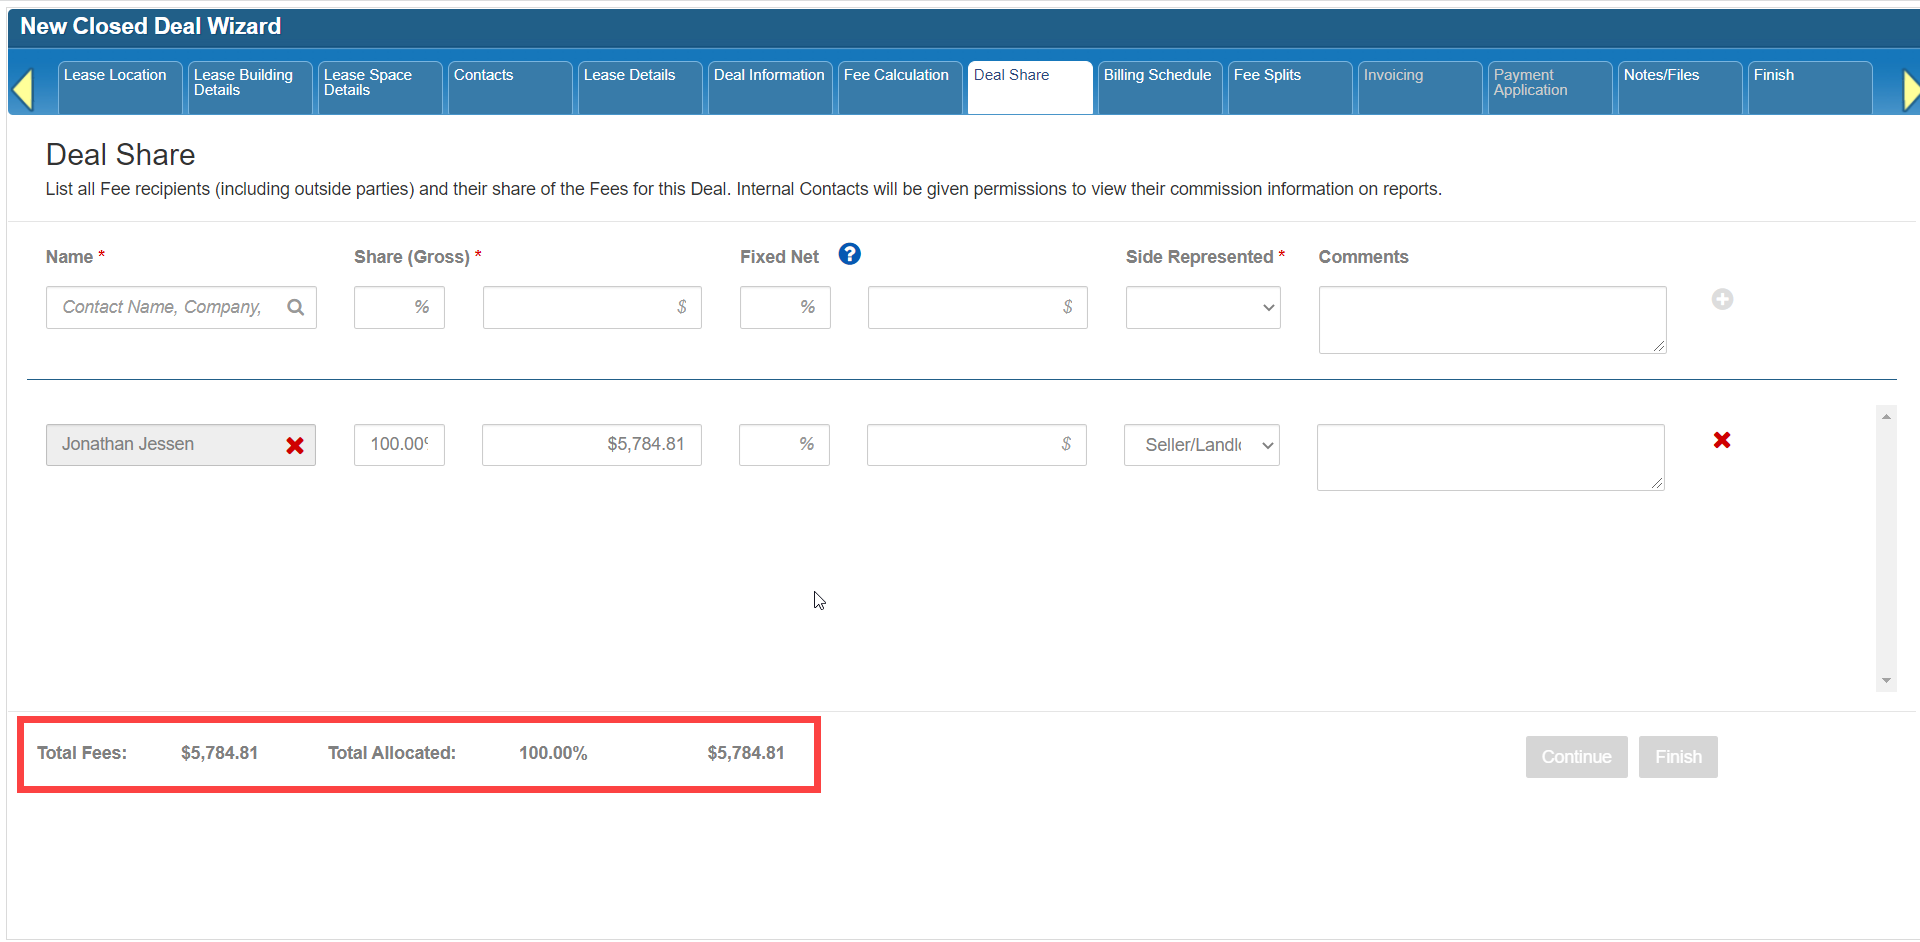
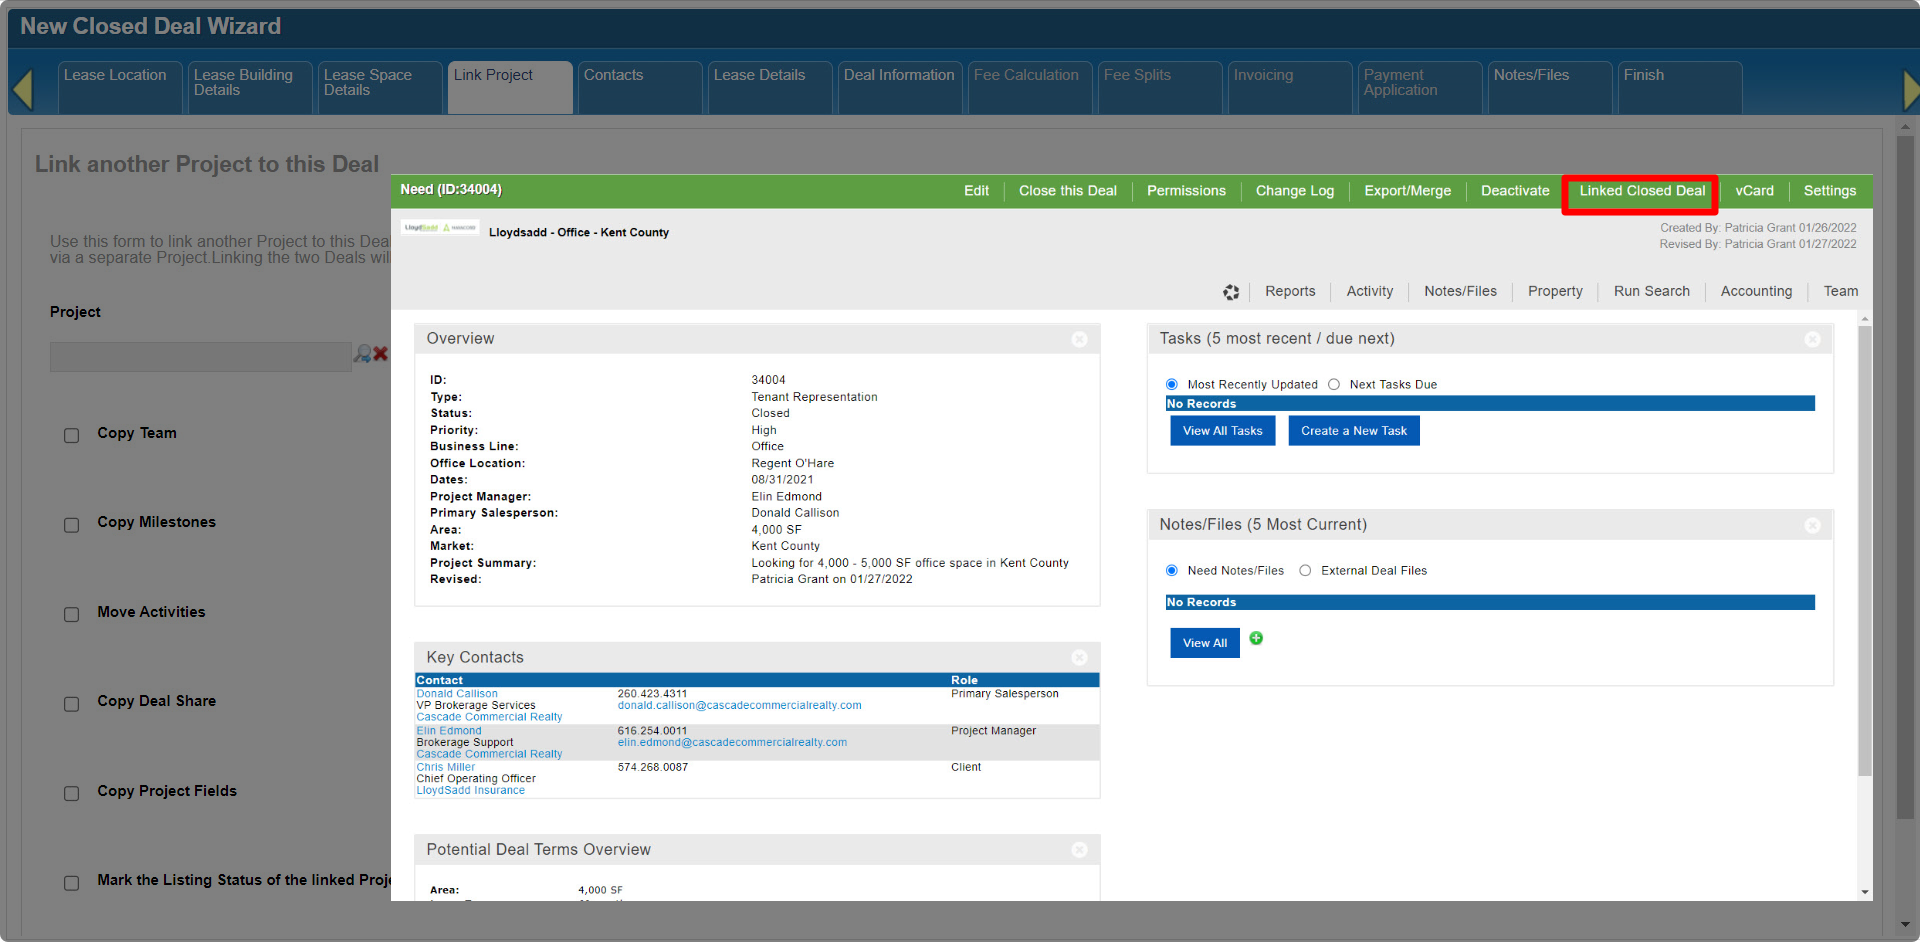
The Billing Schedule tab is usually used in conjunction with the Deal Share tab. Both are part of a simplified Closed Deal data entry process designed for brokers or staff who are not meant to have access to or modify potentially sensitive accounting information.
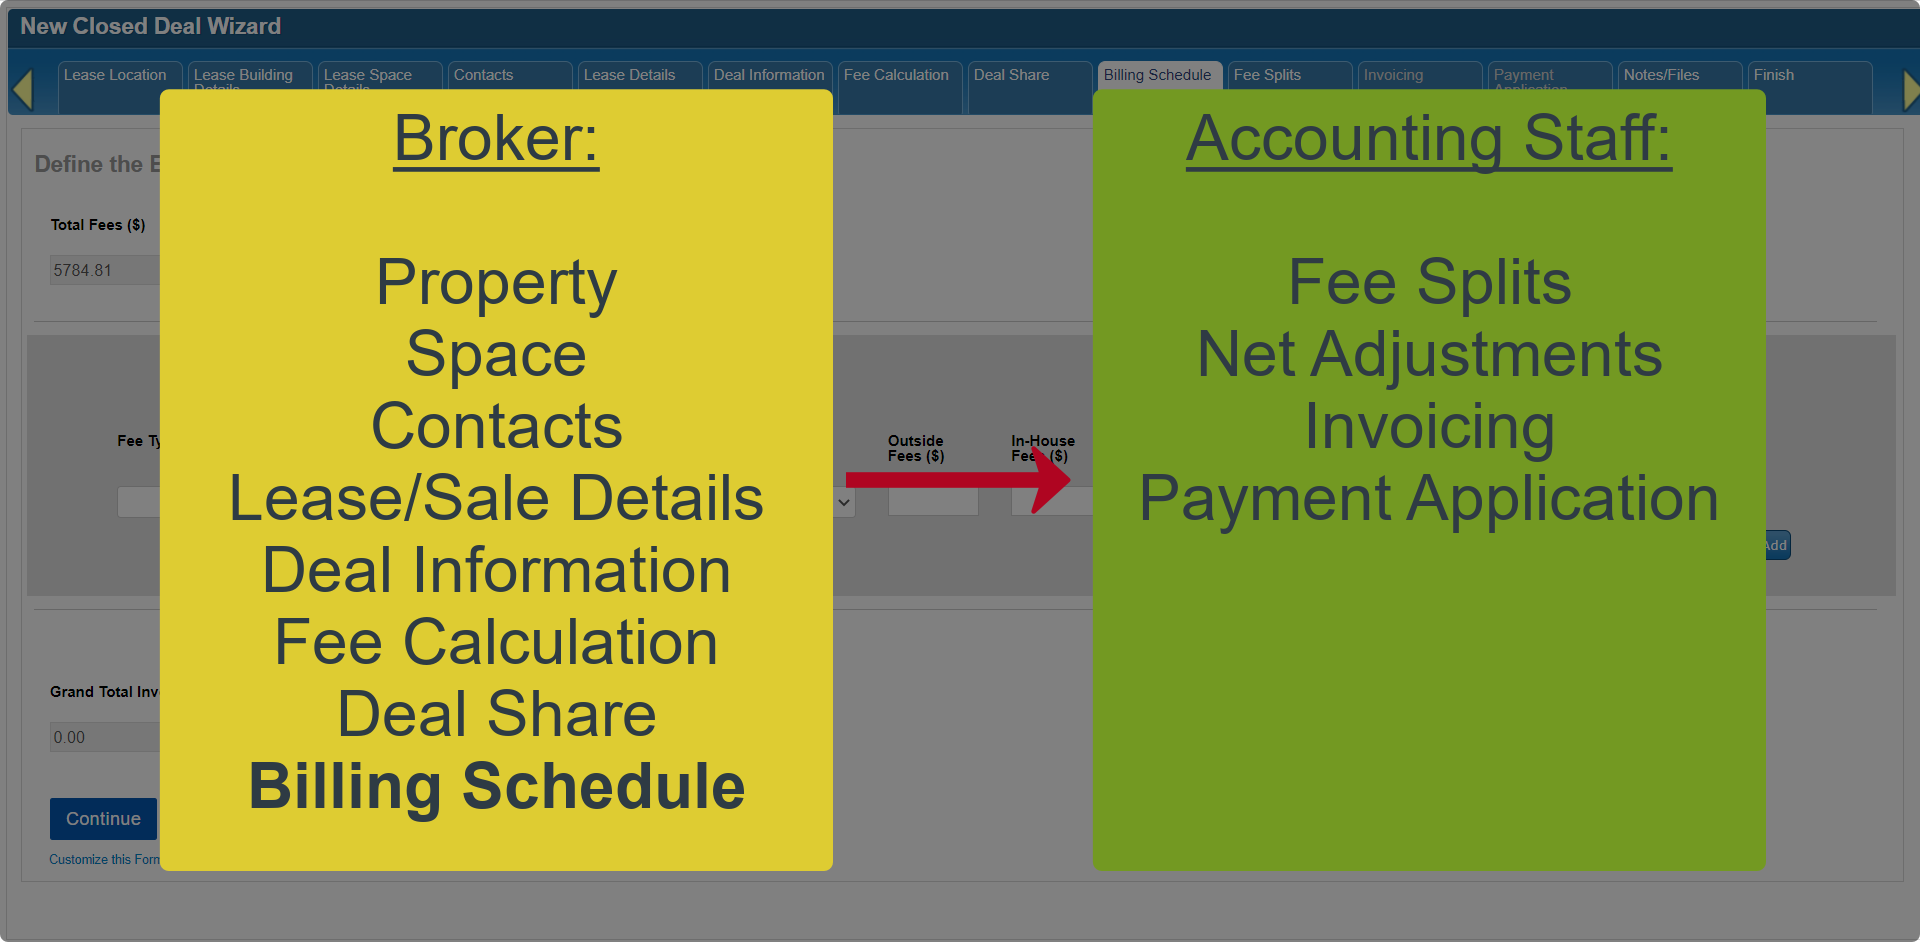
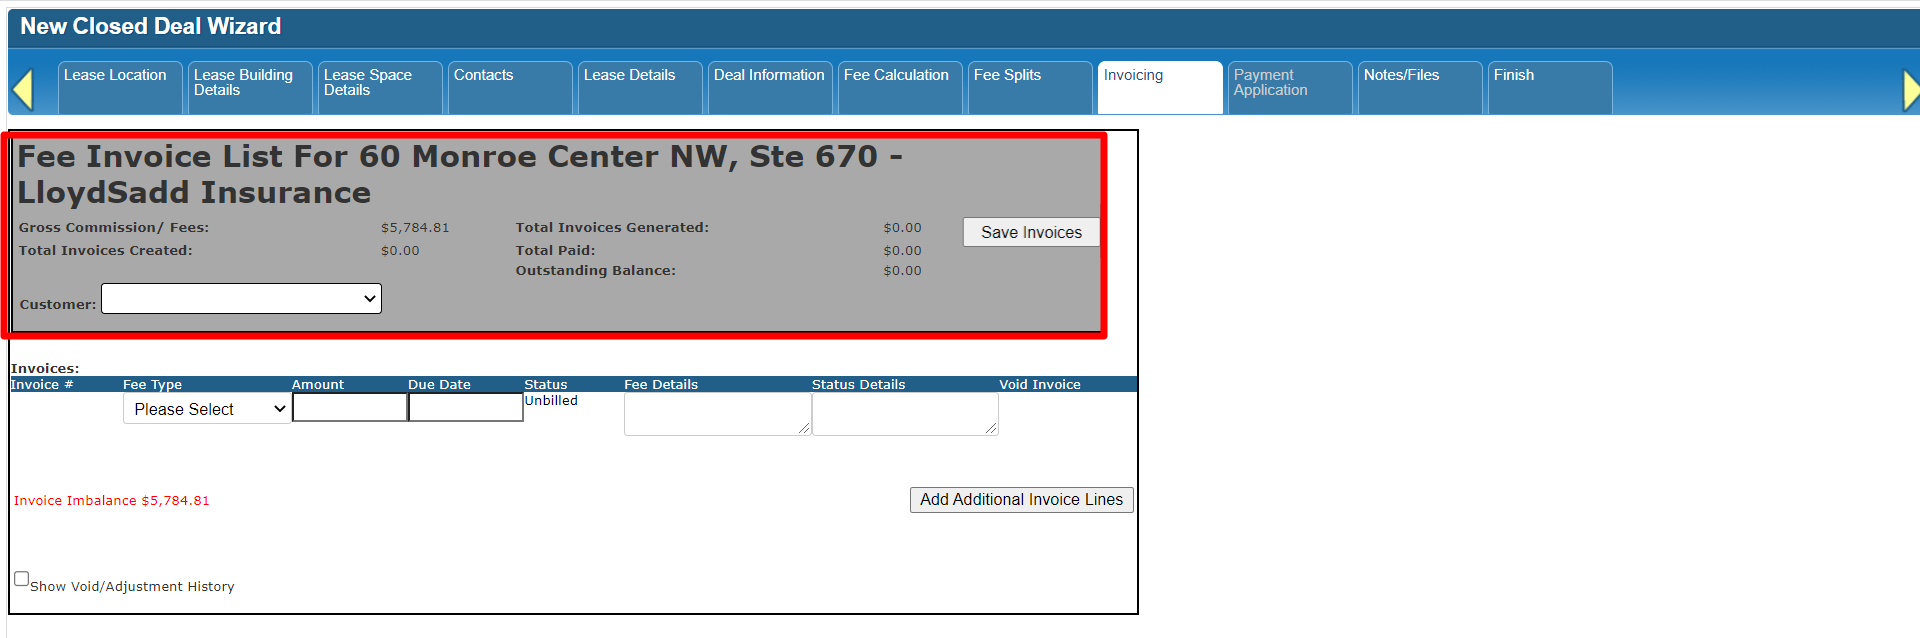
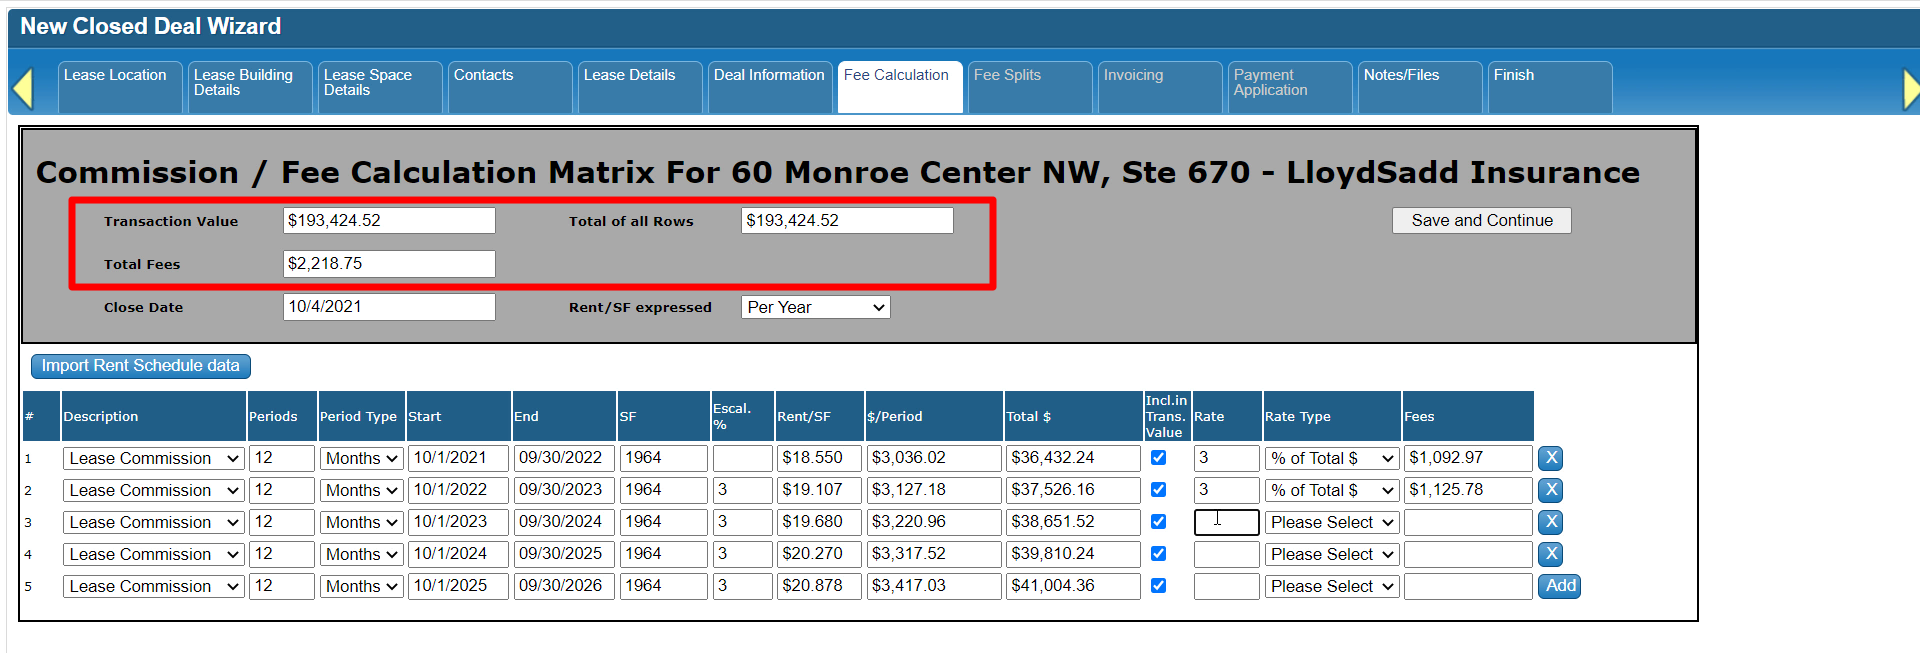
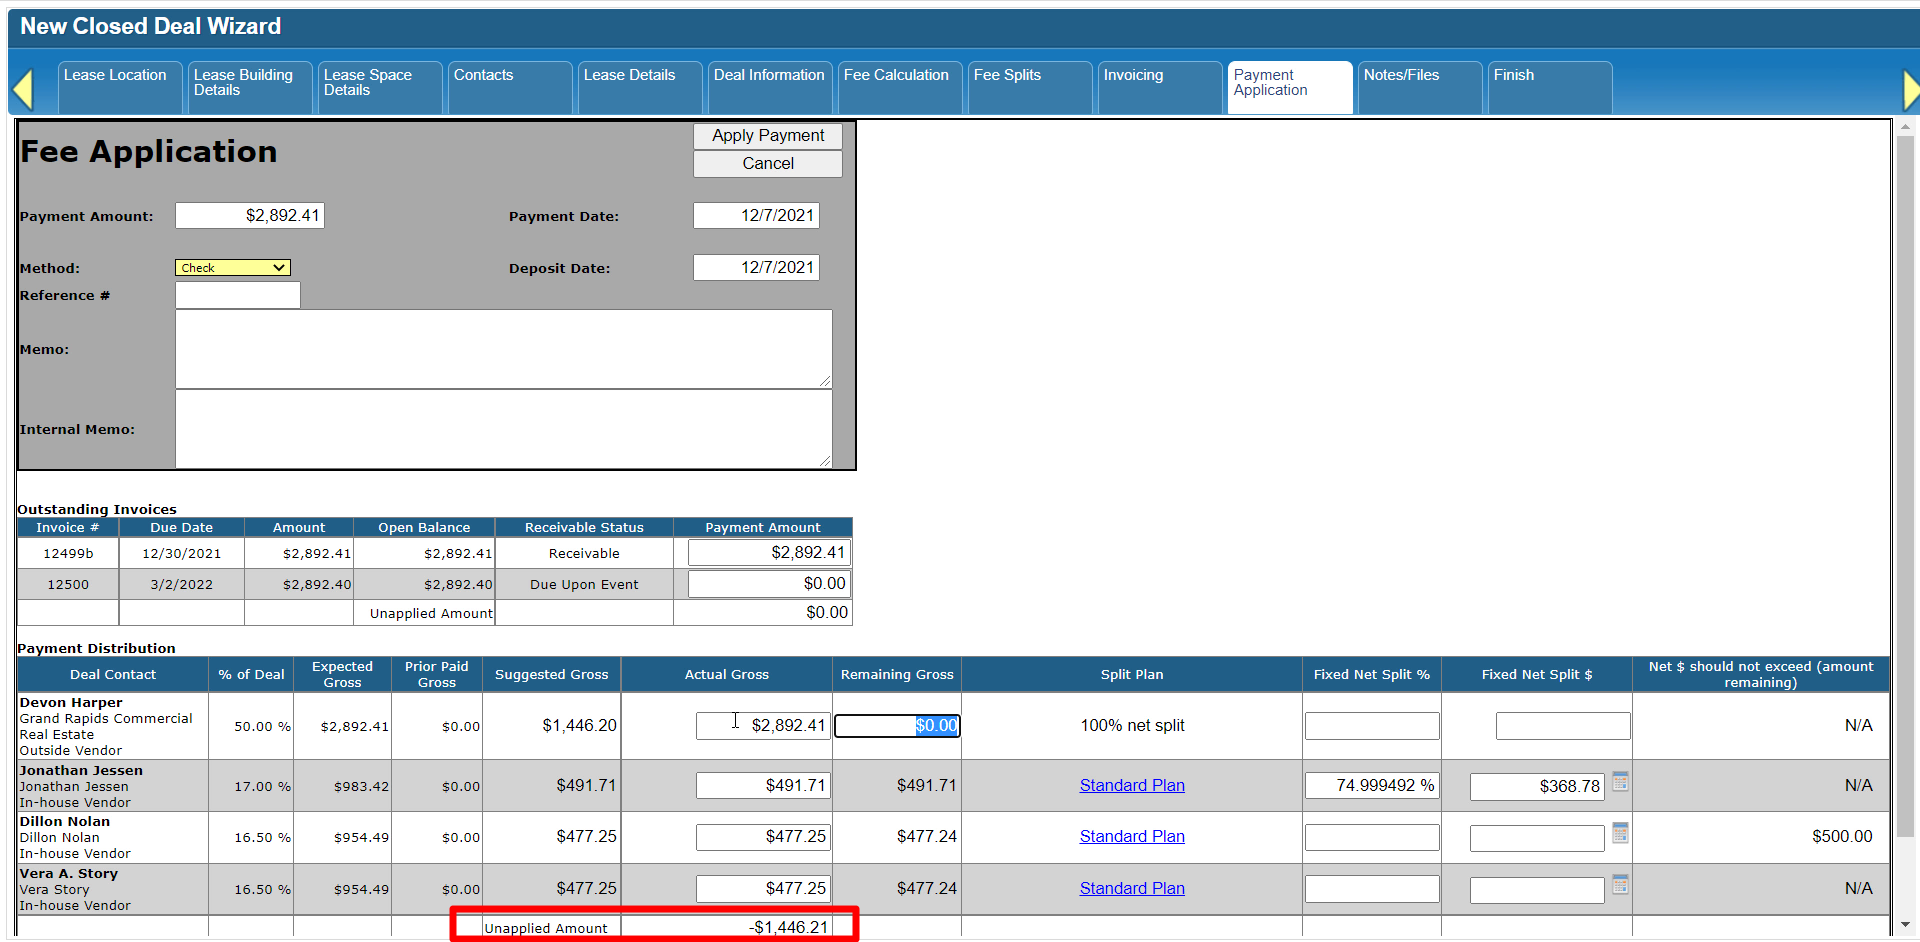
In this step, you can set up invoices for the Total Fee amount that was defined on the Fee Calculation tab.

Unlike the Deal Share tab, the information you enter here will carry over to the Invoicing tab. However, the Billing Schedule form doesn’t require access to Customer accounts and does not have the ability to bill invoices or affect receivables.
At the top of the form is the Total Fee amount.

Below that is a list of invoices.

At the bottom is a total of all Invoices in the schedule above, as well as a calculation for the balance between the Total Fee and total scheduled Invoice amounts.

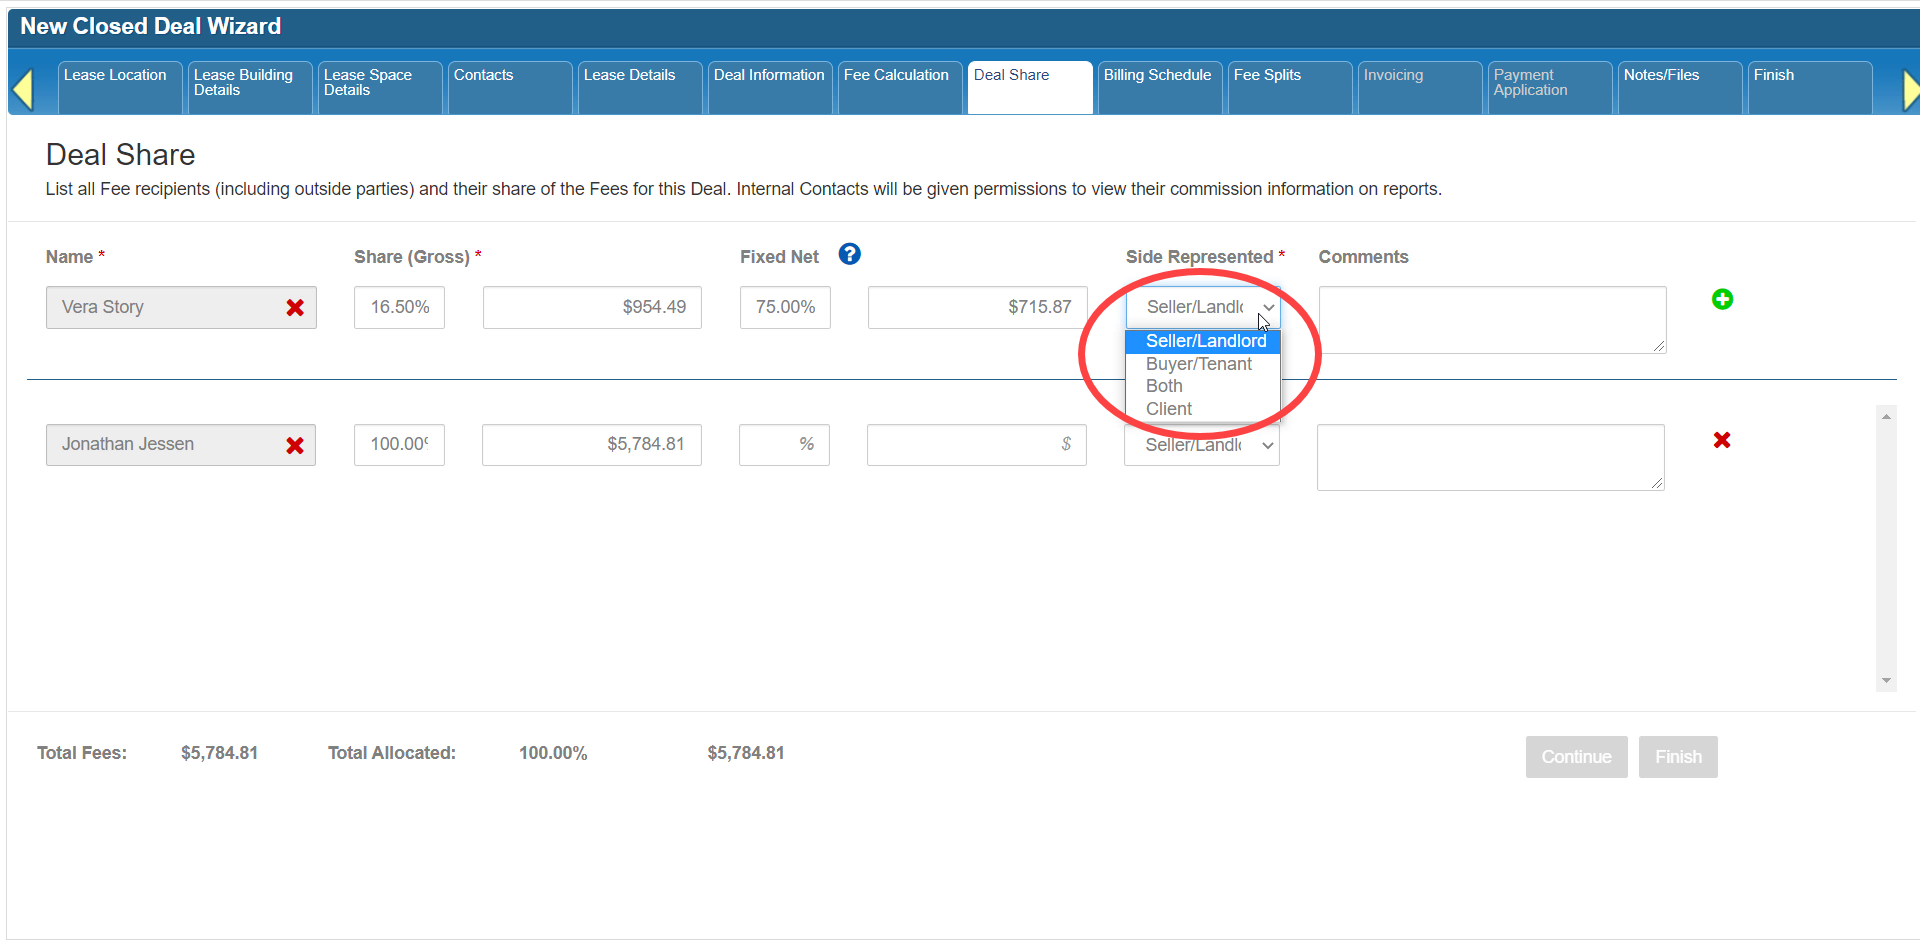
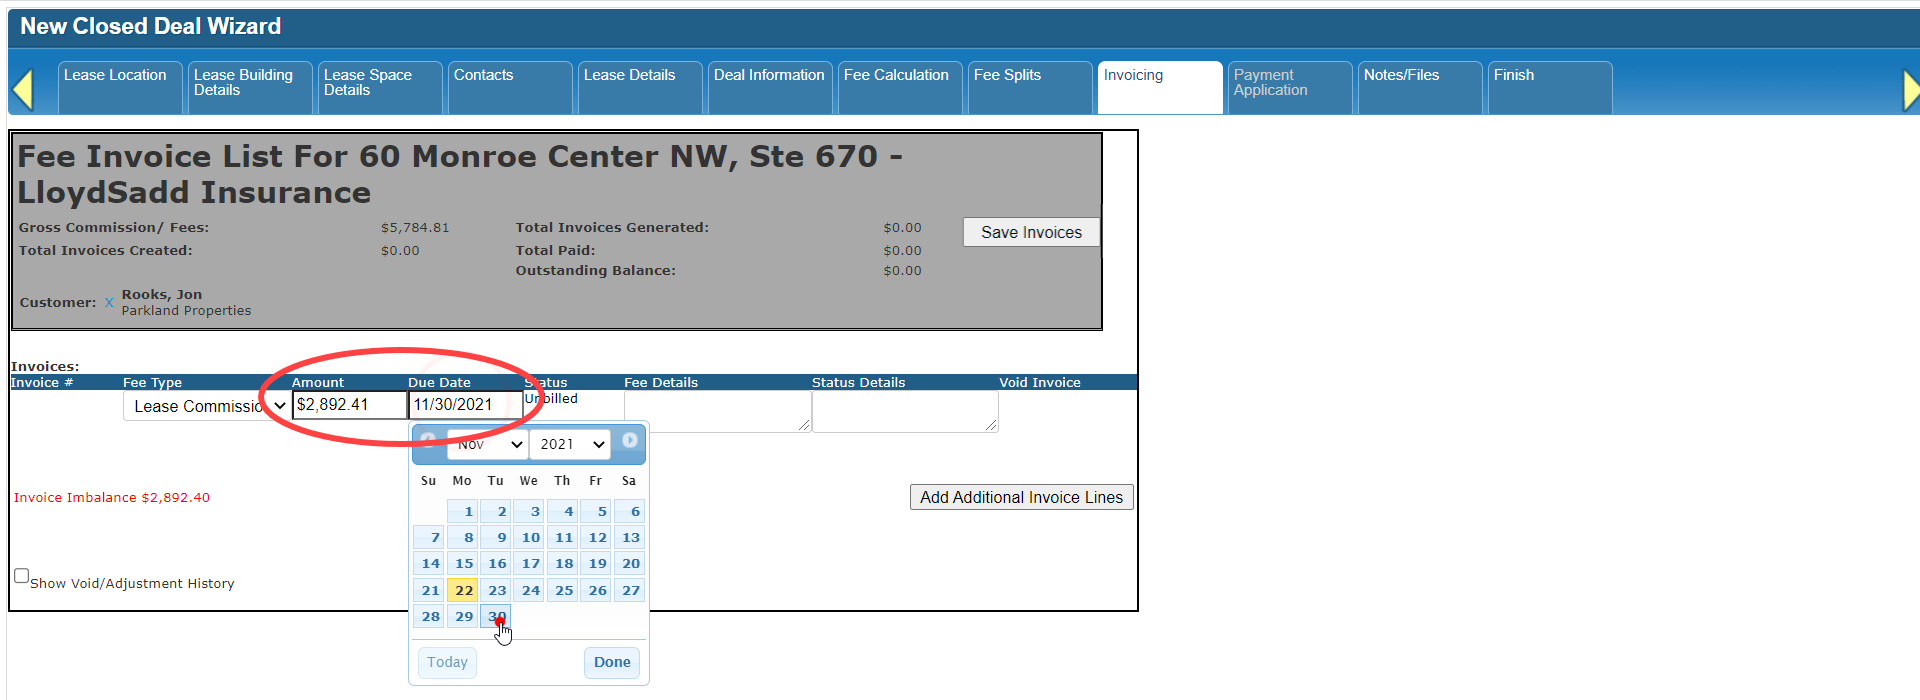
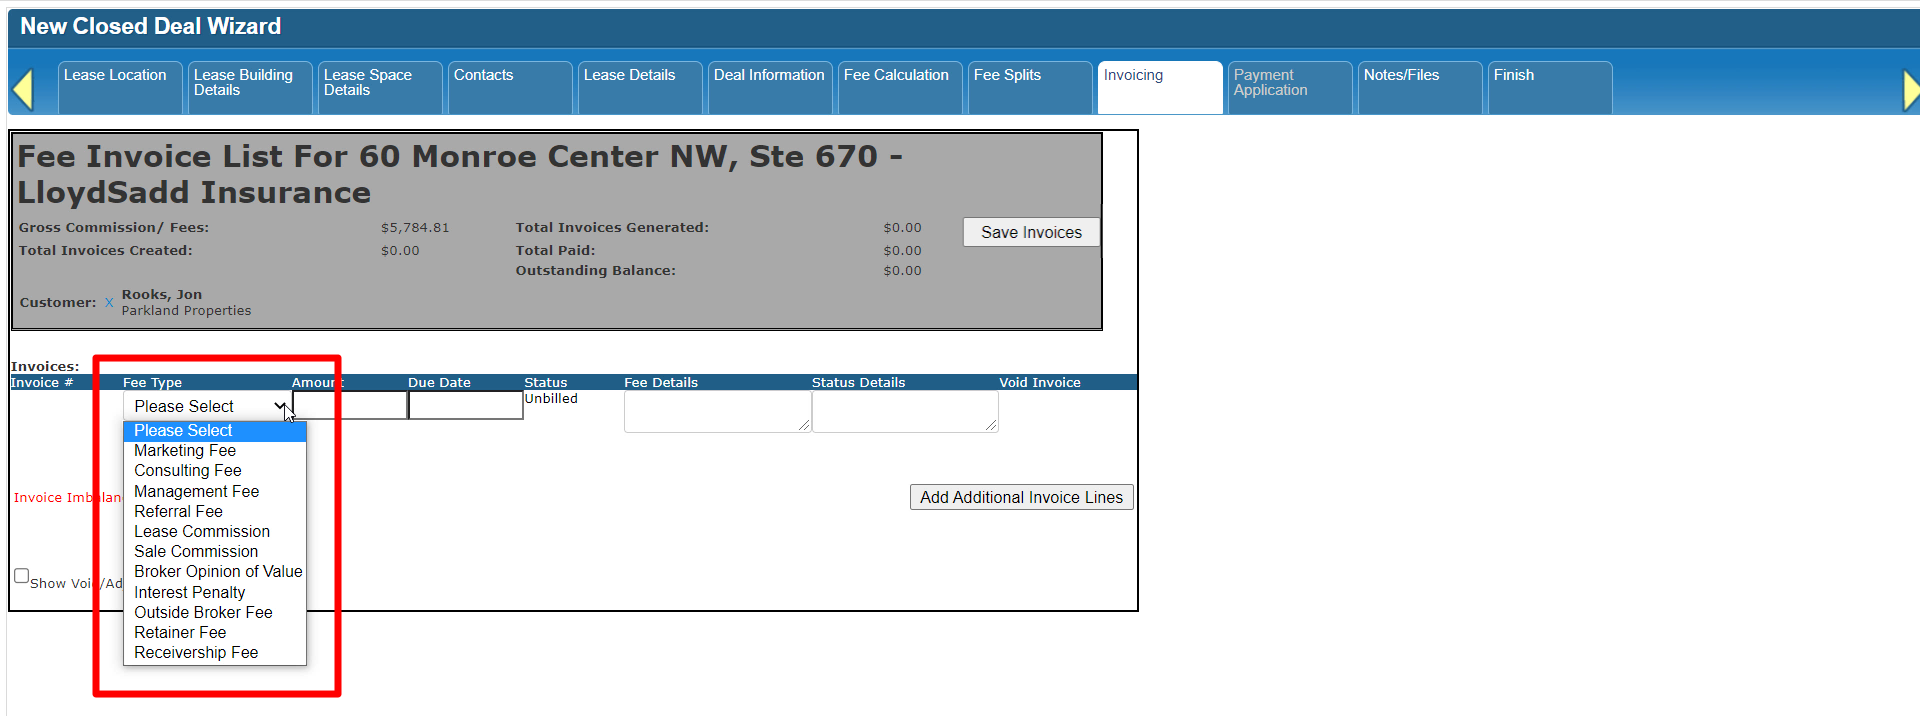
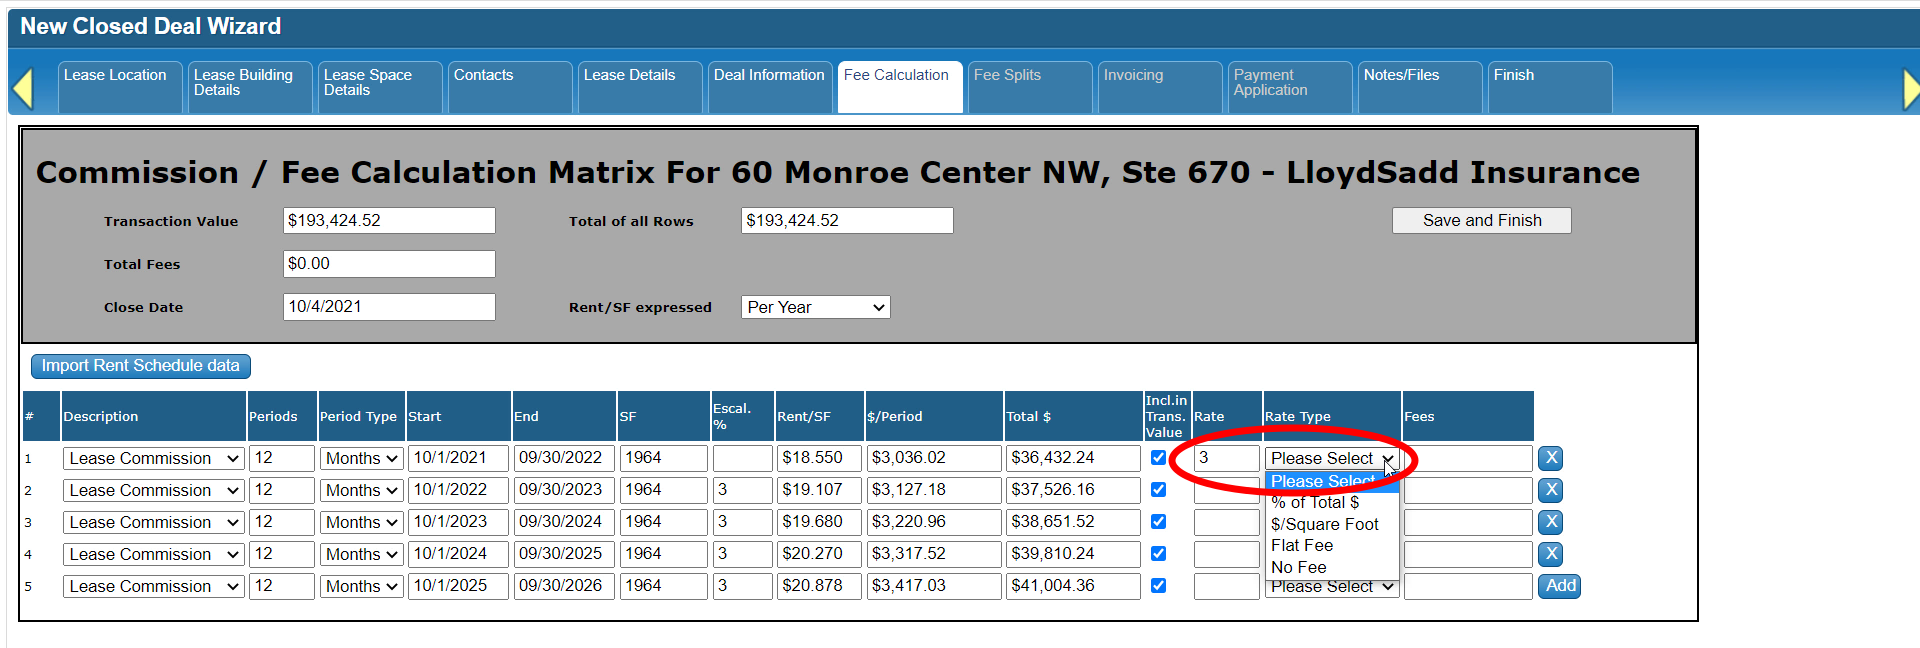
Begin by selecting a Fee Type from the pulldown menu.

Add the Due Date and Due Upon instructions.

Next you have fields for entering a separate amount for billable fees that are intended for outside parties, vs fees that will be distributed internally.

The Total Invoice Amount will be calculated for you.

If that distinction isn’t important to your firm, just enter the entire invoice amount into the In-House Fees field. Most of our current accounting reports rely on information from the Fee Splits tab, not this tab, to determine outside vs in-house fees.

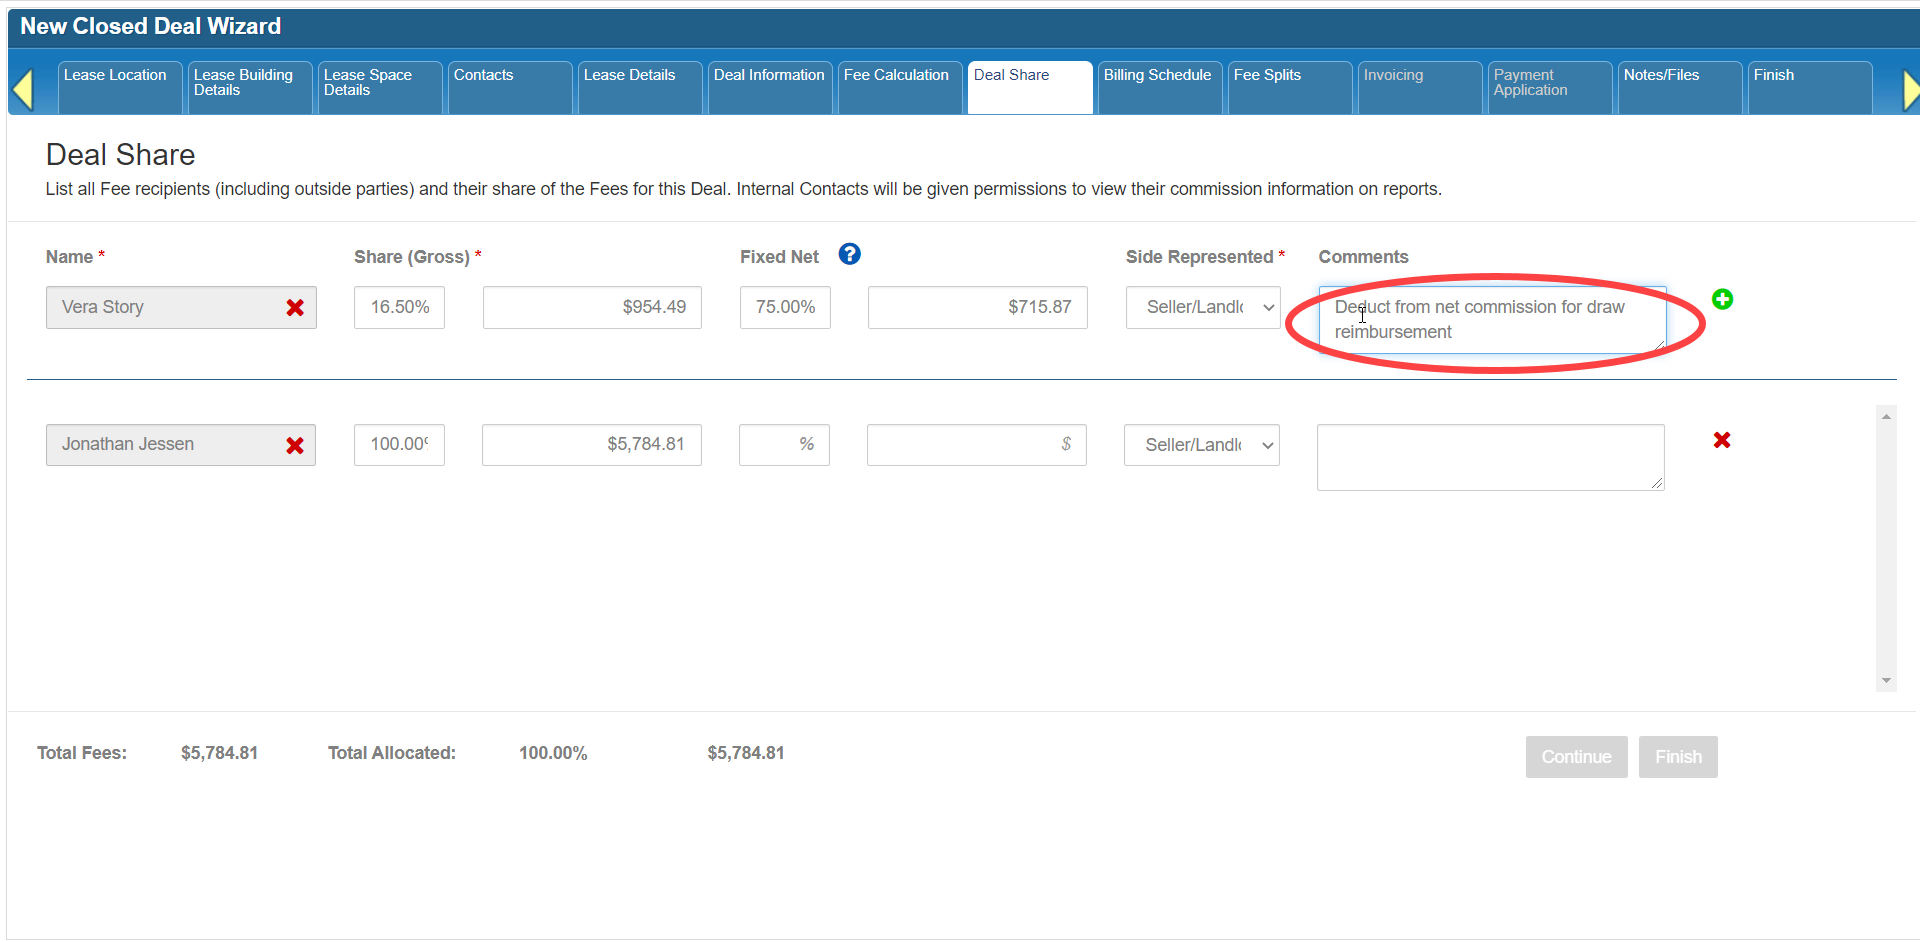
The Internal Comments allow you to provide any additional instructions or notes regarding each invoice.

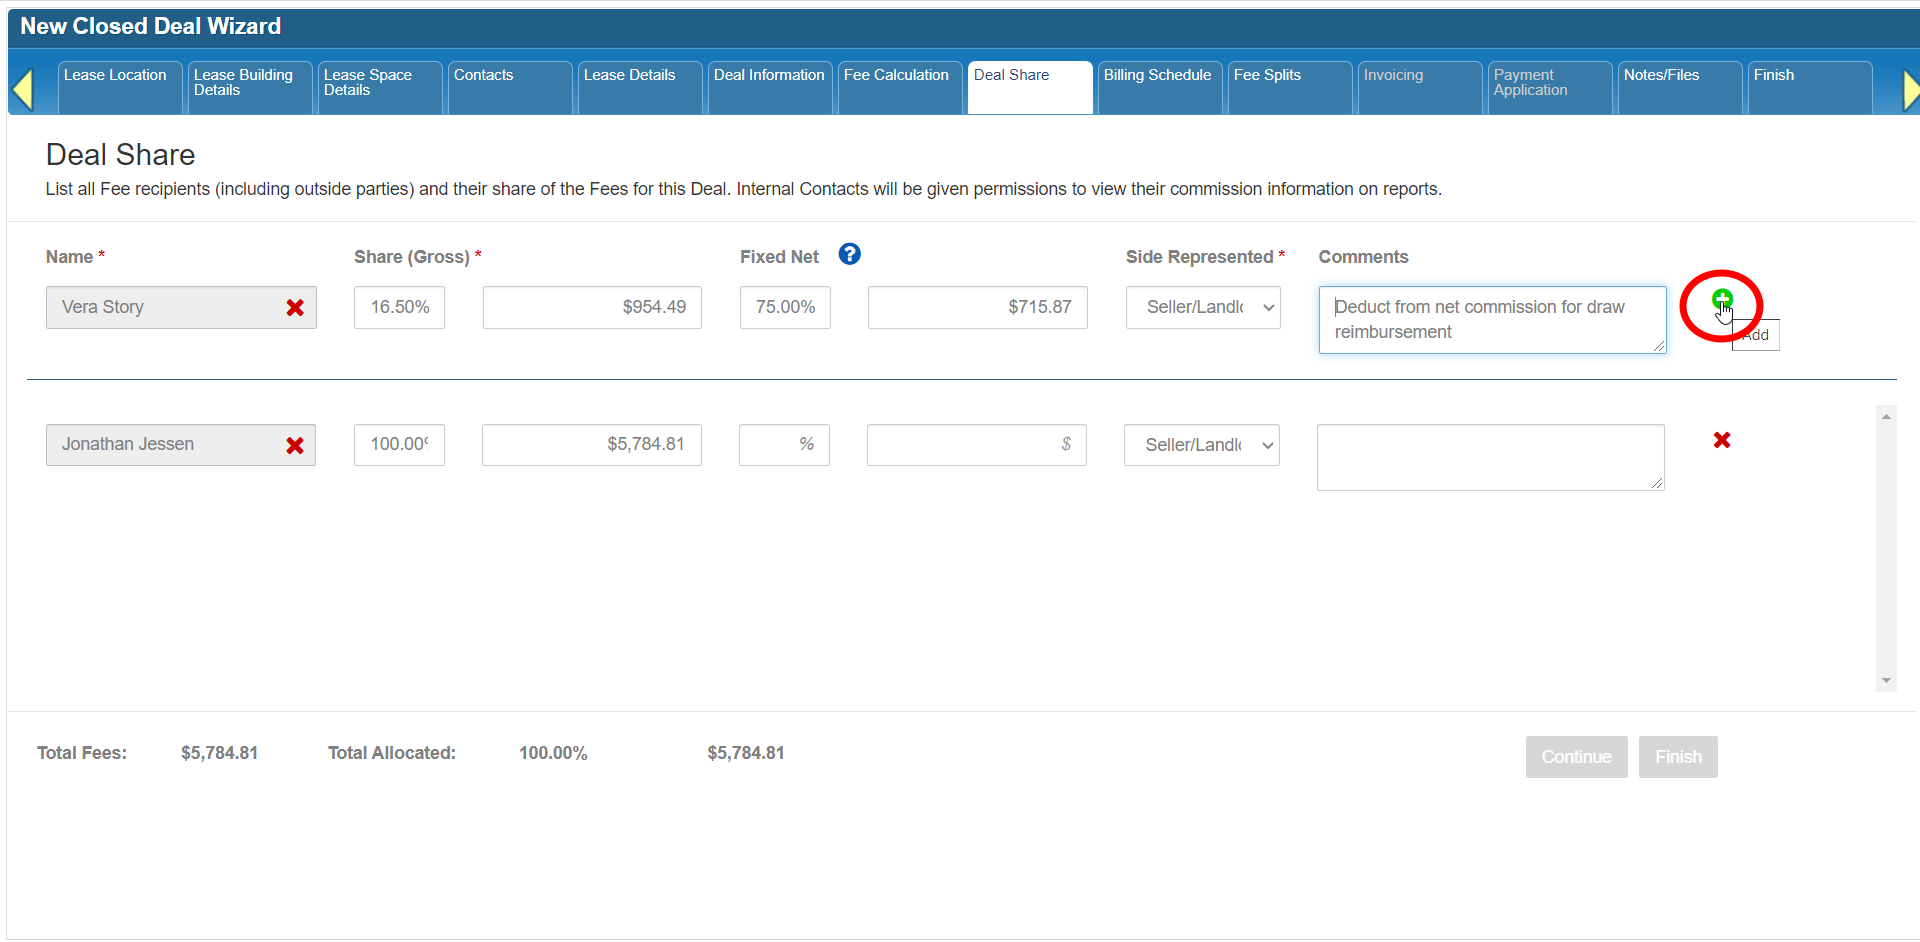
Click the Add button to the right of this invoice to set up the next invoice.
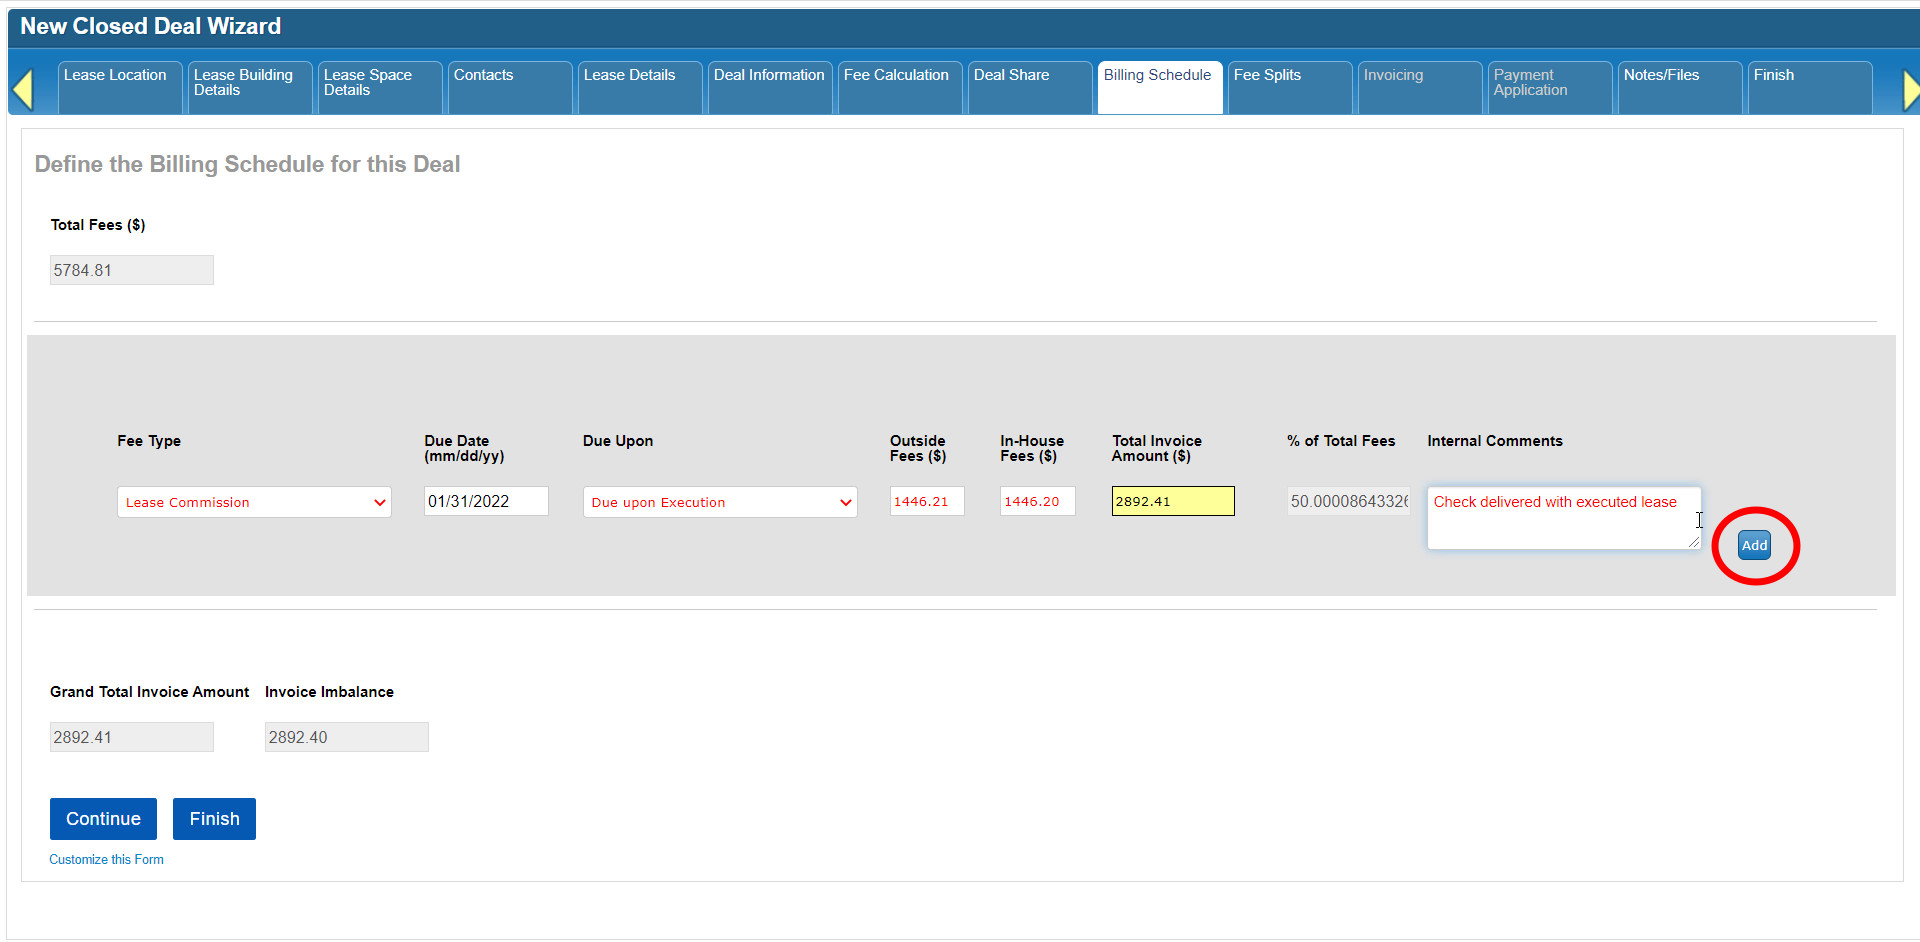
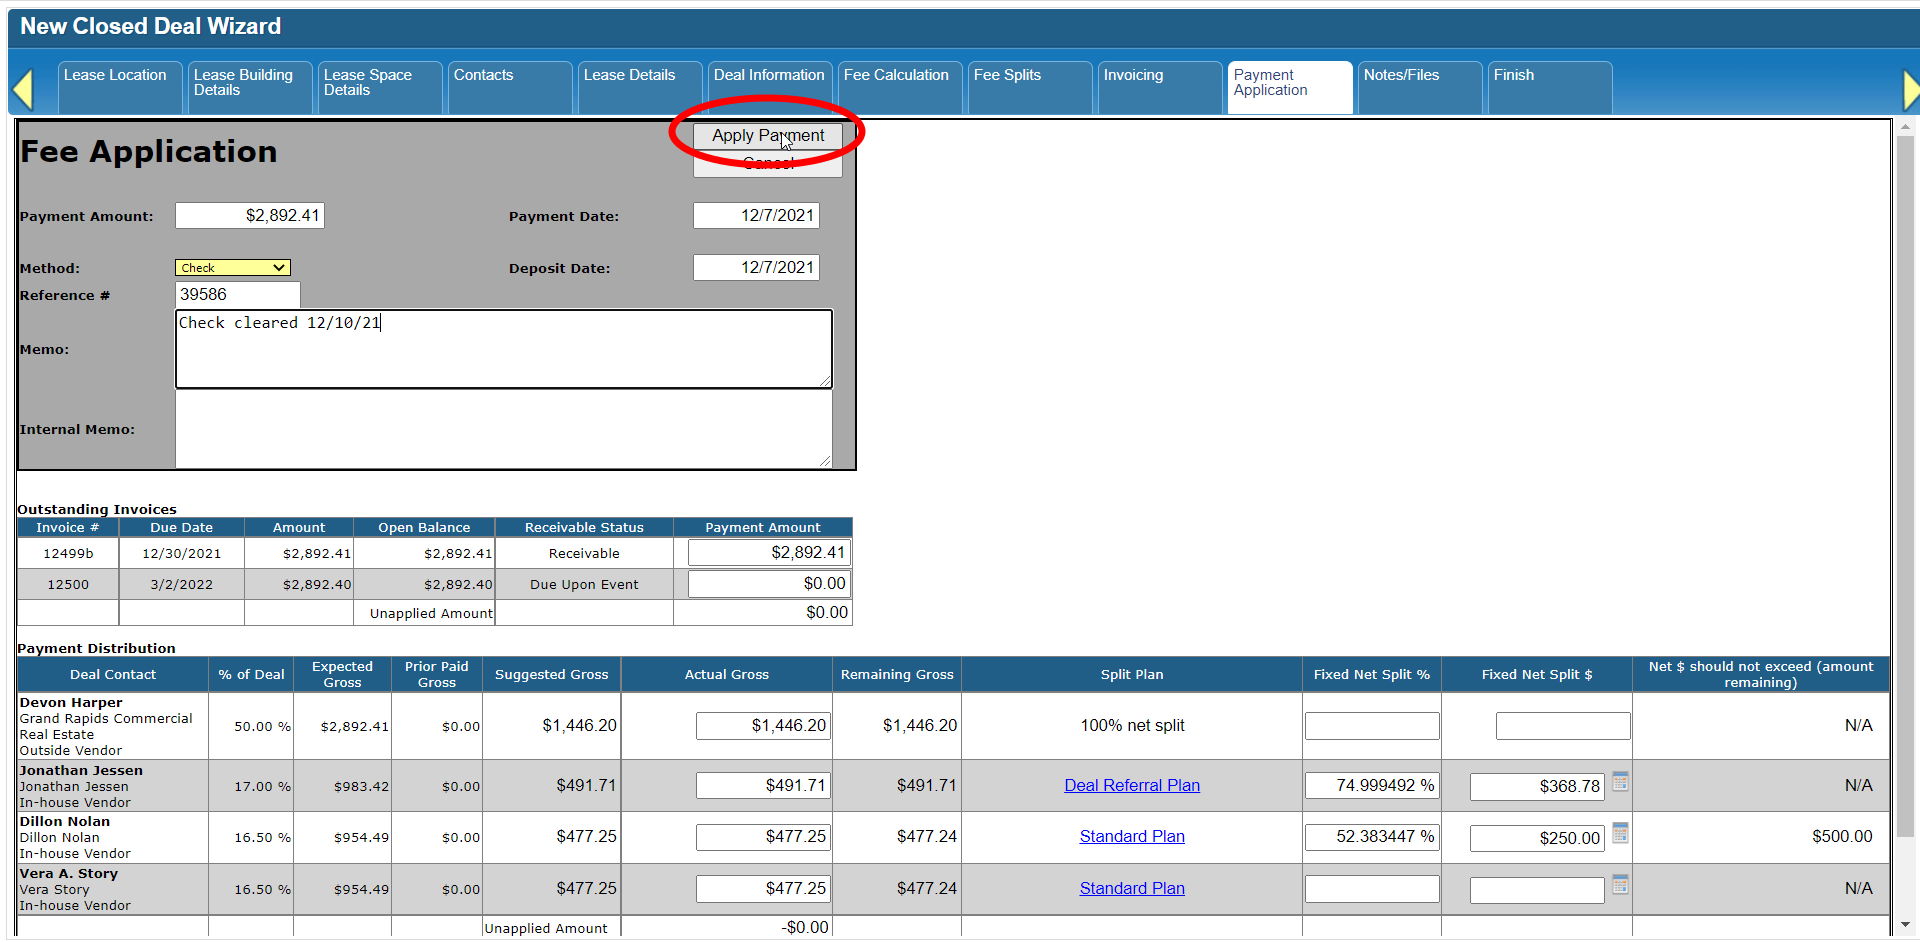
Notice how the totals at the bottom of the form update in real time as you add more information.

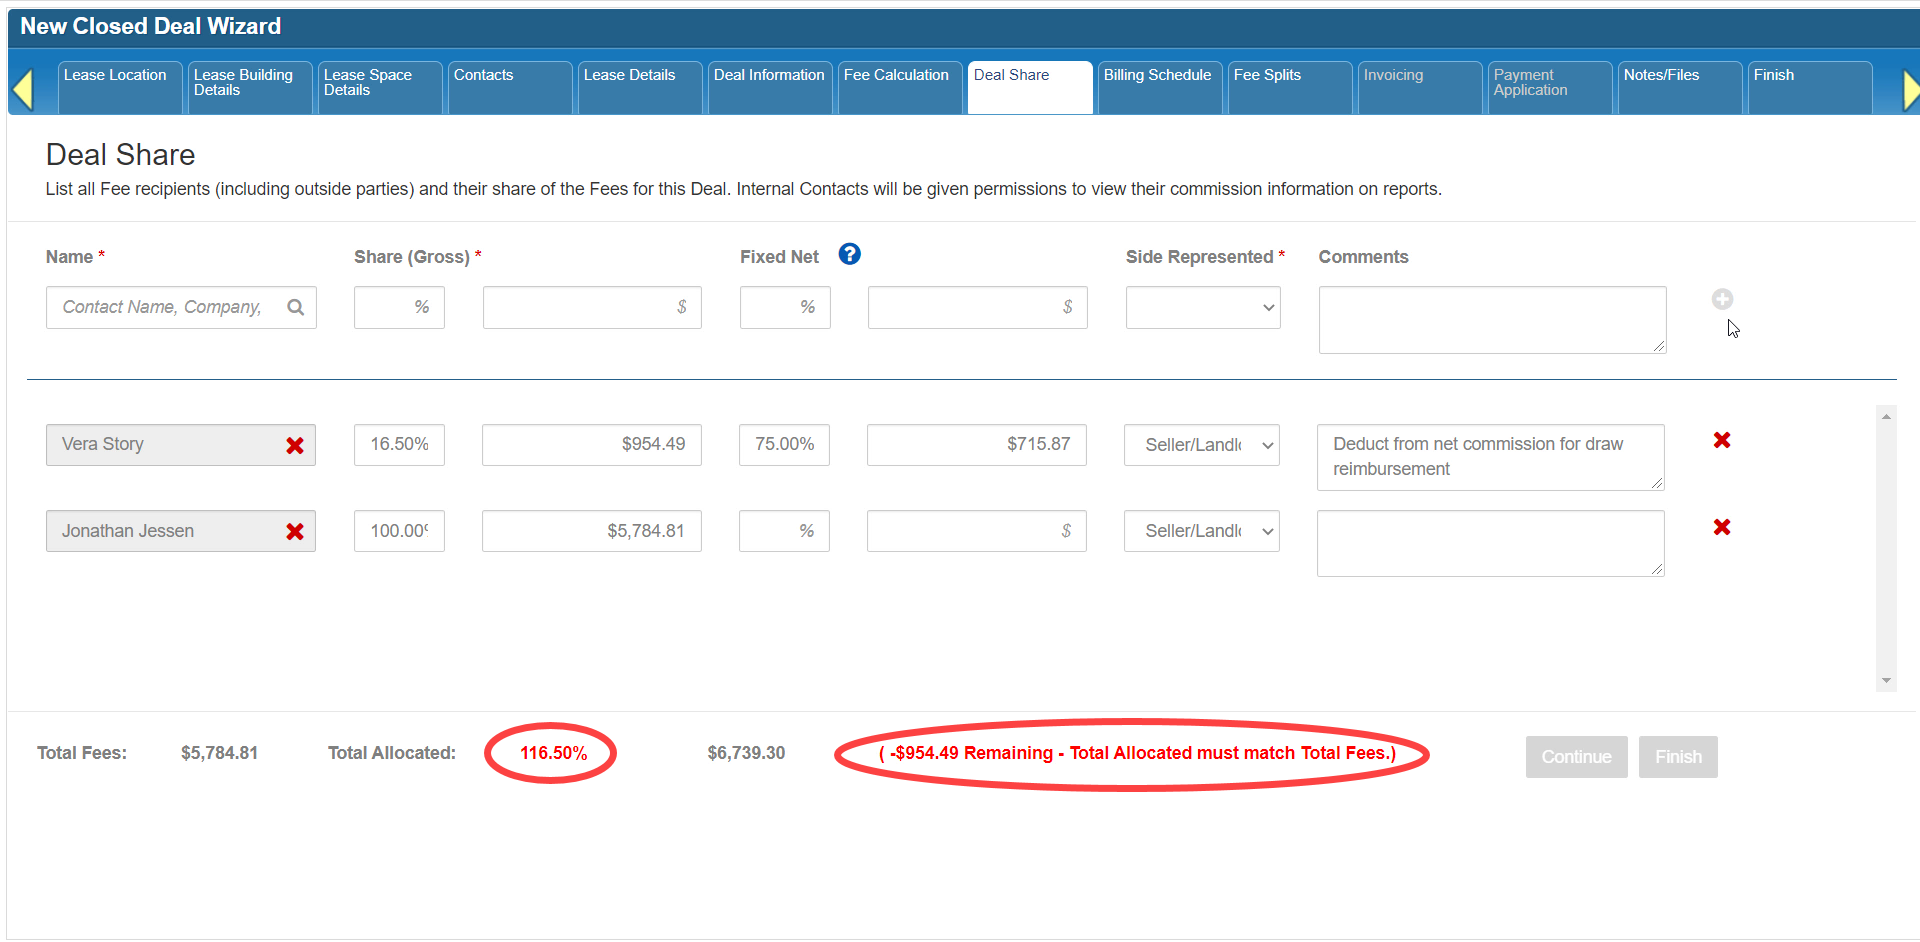
You will need to make sure the Invoice Imbalance reaches $0 before you can continue to the next tab.

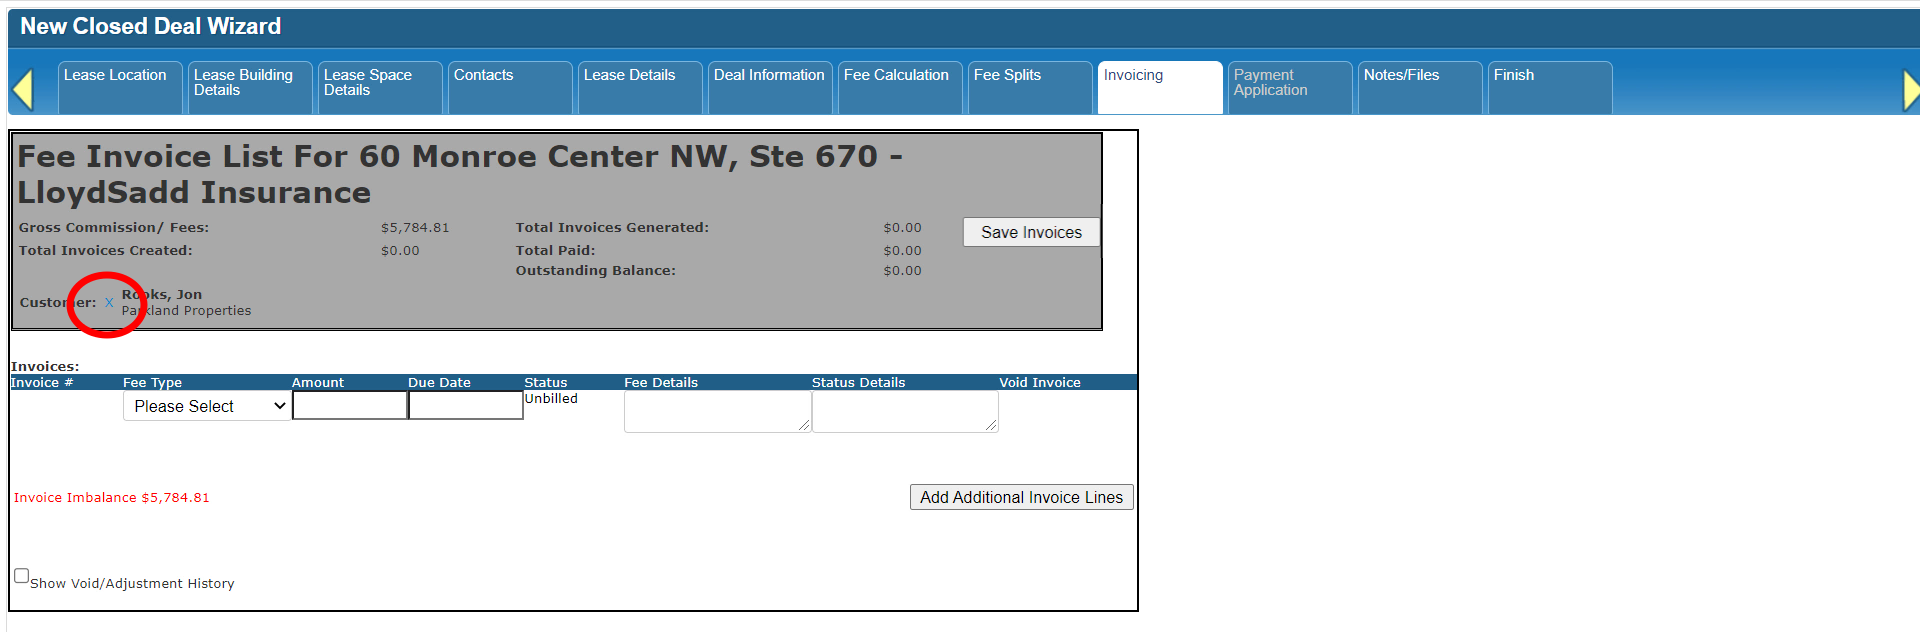
To remove an invoice, click the [X] button to the right of that invoice.

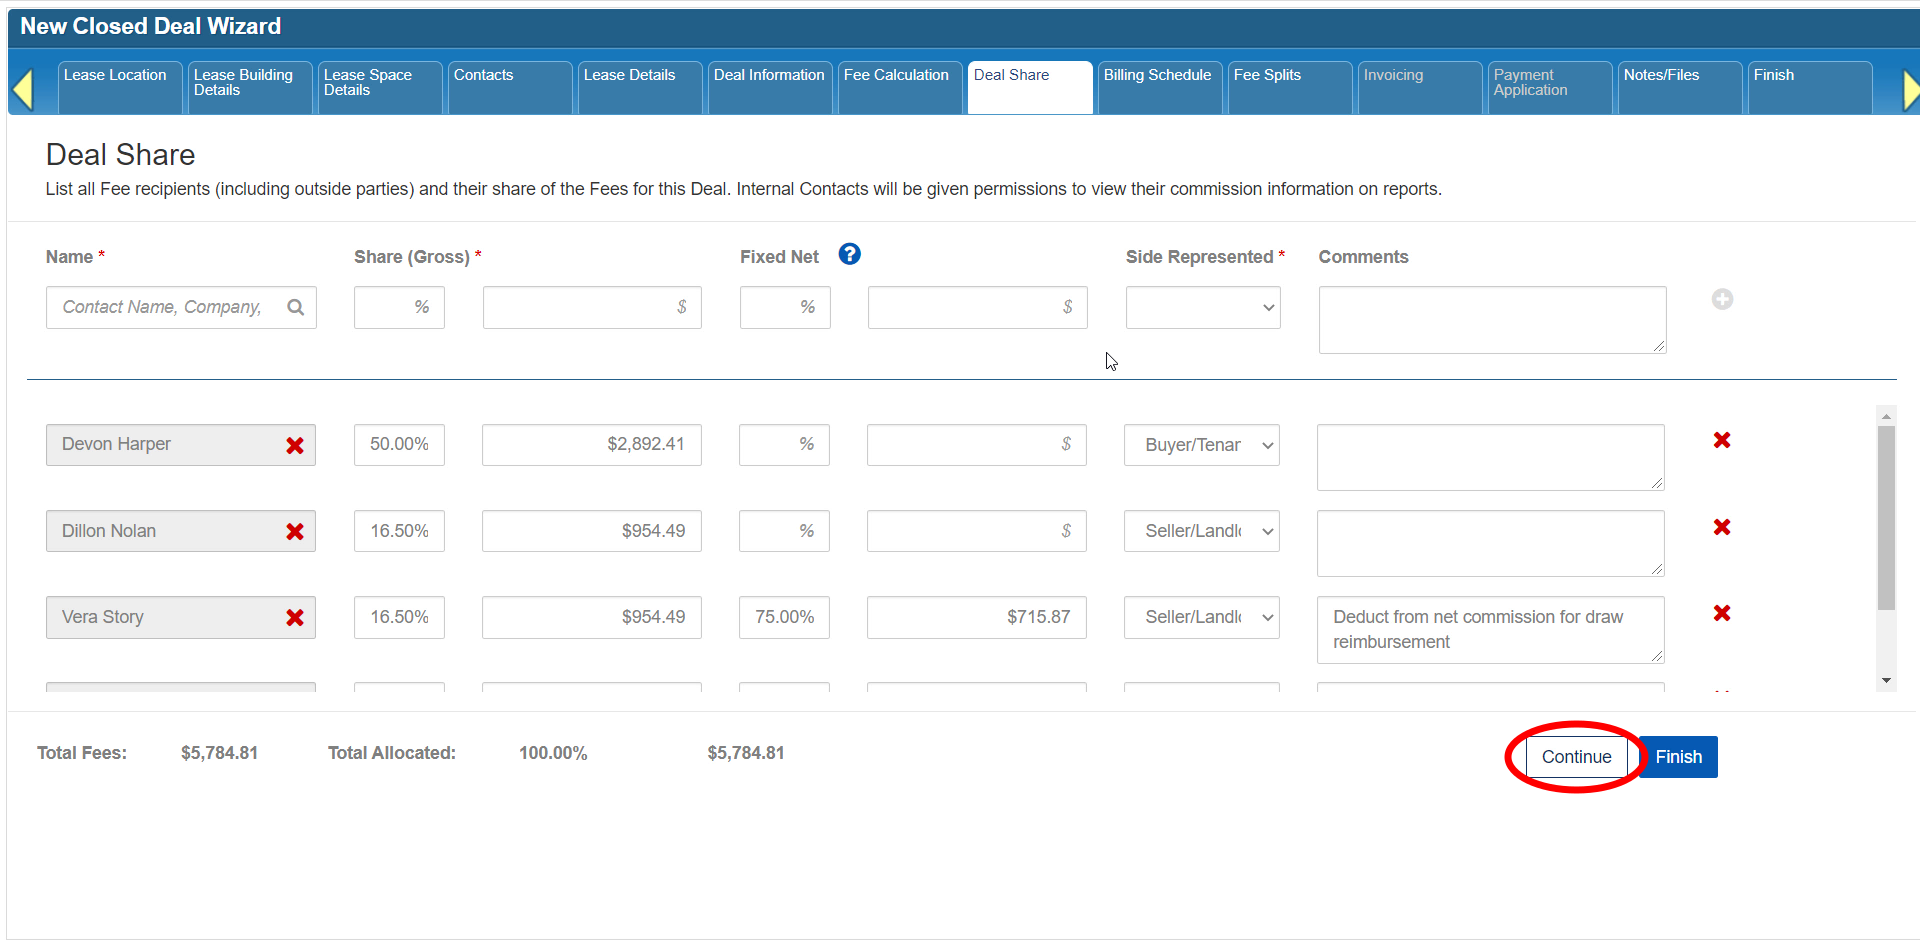
Once all of the fees have been scheduled for billing, click Continue to move on to the next step.

Please note, you will not be able to change or remove an invoice on this tab after it has been billed via the Invoicing tab.

Click here for the next tutorial.
Related articles
- How to create a new Closed Deal: Part 2 - New Closed Deal Modal
- How to create a new Closed Deal: Part 3 - Workflow Navigation
- How to create a new Closed Deal: Part 4 - Property
- How to create a new Closed Deal: Part 5 - Space
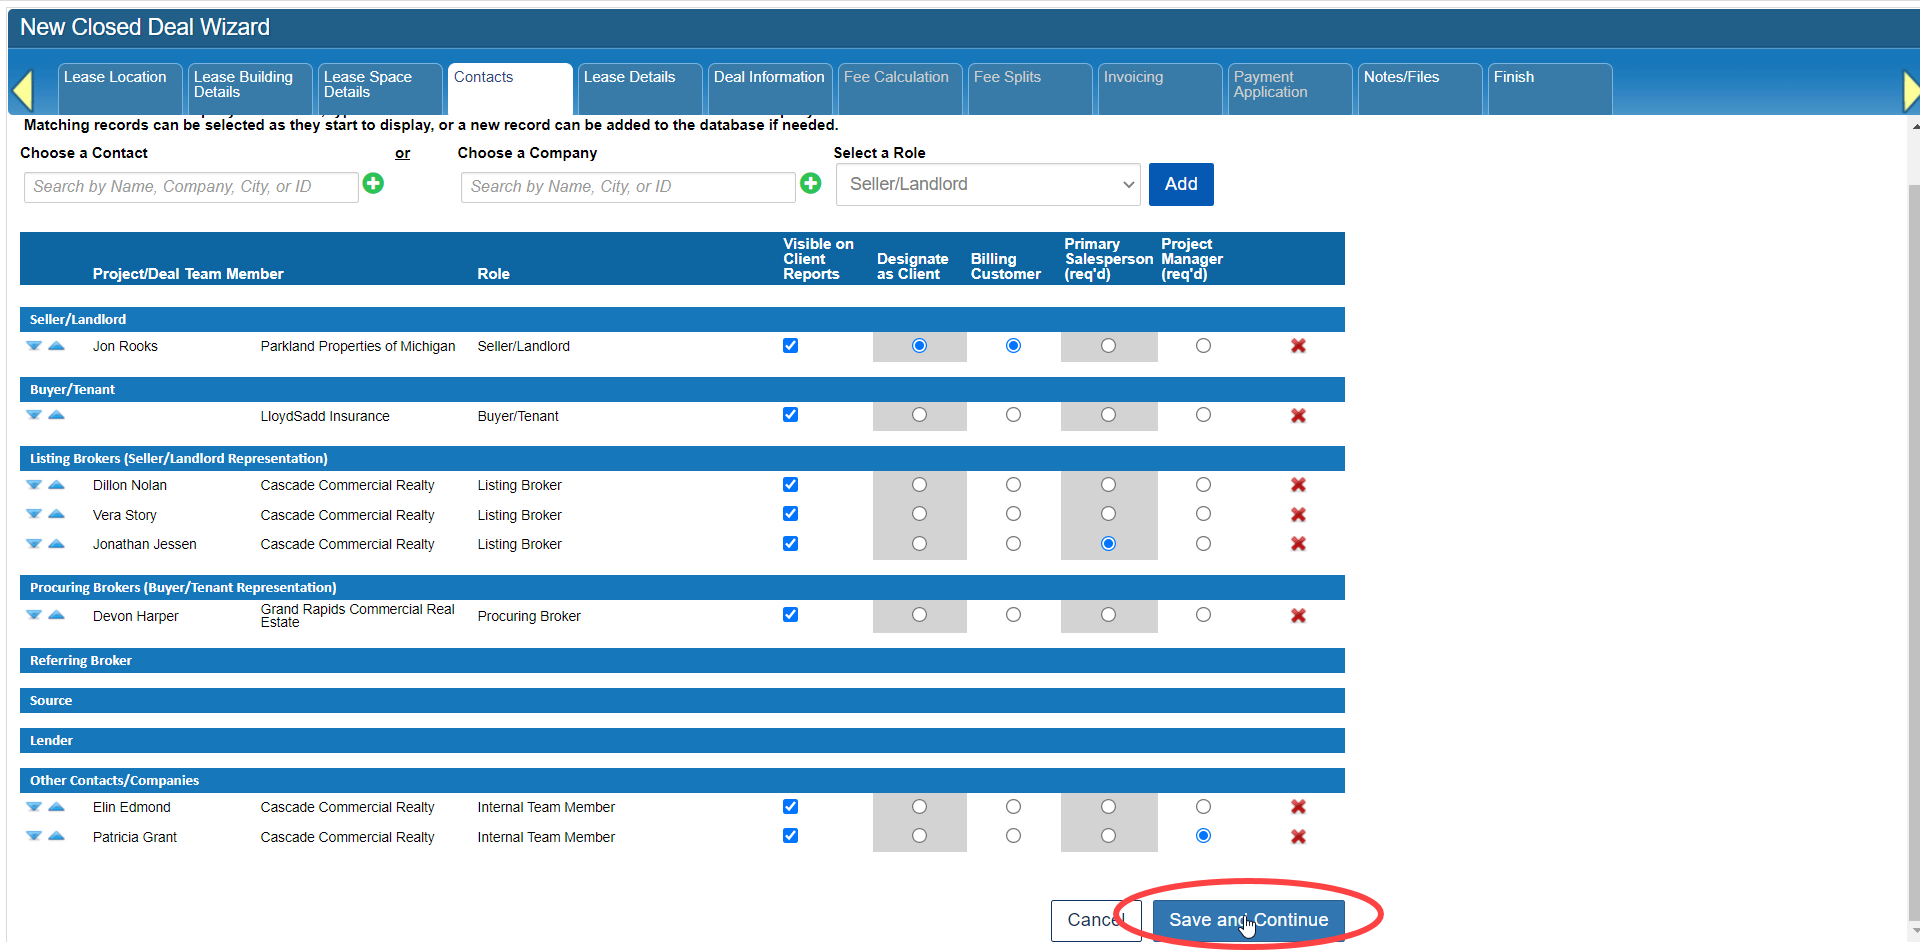
- How to create a new Closed Deal: Part 6 - Contacts
- How to create a new Closed Deal: Part 7 - Lease Details
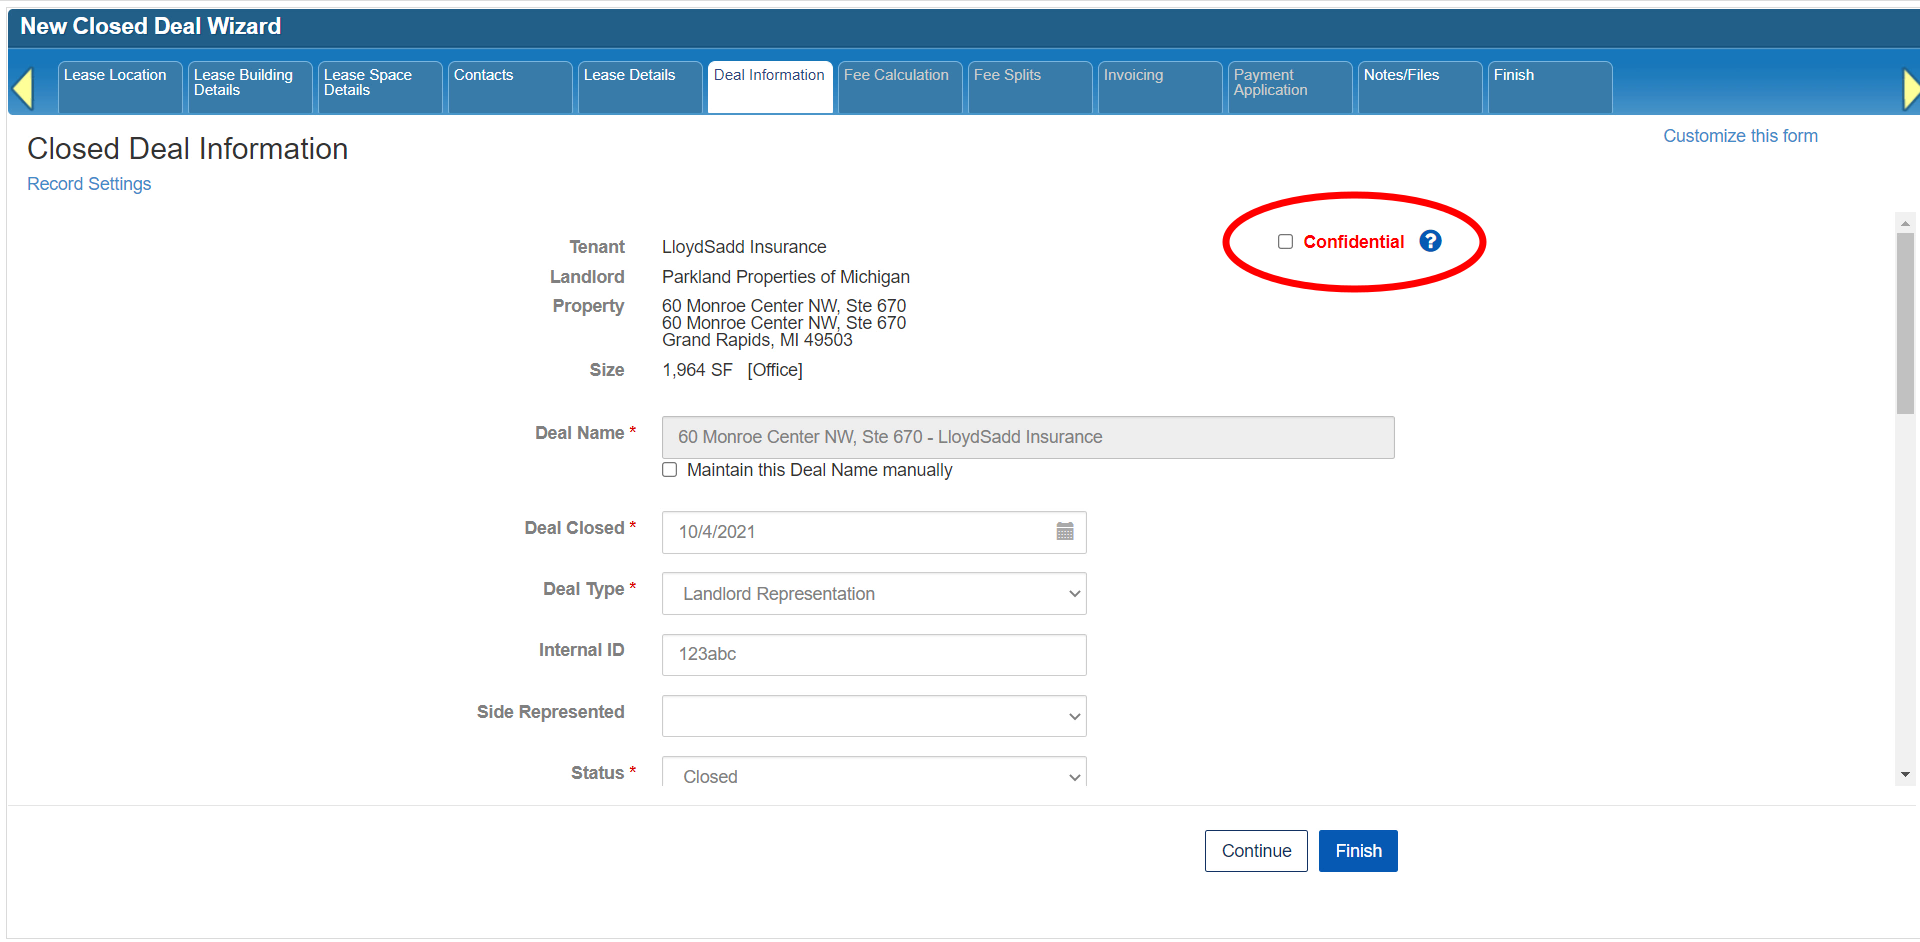
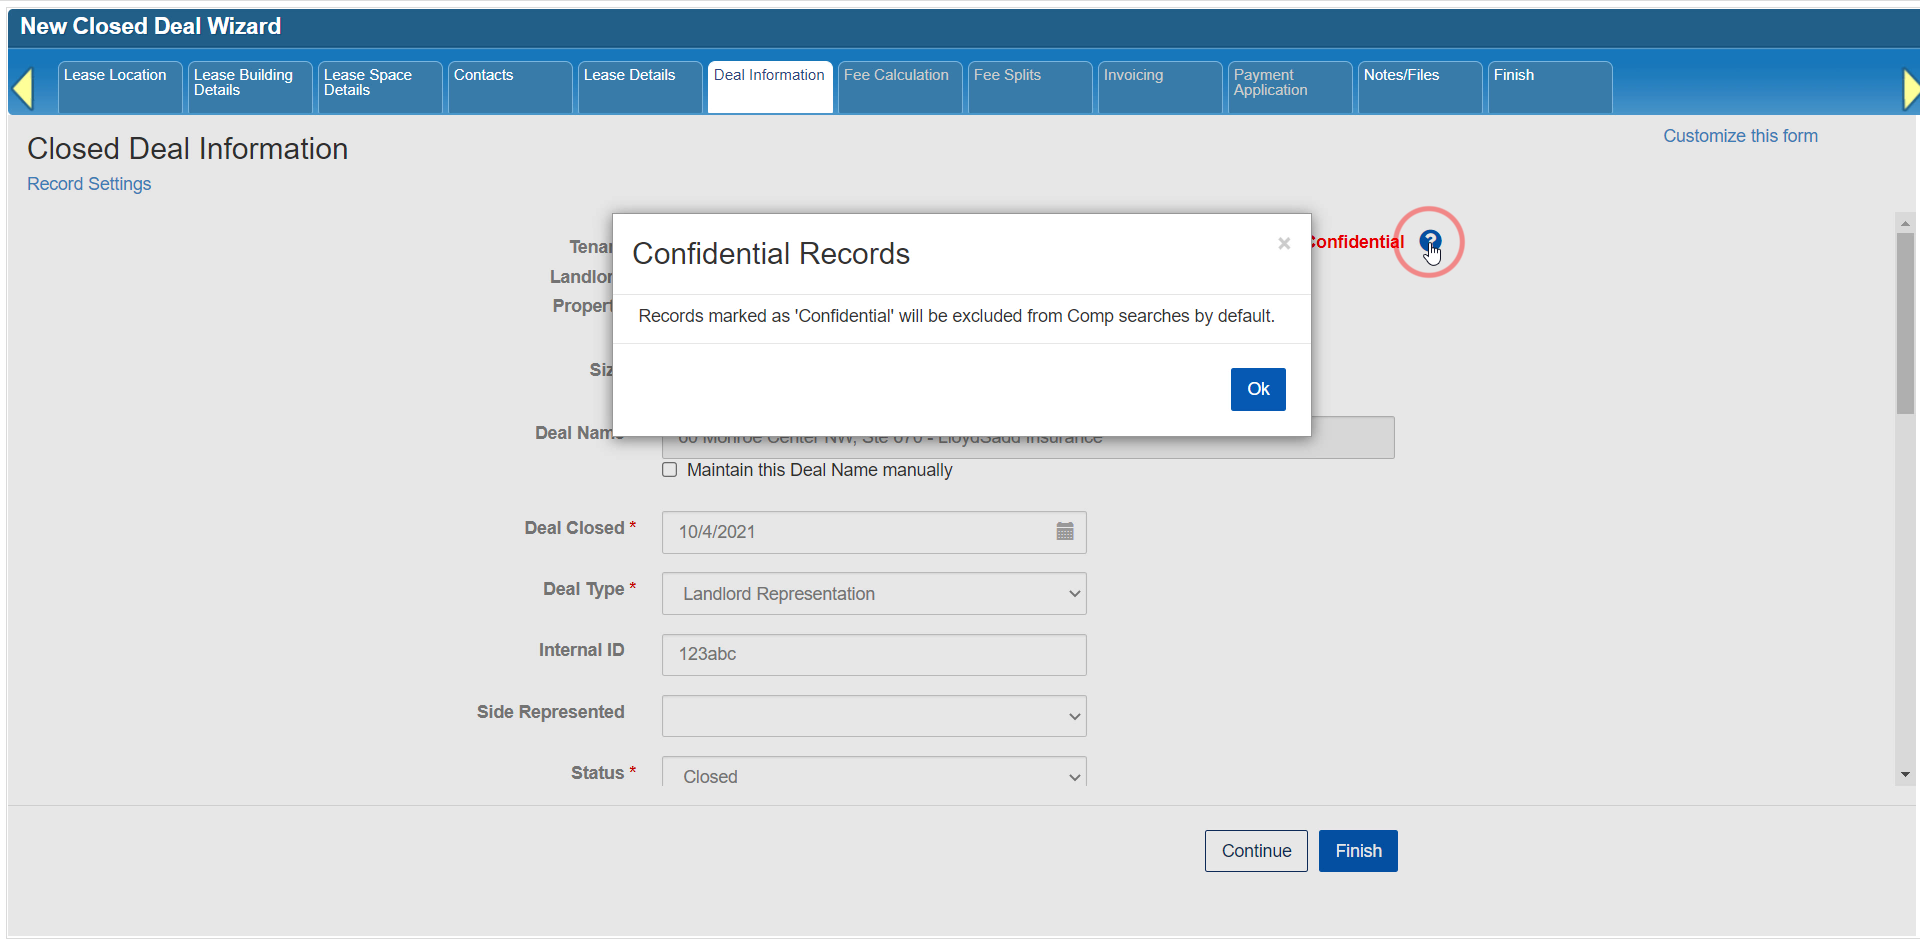
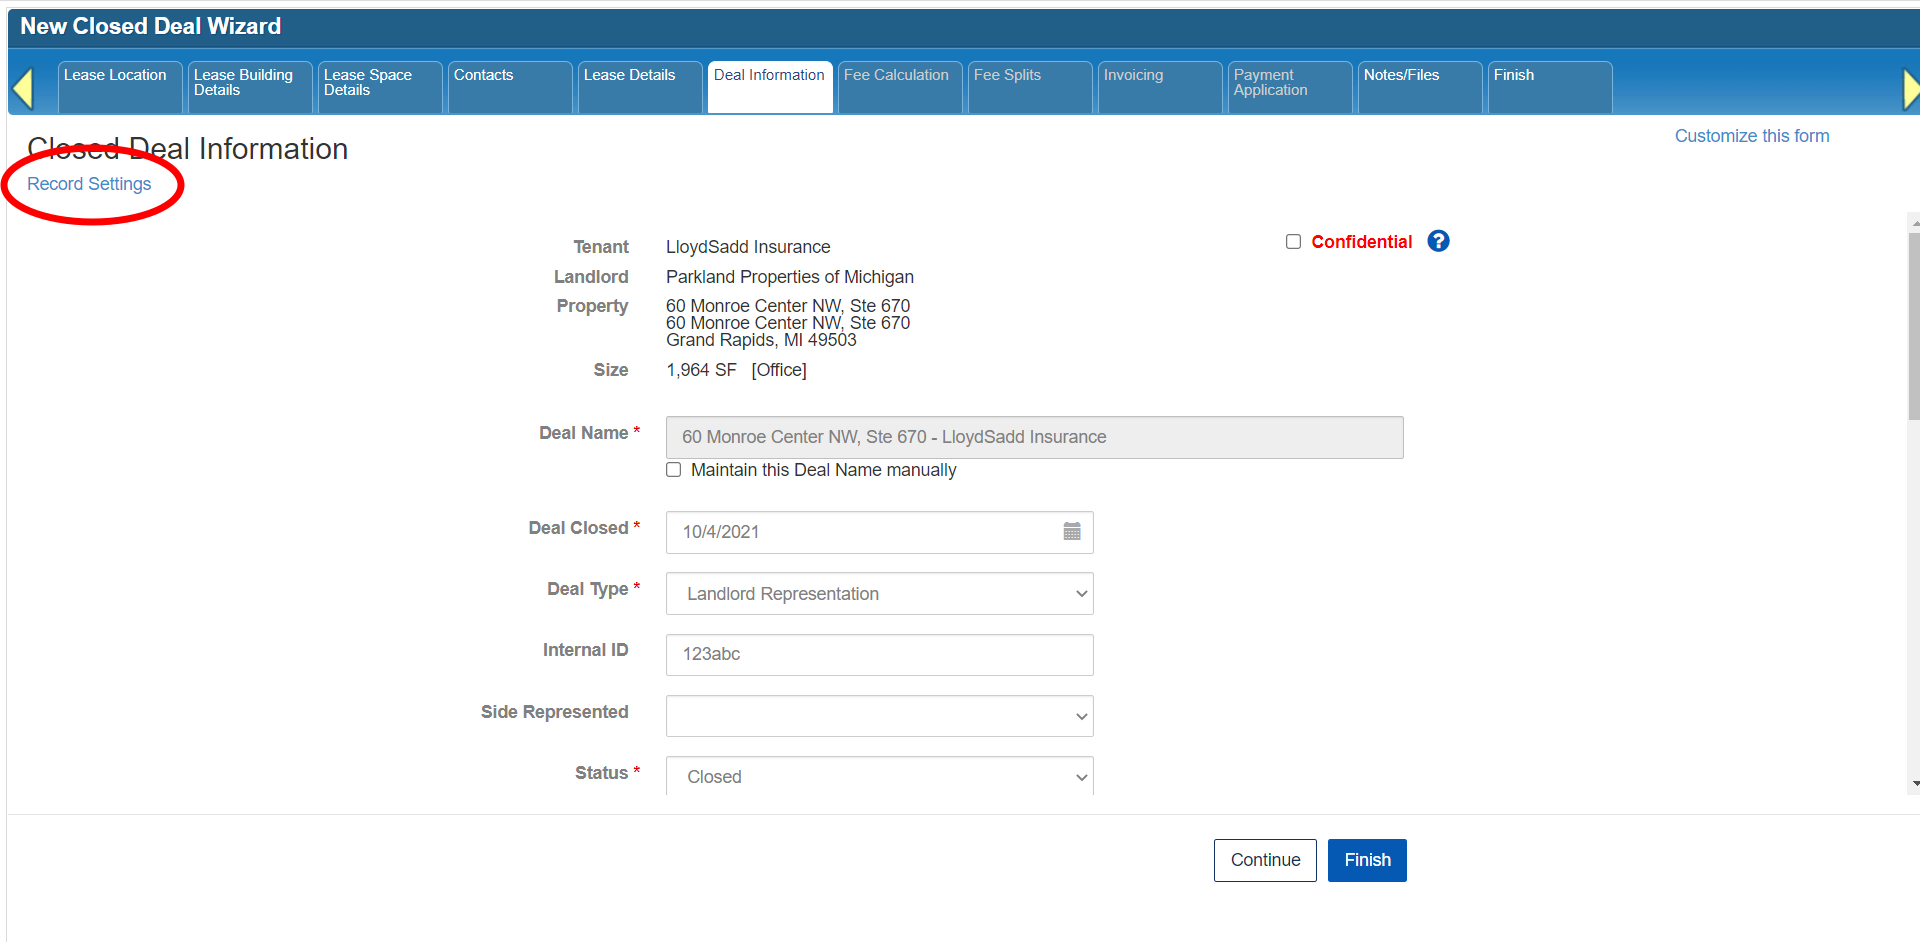
- How to create a new Closed Deal: Part 8 - Deal Information
- How to create a new Closed Deal: Part 9 - Fee Calculation
- How to create a new Closed Deal: Part 10 - Fee Splits
- How to create a new Closed Deal: Part 11 - Invoicing
- How to create a new Closed Deal: Part 12 - Payments
- How to create a new Closed Deal: Part 13 - Notes/Files
- How to create a new Closed Deal: Part 14 - Link Project
- How to create a new Closed Deal: Part 15 - Deal Share
- How to create a new Closed Deal: Part 16 - Billing Schedule
- How to create a new Closed Deal: Part 17 - Net Adjustments
- How to create a new Closed Deal: Part 18 - Annuity Schedule
- How to create a new Closed Deal: Part 19 - Sale Details
- How to create a new Closed Deal: Part 20 - Other Starting Points
© 2023 CoStar Group